Thursday, June 30, 2011

Early Morning

Early = 8:30

You have to admit, that's pretty early.

Anyway, I found myself awake at 8:30 this morning (I'm a horrible teenager). I figured if I was up, I might as well take advantage of the beautiful morning light. Granted, this wasn't right after sunrise, but the sun was still amazing and fresh, as morning light always is.

The way my house is situated the beautiful morning light floods my backyard. The more temperate evening light falls onto my front yard. So, I grabbed my camera and headed outside. The sprinklers were running so it took ten minutes to plan and successfully evade those shots of water ;)

In short, it was so worth it.


The light was just so fresh and bright.


Funny story...it wasn't like I thought 'hey, I should photograph the back of the flower-- that'll totally be a new perspective!' Haha, no. You see, the front of the sunflower was facing the top of the storm cellar. In order to get to there, I would have to brave this wall of buzzing bees which had chosen to congregate around the cone flowers that surrounded the storm cellar.

I've done it once, but wasn't brave enough to risk it this morning. ;) Besides, I like how the light is bursting over the flower, something I would have missed if I shot the front of the flower.

Morale of this story? Sometimes, being a wimp actually turns out to be beneficial.
:D


...I like the texture, and the way it was illuminated by the sun. :)


:)

Wednesday, June 29, 2011

Before And After

Today I thought I would showcase some of my before and afters. None are dramatically amazing, I'm afraid. However, all of them are good photos that have been enhanced by Photoshop. Most of the before's are pictures that I didn't like. They were too dark, they were too faded-- something about them made me not like them. So, I went into Photoshop and attempted to fix those issues.

The first photo is one at sunset. I loved the way that the sunlight was breaking through the flowers. However, when I took the picture, it turned out too dark for my liking. So, I used the HDR toning feature of Photoshop CS5 and attempted to make the photo more like an HDR photo, bringing out the shadows and highlights.

BEFORE:


AFTER:


The next photo, I liked the original. I just wanted to add an effect to make it...different ;)

BEFORE:


AFTER:


The next photo was one in a series of similar photos. The other photos in the series turned out amazing; this one seemed just a little washed out.

BEFORE:


AFTER:


These baby geese were adorable, but the shadow/highlights seemed really harsh. So, I used the aptly named 'shadows/highlights' tool in Photoshop to fix the picture.

BEFORE:


AFTER:


This was another picture that I liked, but wanted to add a special look to it. So, I complied a few actions on it to achieve the desired result.

BEFORE:


AFTER:

Tuesday, June 28, 2011

A Lesson Learned


Remember, not too long ago, I talked about light? How it was nice and important but for the most part I didn't pay much attention to it?

Boy have I missed out.

Yesterday I was in my front yard taking pictures. Normally I only take pictures of the back yard but I decided to venture out front for a bit. There aren't as many photo opportunities but I figured that there would be a couple. Our miniature rose bush still had a few blooms holding out. I just finished reading a photography book and one of the things that he did was arranged certain flowers, introducing new backgrounds just for the sake of a good picture. So, I decided rather than simply taking pictures of the roses, I would pick one and arrange somewhere to showcase it's beauty.


I liked the contrast from the color of the rose, to the lack of color of the stone. There was also a contrast from the smoothness of the rose to the roughness of the stone.

Then, I noticed some clover or something green thing that was bravely poking up through the stone on the ground. I bent down and snapped some photos. On a whim, I put the camera so that the lens was almost level with the ground and shot the picture.


The result took my breath away. I did not realize what a unique perspective one was granted at this level. I loved how the little plant dominated the picture, how the small strand appeared almost like a tree. My eyes now glued to the ground, I spotted some more green plants poking up through the stone, surrounded by green moss. I sat down and started to click away. A little moth had caught my attention--


Suddenly, the clouds shifted, and the warm late evening sun shone through onto the stone where I was at. The atmosphere was radically changed from cool to warm. The sunlight painted everything with this amazing golden hue. I realized just what I had been missing out on.

Then my camera died. I sat there for a min, lamenting my fate before hurrying inside to grab some new batteries. Then, I went back outside to the same spot and continued to snap pictures.


:D

Light is important. No, really it is. Of course I would have been happy without the amazing setting sun, but it really added that extra sparkle to my pictures.

Wednesday, June 22, 2011

Sunlight

An oft repeated rule of photography is that the best time to take photos is half hour before sunrise (and maybe after sunrise) and half hour before sunset. Normally, I ignore this rule. Especially during the school year-- I would just take photos when I could. However, as it is summer, I have a bit more leeway as to when to take photos. And, as much as I don't like to admit it, photos right after sunrise have a beautiful quality to them.


The sun has this fresh, illuminating quality that really highlights my backyard. Granted, these photos were taken slightly more than just a half hour after sunrise, but still, the idea holds.


Also, I wanted to post a small before/after Photoshop picture. A lot of people think that when you 'Photoshop' a photo it becomes more 'fake' as though you are taking away some inherent quality of the photo. I mostly use photoshop as a way to enhance what's there naturally. Sometimes when I take a photo, the picture on the computer screen doesn't match up with what my eyes see. So, I edit it slightly in Photoshop to bring out its beauty.

Before:


After:


...granted this was slightly more than a little editing ;) still, I wished to bring the color out.

Tuesday, June 21, 2011

Fun in Photoshop

Photoshop can do magic. That is already an established fact of life. What is non established is the breadth of magic Photoshop can do.

I have a normal, point and shoot camera. What I do not have is an amazing SLR camera with a wide angle lens. So, I decided to try and replicate a wide angle shot. I used my normal camera and took a series of photos of a certain spot in my backyard. Using Photoshop magic I combined the images into a more panoramic shot. Doing this caused a little distortion and the edges were transparent, as there was just no info for the photo to be created from. So, I used another part of Photoshop magic and filled in the edges.


:D

Another part of the magic that I wished to share with you today is the out of bound photograph. It's a cool technique that has been used many times to make an object appear to leap out of the photograph.


I have rarely seen one used with a flower but I was like hey, I wanna use my own picture instead of a stock one. Anndd what do I take pictures of? Flowers! ;) So, here's my first OOB photo. The worst part is having to cut out the flower, and I can be rather impatient so I hope it doesn't look rushed.

Who said magic didn't exist?

Monday, June 20, 2011

A Father's Day Gift

So, as everyone knows, Father's Day was yesterday. I washed my father's car, and baked him a delicious french chocolate dessert. While I was getting the ingredients ready I was like 'hey! This is a perfect photographic opportunity!'

It seems like I'm pigeon-holed into a certain type of photography--nature, and most of the time, close-up (but not really macro) photography. I actually have done cooking photography, mostly for classes. I'm not sure if I've shared with you those photographs...anyway! I decided to do a recipe/food photography for a change of pace. Also, the recipe is super easy and super delicious.

Ingredients:
5 oz of dark chocolate ((I use a cup of dark chocolate chips))
1 stick of butter ((doesn't it sound amazing already??))
2 eggs
2 egg yolks
1/4 cup of sugar
1 tablespoon of flour
A pinch of sea salt

And that's it! Now, the last time I tried to take pictures while making a dessert the pictures turned out fine, but the dessert was a mess that tasted horrible. Since it was for a photography assignment that was okay, but this time the dessert was a gift meant for consumption. Last time, I focused solely on the photographs which meant that I put the wrong ingredients in at the wrong time and let it sit forever without mixing. This time I knew that I had to sneak the photos in while I made the dessert.

First, I cut the stick of butter up and put it in a bowl to stick in the microwave along with the cup of chocolate chips. The more traditional way to melt butter is to use a double boiler. o.o However, the easiest way is just to stick it in the microwave.


So I totally didn't take pictures of me adding the chocolate chips, putting the bowl in the microwave for a min, taking it out, stirring it, putting it back in, taking it back out, and stirring it some more. Rest assured, it totally happened.


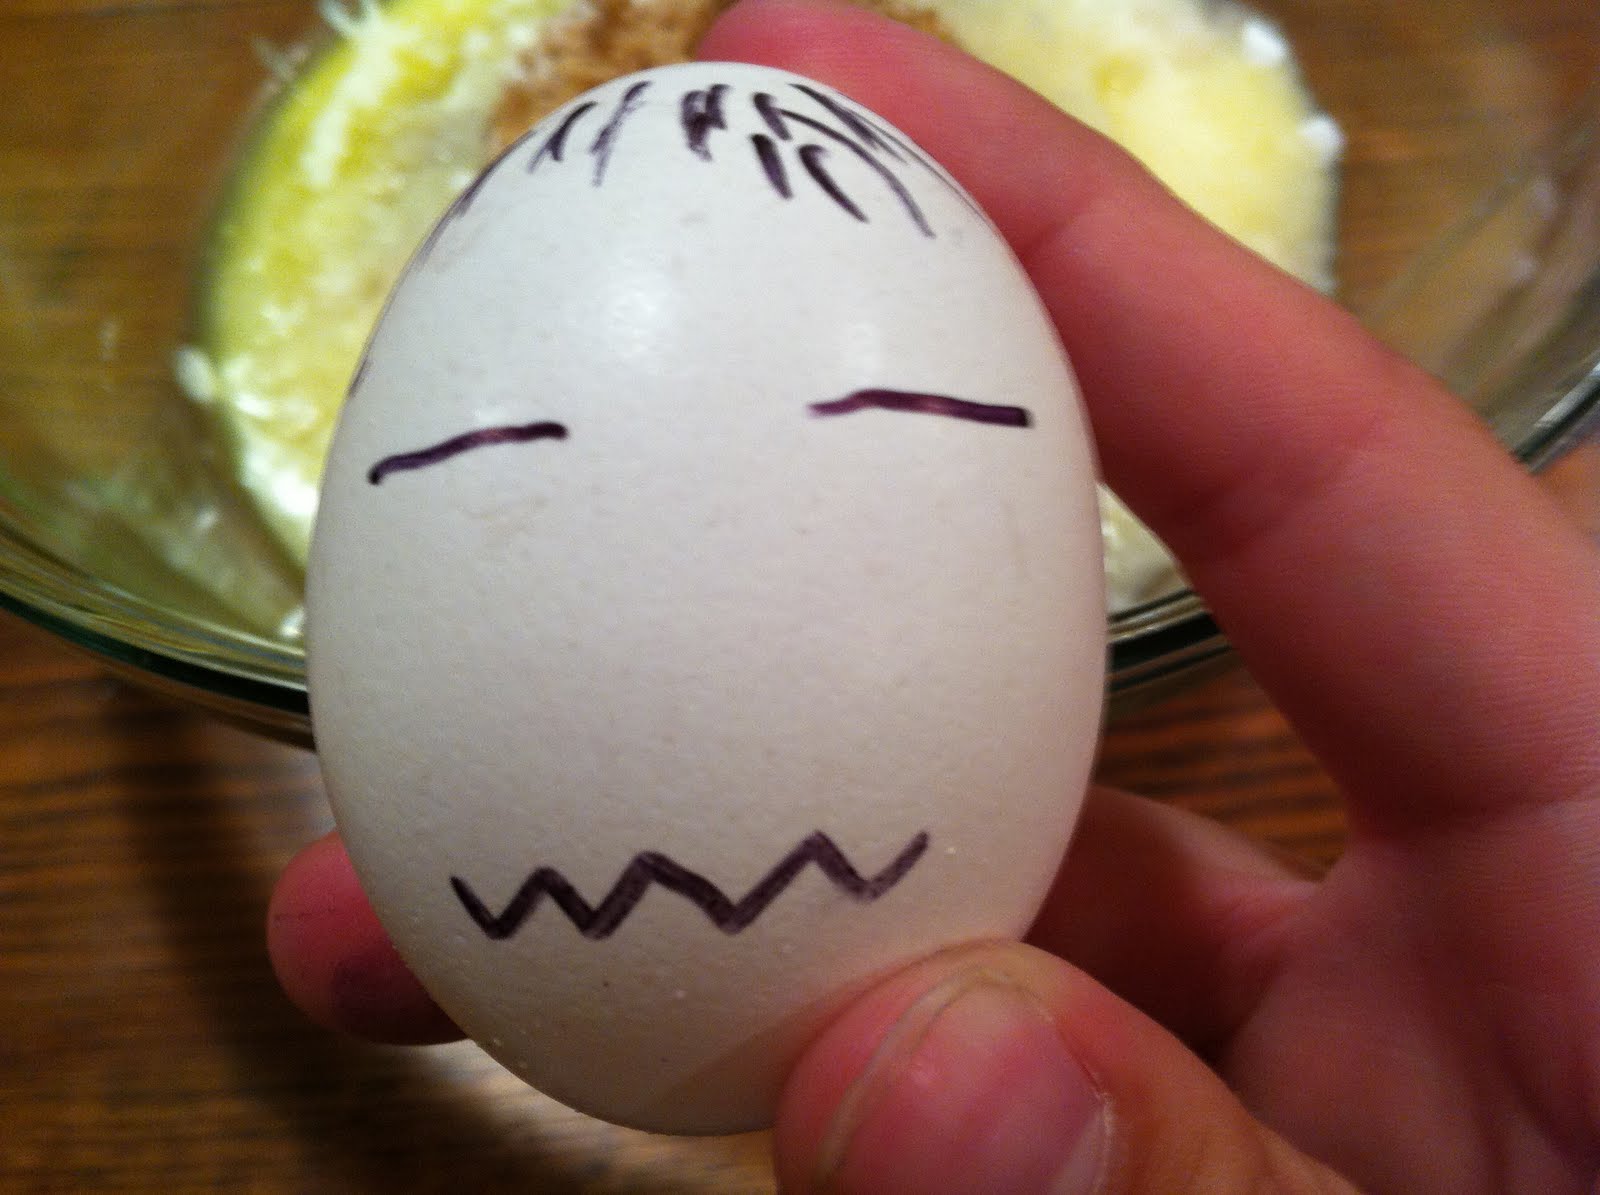
Next, I turned to the eggs.


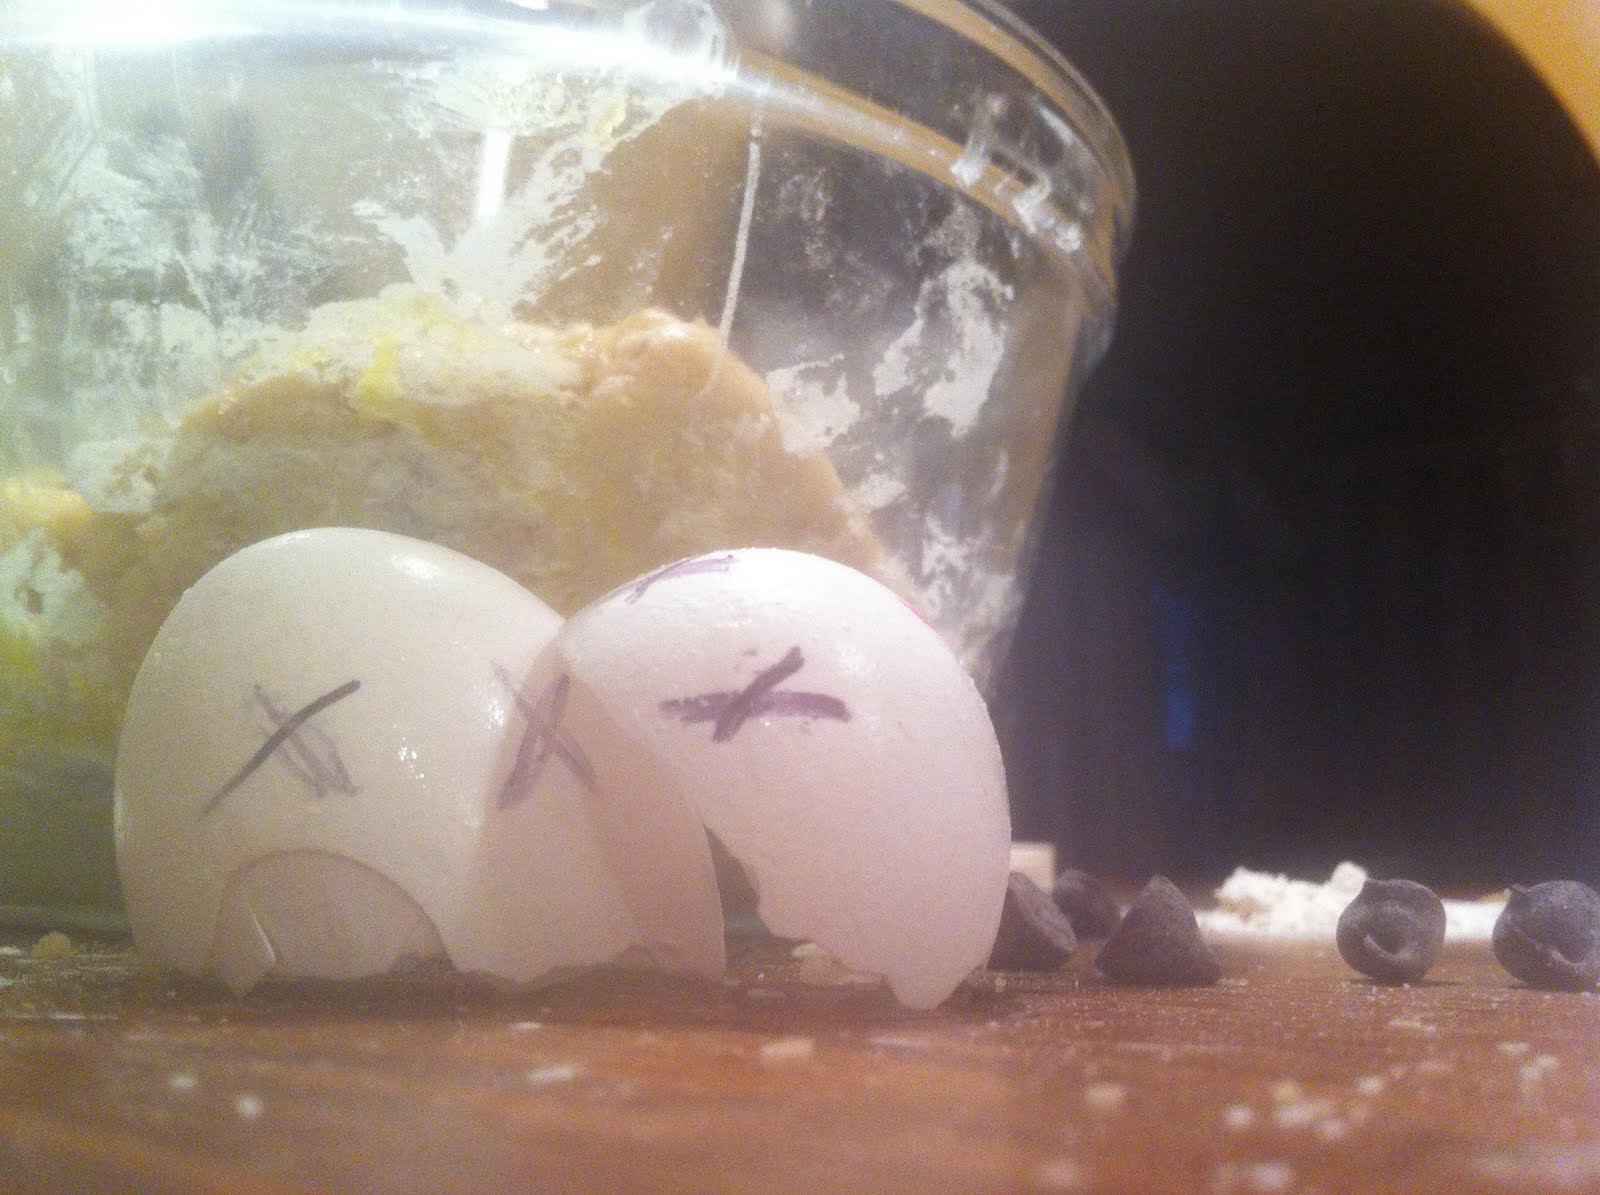
I cracked two eggs and threw them into a large bowl. Then, I took a smaller bowl and cracked a egg, doing my best to just get the whites in the smaller bowl. Then, I took the yolk and added it to the main bowl. I did this once more, thus ending up with four yolks and two eggs whites in the large main bowl.


...thought that was cute :P

Anyway! Next, I added a 1/4 cup of sugar to the egg mixture. By the way, you can either add the sugar slowly while beating the eggs or all at once before you beat them. I've done both ways and nothing awful happened when I accidentally just dumped the whole thing in there. ((I was too busy taking pictures to realize that that probably wasn't the best of ideas...))


So, slowly adding the sugar or not, start to beat the eggs until the are light and slightly frothy. Once that's done, add the egg mixture to the still warm melted chocolate and whisk together. Add the tablespoon of flour and continue to stir.

What I used to shape mine were little glass bowls. The original recipe called for making your own mold with foil cupcake liners. Whatteeverrr you wanna do. Fill the containers with the batter and stick into the oven. Depending on your containers size, cooking times will vary. I cooked mine for like seven/eight min and the interiors were still molten, like they are supposed to be.


Yum! Doesn't that look good?? Absolutely delicious. :)

Welll I hope that you enjoyed the slight detour from normal photography ;)