Showing posts with label wedding. Show all posts

Tuesday, July 23, 2013

The One With the Wedding

I would feel remiss if I didn't have a post about my brother's wedding. After all, I did a post about their engagement photos and two of the various crafts we did for the wedding.

On July 20th, 2013 my brother married Addie in a beautiful ceremony overlooking the hills. The day started off hot and sunny but mercifully that changed as clouds rolled in right before their nuptials. The clouds took the edge off the heat for the outdoor ceremony, and the rolling thunder really added emphasis to the pastor's words. While lightening flickered in the distance, the rain thankfully did not pour down on our heads.

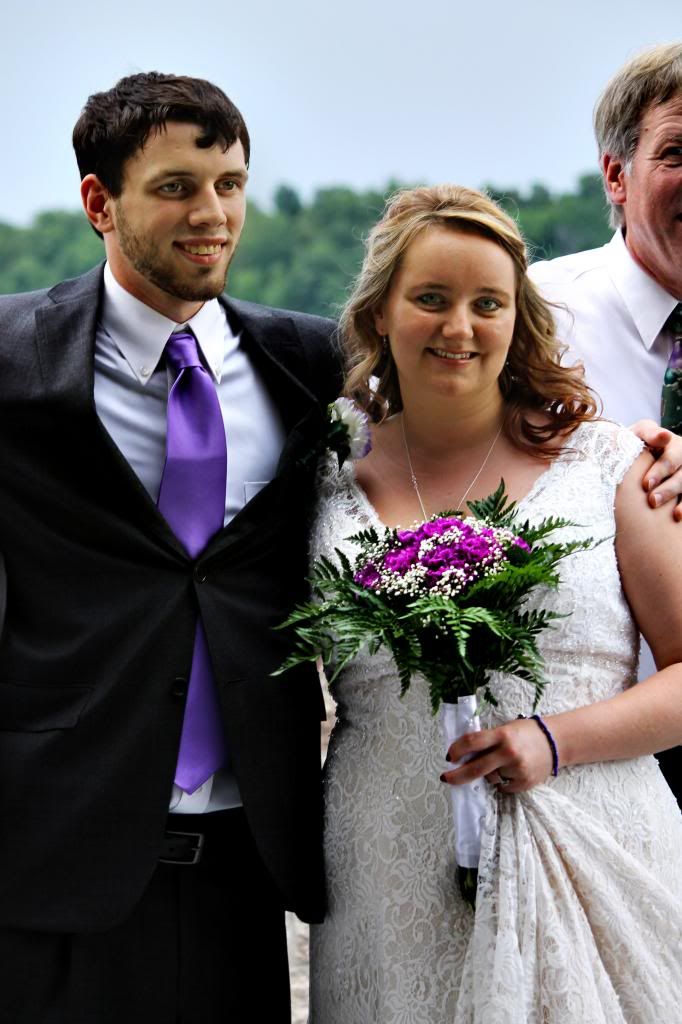
Since I was maid of honor, I did not have a whole lot of opportunities to take photos of the beautiful bride and groom, as I was in a lot of the photos. However, I did manage to snap a few.

 
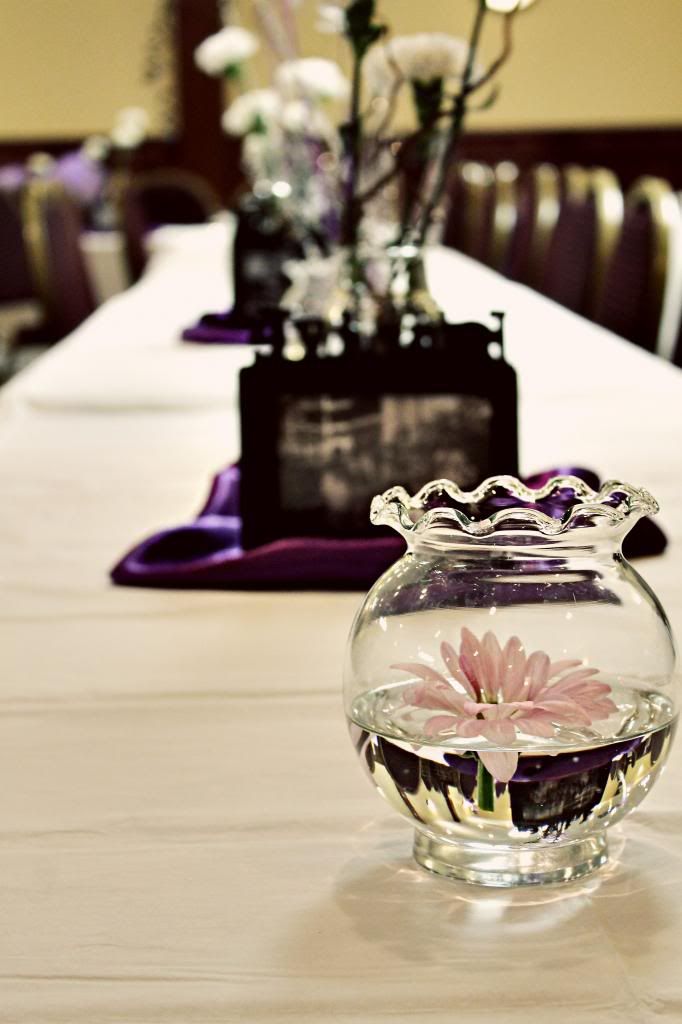
We arrived the day before the wedding, and decked out the reception hall.


Addie was beautiful in her white dress with lace detailing.

The grey clouds really helped with the pictures as they blocked the direct sunlight, giving rather a more diffuse glow.


I loved the purple accents in her hair, as they matched her bouquet.


The ceremony was at a nature center and out on the deck overlooking the dam.


The wedding craziness has been why it has been so long since my last post! Now that all the planning, crafting, and general chaos has passed, I have time to do some crafting projects I've been wanting to try. I just started a t-shirt DIY this afternoon....stay tuned to see how it turns out! (fingers crossed it does turn out...)

Thanks as always, for reading!

Saturday, July 13, 2013

Flower Baskets


I thought I was done posting about weddings. It seems like I was done posting about anything, considering how long it took me to write this post!

Regardless (irregardless? does anyone really know the difference?) we did this easy flower basket craft that I wanted to show you guys. It's simple, beautiful, and cheap. All it takes is a little time.

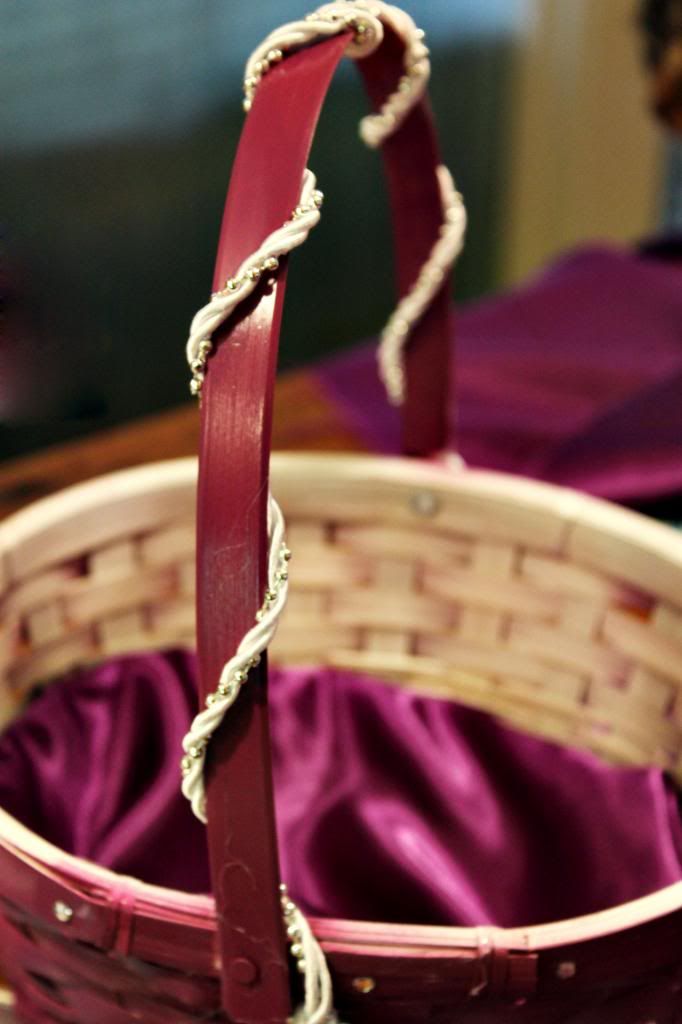
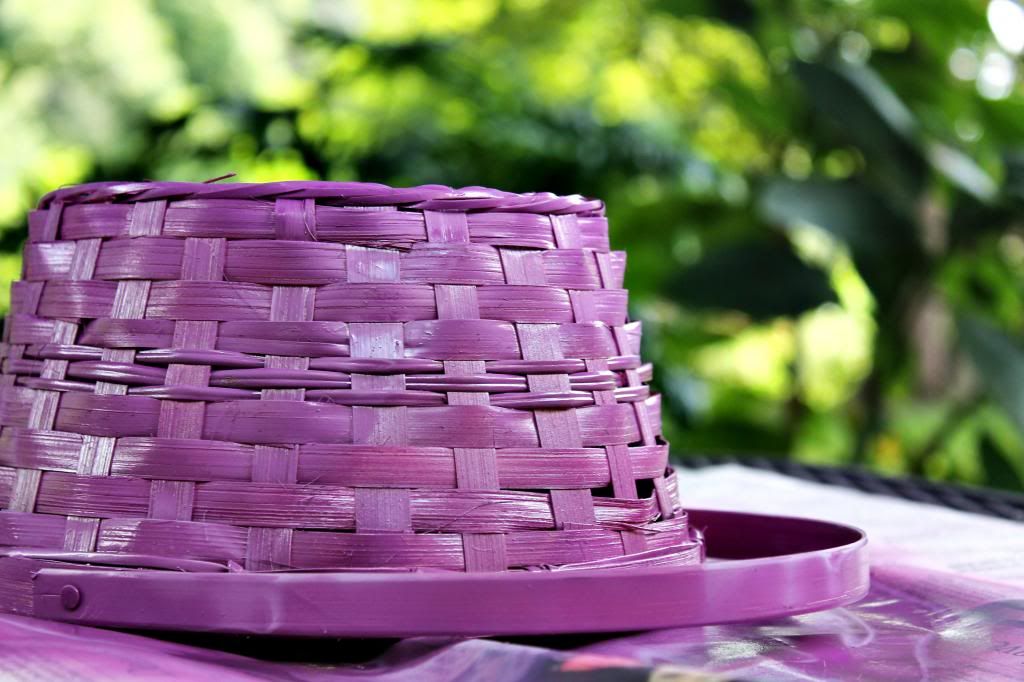
Final product:


My future sister-in-law's (or as the french say, ma belle soeur which literally means my beautiful sister) colors for the upcoming wedding are black, white, and purple. For a splash of color, we used purple and white to decorate the flower girls' baskets. 

Materials:

  • Wooden baskets, $1 at Dollar Tree
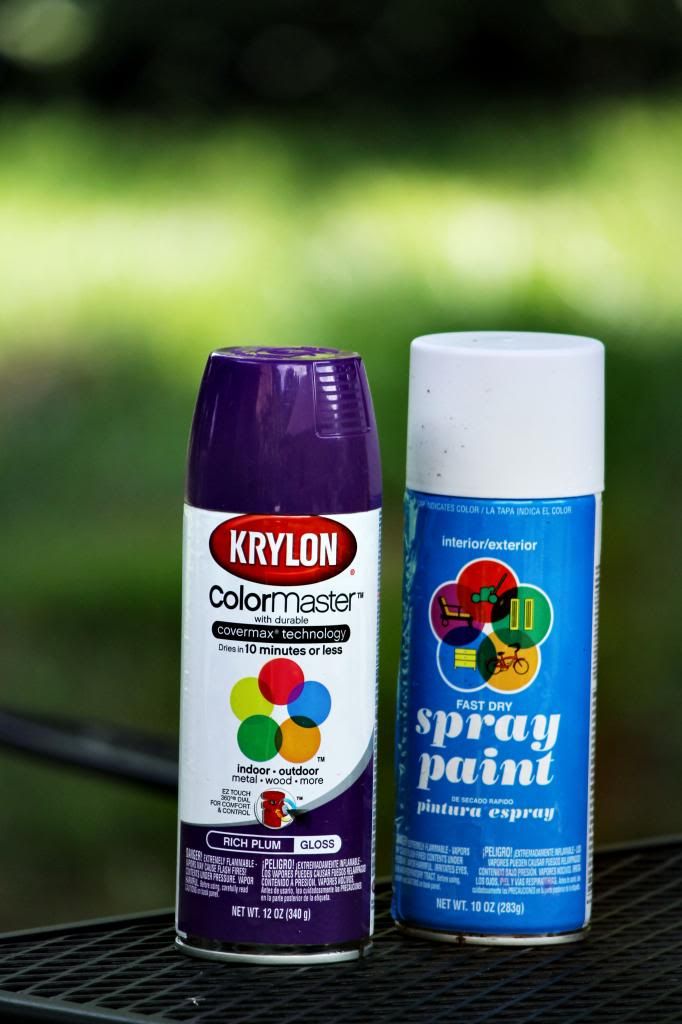
  •  One can of purple spray paint,$3 at Walmart
  • One can of white spray paint, $0.97 at Walmart
  • Small fake gems, (on clearance) $2 for 200 of them
  • Cord, $2.40 at Hobby Lobby (40% coupon!); we didn't use all of it
  • Purple satin,$0.50, 1/4 of a yard from Walmart
Step One:
 
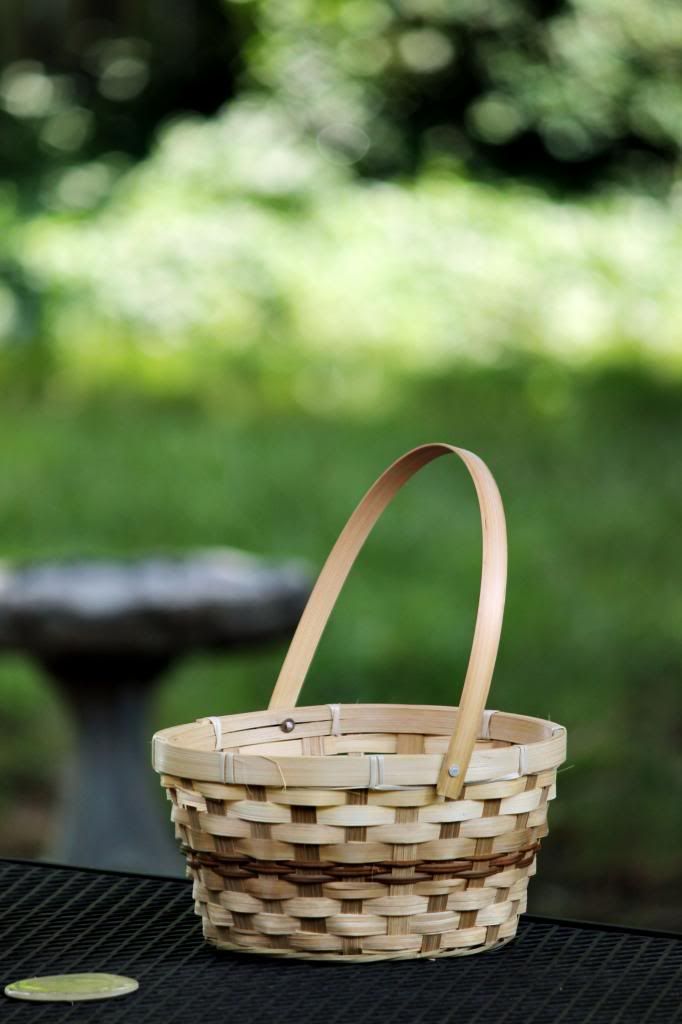
I am LOVING this new lens! Beautifully blurry background brought to you by my new lens :)
This basket is pretty simple to decorate. First, spray the outside of the basket with the purple paint.


 I sprayed the handle as well. What you can also do is start from the inside and paint the inside first, then the outside. I started with the outside for both of the baskets and it turned out fine.


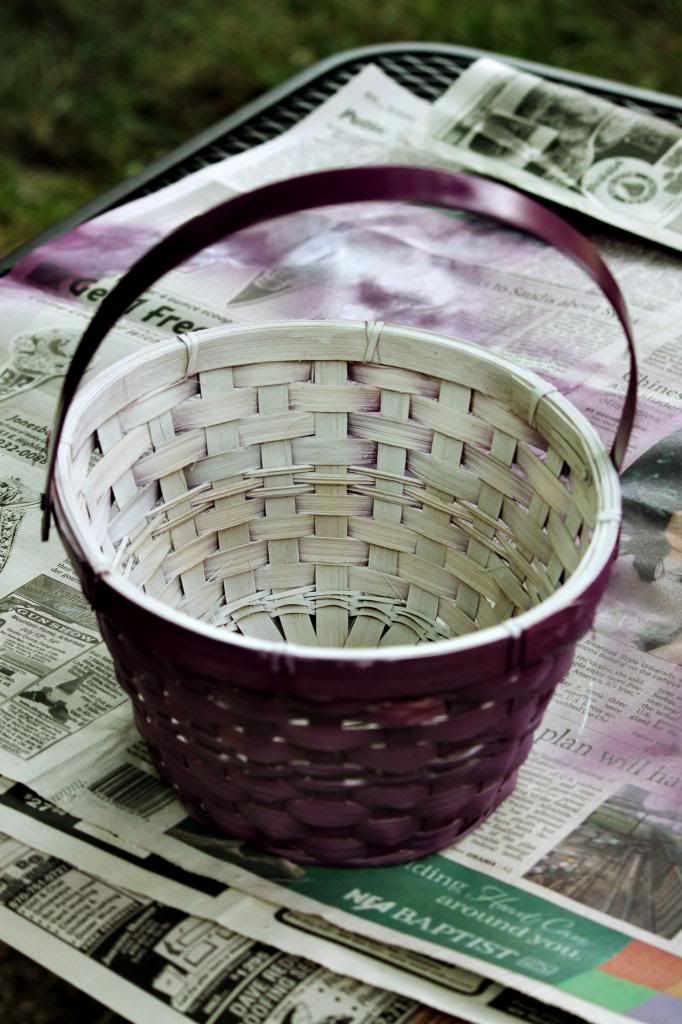
Step Two:

Next up is the inside! I gave this a slightly thinner coat of spray paint. The white might bled through to the outside, just use your purple paint for any touch-ups.
One trick to get the most out of your spray paint cans is to turn them upside down and press the nozzle when you are done with painting. Keep the nozzle depressed until nothing but clear air comes out. This will keep your spray paint cans from clogging up. 

Step Three:

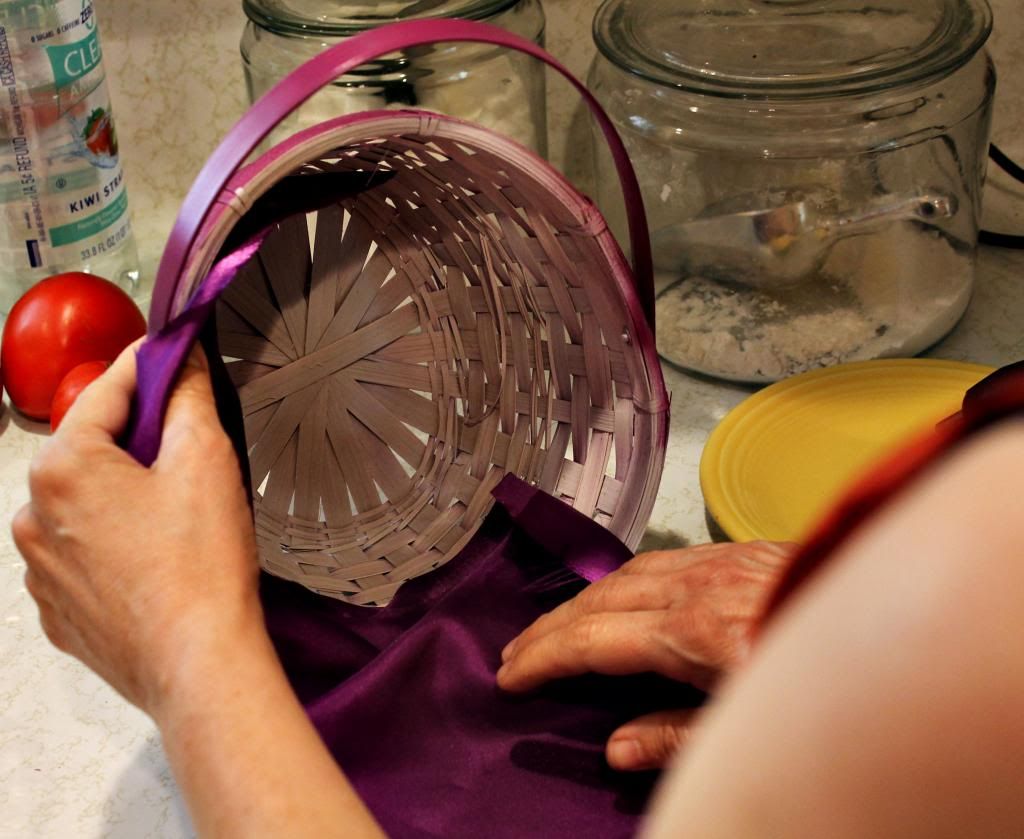
Now for the satin! Cut out a circle a little bigger than the inside of your basket. Now turn the satin so that the non-shiny side is facing you and hot glue part of that circle to the inside of your basket. Flip the satin over, so that the shiny side is facing up, and finish gluing it down. You don't have to glue the satin down, we just didn't want the flower girls to accidentally pull out the satin when they eagerly reached down for the petals. 


Step Four:

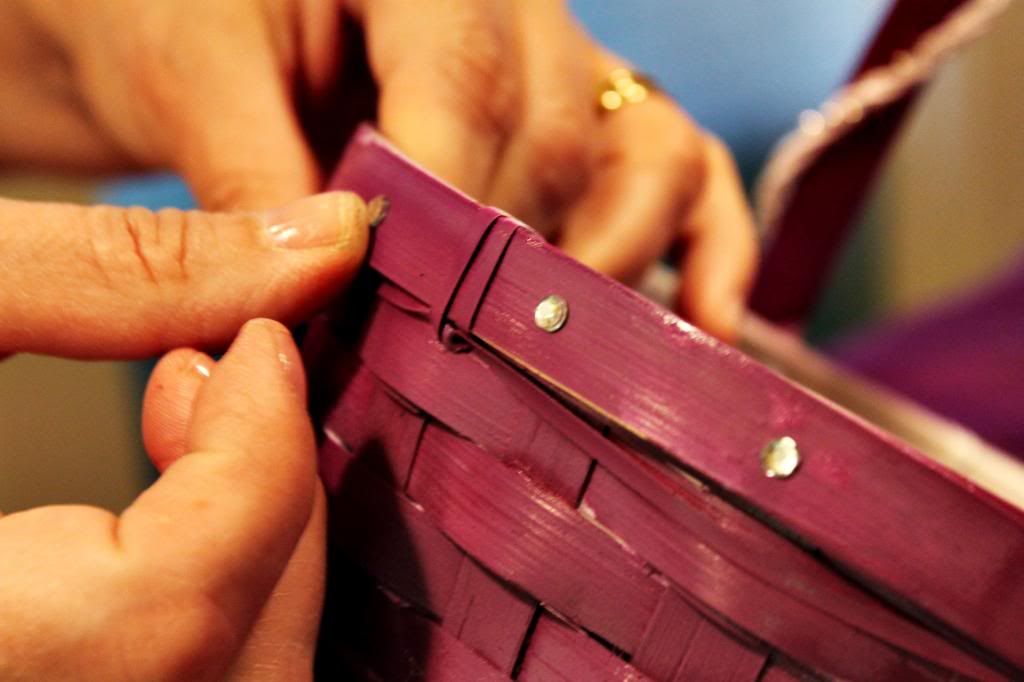
Now, for the finishing touches! We had enough little rhinestones to bedazzle everything in our house. They were irritatingly small, with a equally small slip of paper on their backs that you had to peel off to revel the adhesive. We put them on the rim of the basket. 


Step Five:

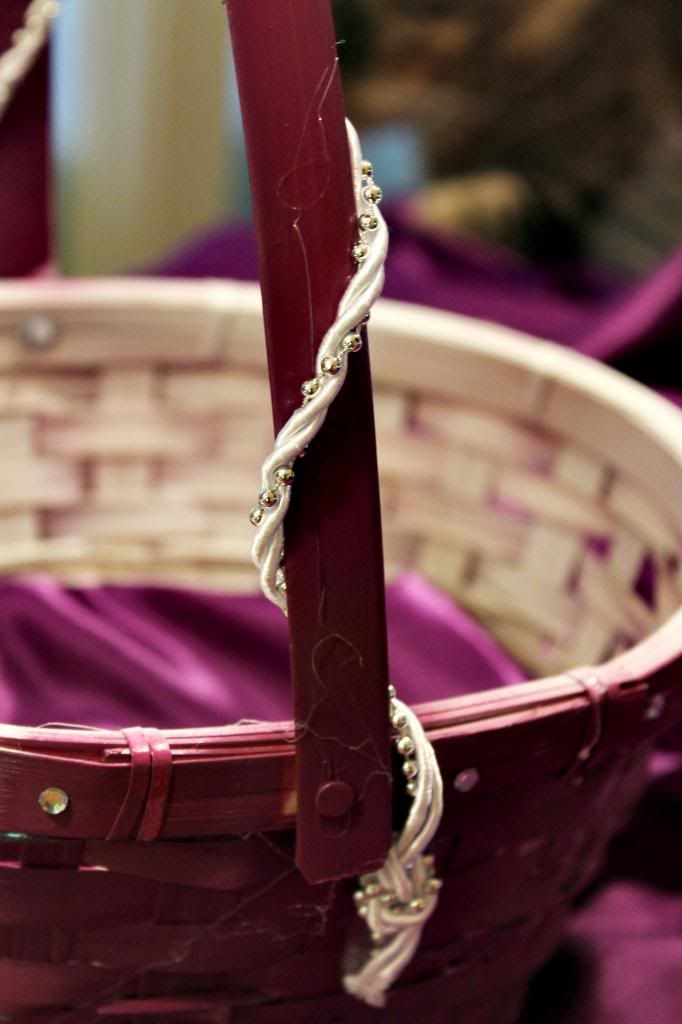
Next, we wound the cord around the handle of the basket, using hot glue to attach it. We actually had this cord lying around-- my senior year at prom I decided I should make my own headband. Let's just say that this use of the cord turned out better ;)
Et, volia! A simple, personalized, flower girl's basket! Everything but the one dollar basket we had a lot left of-- enough to make plenty more baskets. 

Thanks for reading!

Wednesday, July 3, 2013

Bliss on a Budget

Matrimonial bliss, that is.

((Yes, I thought I was witty. No, no one else agreed. Story of my life ;))

In a few short weeks my brother is tying the knot, and my family is drawing on the creative inspiration from Pinterest to throw a beautiful wedding without breaking the budget.

Which brings me to my first (last?) wedding decorating DIY tutorial! ((See, 'bliss on a budget' was much catchy-er than 'an easy tutorial on wedding decorating for the budget limited person'))

Our major area for decorating is the reception tables. Oodles of fresh flowers may be beautiful, but can get crazy expensive in a heartbeat. Besides, how personalized is a vase of flowers? Not very!

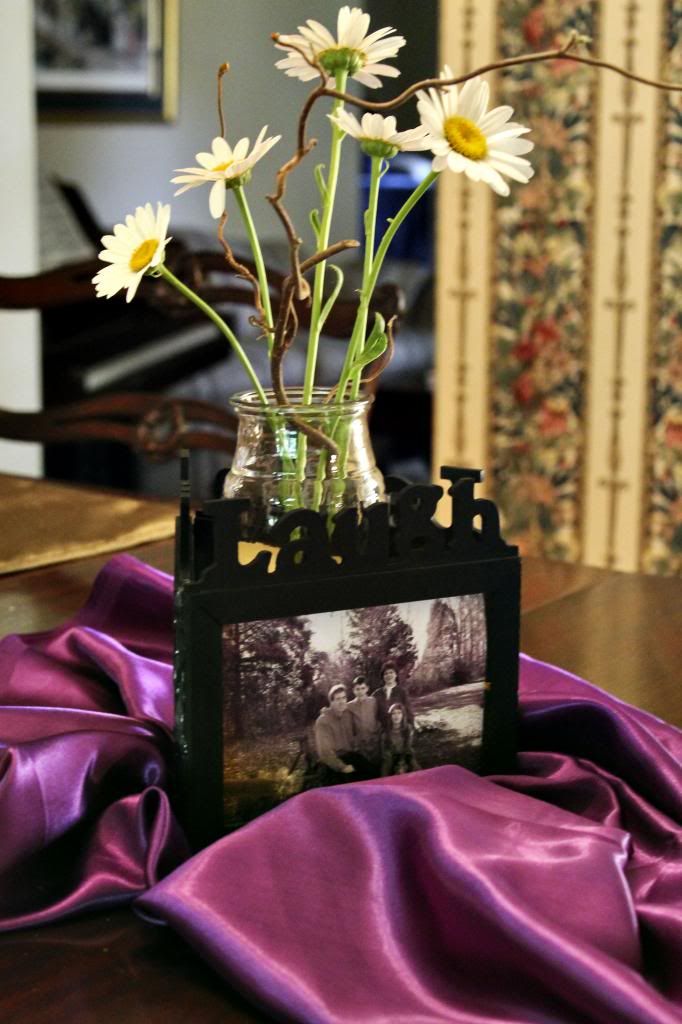
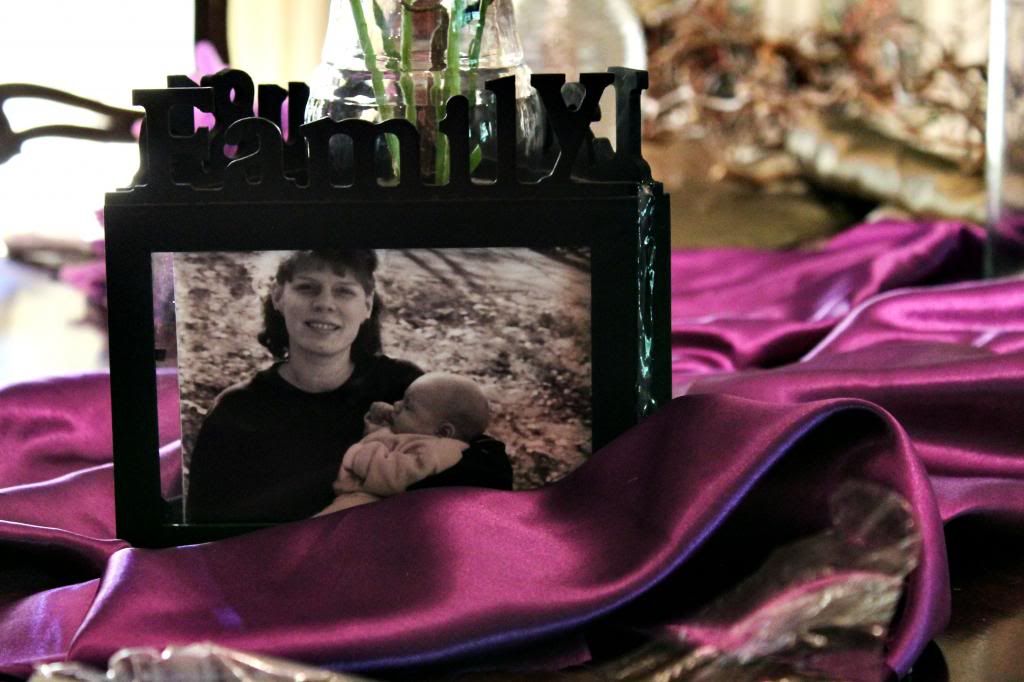
However, for a fraction of the cost of a huge bouquet of flowers, you can make your own, beautifully personalized centerpieces! I thought I would show you the final product and then go through the easy steps to make it.


WHAT YOU NEED:

Picture frames: $1 a piece ((Dollar Tree))

Vase: $1 ((Dollar Tree))

L.E.D flickering light: $0.62 a piece ($0.37 with a 40% Hobby Lobby coupon!)

Pictures: $0.19 a piece ((Wal-mart, one hour)

Flowers: Free ((from our yard))

Fabric: $0.50 ((1/4 yard of fabric from Hobby Lobby))

STEP ONE:

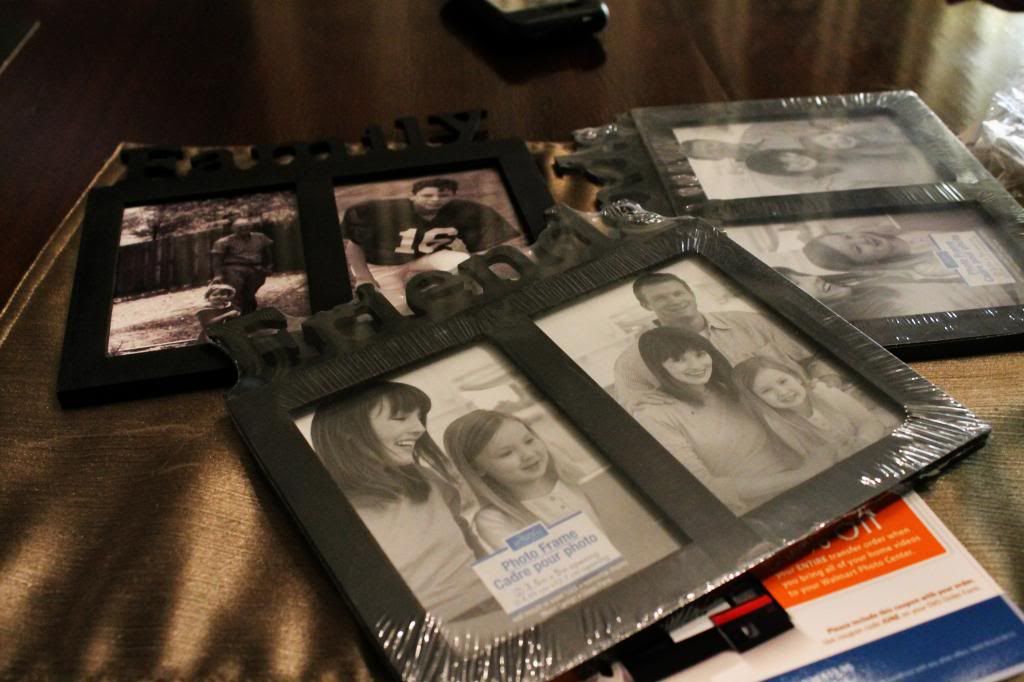
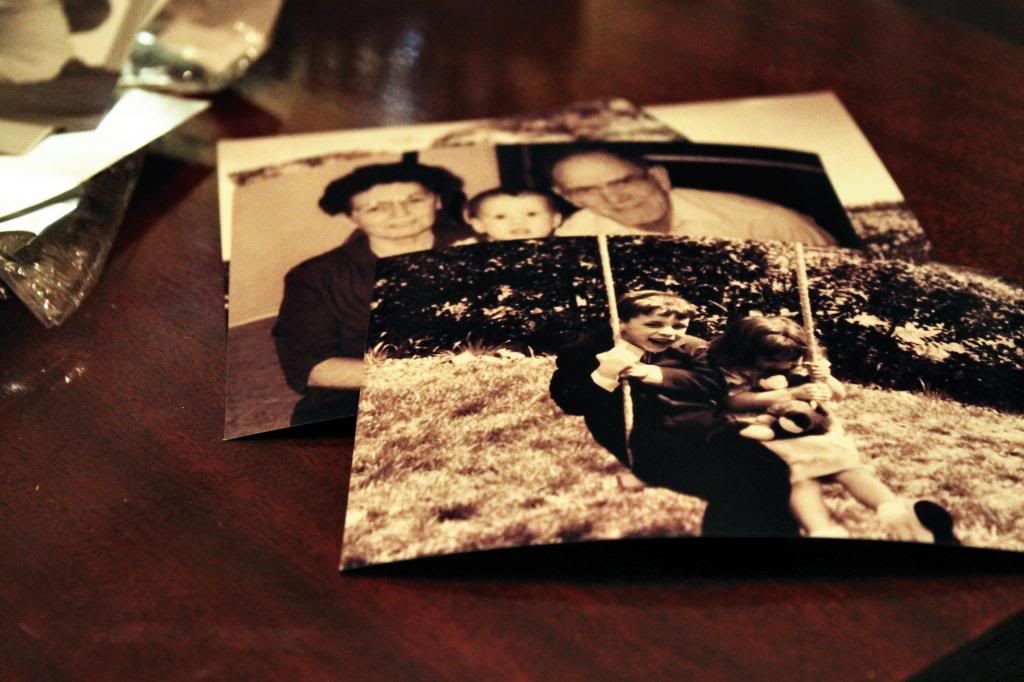
Pick out three picture frames. The ones we found  were one size for the landscape photos and a different size for the portrait orientation. So when we put them together, they had to be either all landscape or all portrait. Also, print out your photos. We did all of ours in black and white and that worked well. You could probably do the photos in color but because of the way they are lit, I think black and white work better.


STEP TWO:

Take the backs off of the picture frames. This will allow the light from the L.E.D. fake candle to illuminate the photos. Slip your photos in, using the clips to hold them in place; you can also use a little tape.


STEP THREE:

 Set your frames up so that ends are touching. Make sure, before you glue anything, that all three frames fit together to make a nice triangle. It's easy to make your first angle too obtuse for the third frame to fit.


Once you are sure everything will fit, start gluing your frames together, starting with one seam and moving on to the next. Hot glue worked well when we did this.

STEP FOUR:

Get your L.E.D light! These little puppies are called tea lights, and mimic the look of a small candle without the whole burning-down-the-reception threat.


Simply drop the light down in the middle of your photo triangle.


STEP FIVE:

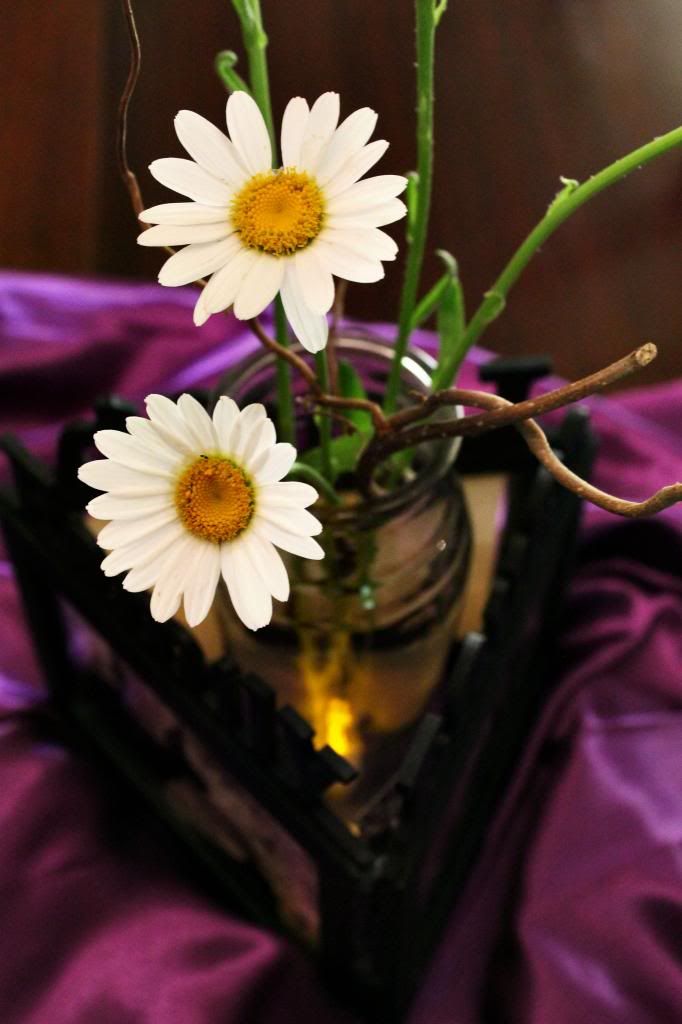
Find a smallish glass vase that will fit in the middle of your frames next to the light. We cut some flowers from the yard and grabbed some interesting looking sticks to put in the vase.


Et, volia! You have a personalized, beautiful center piece that won't break the budget! 


Thanks for reading!