Monday, August 31, 2015

A Tale of Two Graduates : What You Need to Know About Me

Check out Dave's first post here!

And the award for the longest title goes to me!

A couple of weeks ago, my friend Dave eagerly approached me with this idea of a joint blog series where we depict two paths which diverge after college graduation. Him, entering the workforce. Me, entering graduate school.

The hopes are to provide dubious advice by telling our story, our attempt to enter the real world-- or perhaps just to entertain you. But before that can happen, you need a little backstory! And since Dave seems intent of drudging up bad photos from freshman year, that's where I'll start.


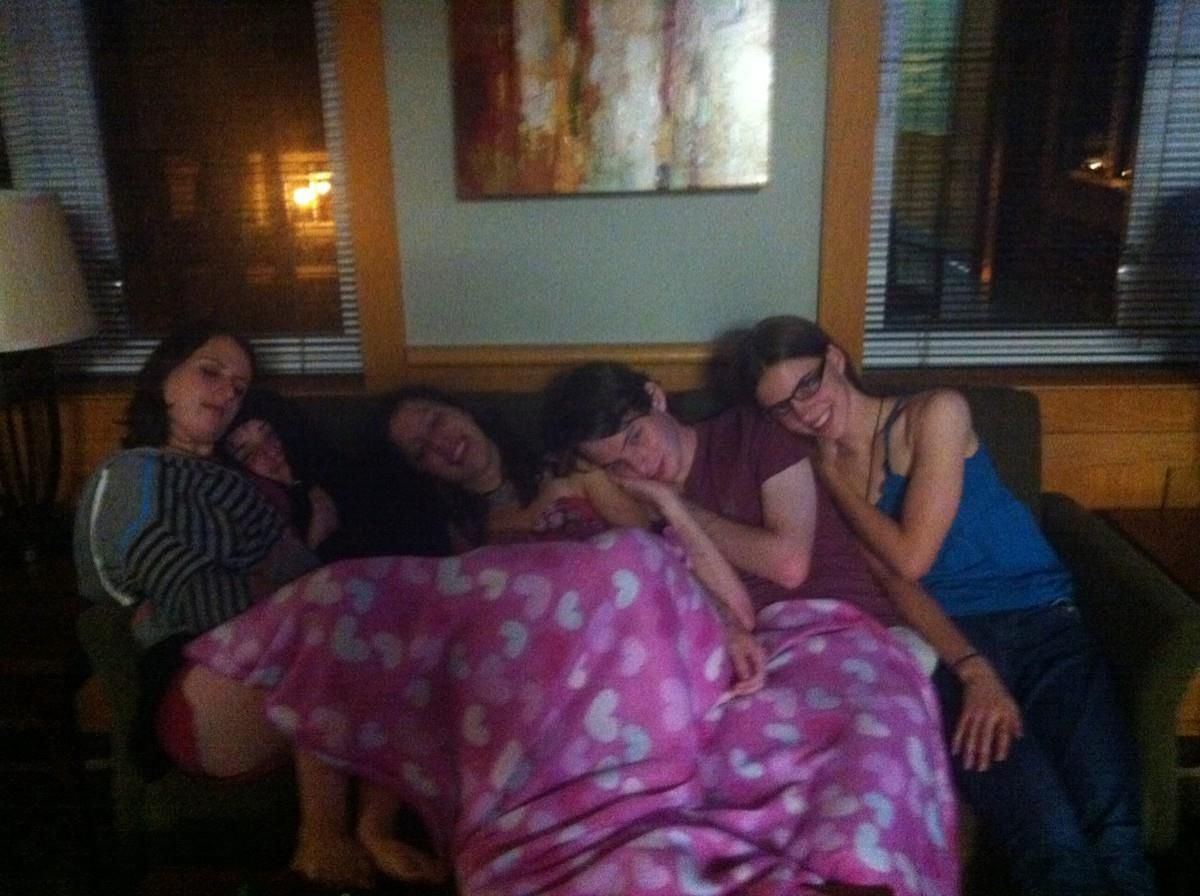
((I actually have a whole treasure trove of worse photos but I'll be nice and just leave you with this Dr. Who watching party :))

Dave and I met pretty early on freshman year. From day one, we were confident in what we wanted to do. I wanted to get a bachelors in physics, minoring in French, and then go on to graduate school (for astrophysics at the time), and Dave wanted to get a bachelors in history.

Why physics?

I was tempted to cut and paste my personal letter from my graduate school applications where I addressed that same question but I think I'll just sum it up in two words: Star Trek. I was introduced to Star Trek when I was in middle school and quickly became enamored with their romantic portrayal of space and science. I decided I wanted to go into astrophysics-- a title I stumbled across on Wikipedia. I wasn't entire sure what 'physics' was, but I knew that I needed to get a degree in it first, before I could move on to astrophysics.

And that's pretty much how I found myself at my first physics class on the first day of classes at Hendrix. I wasn't entirely sure what I had signed up for, but I knew I wanted to major in physics.

Luckily for me, I loved physics! Literally I was sitting in a general physics lab (background: aka known as some of the most boring labs) timing a ball dropping from a height and I was so taken with the determinism of it all. Give me enough parameters and I could tell you exactly when the ball was going to hit the ground, without actually dropping the ball-- and that, oddly enough, was what made me believe that maybe this whole physics major thing would work out.

A year later I was in yet another lab (background: these were the really cool labs) measuring the charge of an electron, a fundamental property of the universe. I was definitely hooked. :)

My Plan

So, four years and one degree down, I find myself studying at the University of Missouri on a five-year track to get both a master's and a PhD in physics. Now, if we look briefly at the financial side of my plan, I'll tell you straight up that I've been incredibly lucky.

Since I'm from Arkansas, I received some really awesome scholarships if I went to college instate (which I did). Paired with some generous donors at Hendrix meant that I got out of undergraduate debt free (I know! I'm very lucky).

In most physics graduate programs you work for the university while studying, and they pay you. This means that I'll be teaching three intro physics labs this semester and in return will be paid enough to cover my expenses (and hopefully put a little into savings!). Not all graduate programs have such a generous stipend. Some graduate programs have you teaching actual classes (like English 101) while a grad student which to me just sounds crazy. I'm not at all ready to teach general physics to undergraduates!

That's it!

That's me! The major challenges I have up a head are mainly in the realm of time managment; with three courses to keep up with (which is a challenge!), and three labs to teach, making time to keep sane/do laundry will be interesting!

Thanks so much for checking this out! Dave and I will (hopefully) put out a new post every Monday so check his blog next Monday and then come back here the following Monday to hear more!


Friday, August 7, 2015

An Upcycled Loveseat

Next up on my search for furniture was a loveseat. My apartment isn't the largest, so I opted for a smaller loveseat rather than a couch. At first, I figured this was something that I would just have to buy new. After all, loveseats from the thrift store conjure up all sorts of bad imagery.

However, after seeing the price of loveseats today, I decided to consider a secondhand loveseat. The cheapest loveseat I could find new was around 350-- and I didn't love it, just the price.

But where could I find a decent, clean, affordable loveseat? A co-worker recently raved to my mother about this thrift store she had found in a nearby town. She got some great pieces for even better prices, so we headed to check it out.

And we hit jackpot. My entire apartment was like 80% furnished by this one thrift store (or antique mall; I use the words interchangeably, though I know for some people they mean very different things. This place was clean and organized (not like a thrift store) and had quality pieces (like an antique mall) but for thrift store prices (see my confusion?)).

I found this adorable loveseat tucked away by the front window. It was small-- two cushions wide rather than three-- but lovely. It had a yellowish cream damask fabric that I wasn't loving, but it was for the most part clean and without stains. The cute wood feet hinted at the age of the loveseat.


I plopped down on the loveseat and promptly found my first problem-- it needed a new cushion; it had so much give I figured the cushion was just shot. Also, the fabric wasn't the color or pattern (or century) that I wanted and reupholstering isn't cheap. I figured it was a lost cause until I saw the price. 86 dollars!

86 was a steal for the loveseat. It was in great condition (no smell and only one small stain), even with the thin cushion. If I needed to, I could've used it as is. But with that price, I had room in my budget to update it and still come in less than a new loveseat.

Here's where I lucked out-- my father knows a guy. He owns an upholstery shop called Trumann's Upholstery in Bay, Arkansas. Trumann is small town and Bay is an even smaller town, barely a wide spot in the road, near mine. It's a rundown old white brick building with absolutely no signs anywhere. Every time we drive there we're leaving Bay before we realize we missed it.

Bubby (that's his name. For real. It's great) has been in the upholstery business nearly his whole life-- and if you stop by you're guaranteed to hear at least a part of his story. Most likely he'll start in the middle and leave you trying to puzzle the stories together. The shop itself must break every fire code ever written. The front portion has every square foot covered with the bones of old furniture and dusty fabric to the point that you can't even walk in. Instead you have to go to the unmarked white door to the workshop and walk in. The workshop isn't much better-- there is a thin path, one person wide, carved out between work stations and projects.

He also doesn't really quote prices, he just assures you it won't be much (and it never is!). When we brought the loveseat to him we still didn't have fabric. Upholstery fabric can run 20 a yard and we didn't know how many yards we would need. Bubby was able to tell us the age of our loveseat-- it was made either in the 1940s or 1950s, judging from the way it was constructed. Also, that cushion I thought need to be replaced? It was down feathers! This loveseat was quite fancy back in its day-- instead of a foam cushion, they had a large pillow that was full of down feathers.

Bubby estimated it would take 8 yards of fabric-- which is also how he prices the work. The work he estimated would run around $240, still making the loveseat less than the new ones (which are found in big box stores that mostly certain do not have the history mine has;)). I explained how I was looking for some neutral color, not too dark, but not light enough to show stains. He dug around in his shop and pulled out a huge bolt of light green/grey fabric, which he graciously threw in for free. ((Perks of knowing the right guy!))

This brought my loveseat up to 326, all in. Bubby added a zipper to the main cushion, stuffed it with some batting to make it super comfy, made arm covers, and made two little pillows, as I had mentioned wanting some.


It turned out great! The new fabric is gorgeous and it looked great. Not only that, but the extra batting in the cushion makes it perfectly comfortable. It'll look great in my apartment. :)

I originally titled this post "DIY loveseat" but then I realized I didn't do really anything-- I had a professional do it instead. Seat cushions are one thing-- an entire loveseat is way out of my crafting league.

Anyway, just wanted to share my story! Apparently it is possible to shop for couches at the thrift store and not end up with a smelly/stained/awful mess.

Thanks for reading!

Wednesday, August 5, 2015

DIY: Upcycled Thrift Store Chairs

This summer I've been browsing through flea markets, searching antique malls, and hitting up local thrift stores all in search of apartment furnishings. There are plenty of old tables out there, but most of them don't come with chairs decked out in the most modern fabrics.  

My parents found this old wood dinning table with four chairs for a great price. The only problem was the seat fabric wasn't really what I wanted for my apartment.

 As you can see the fabric isn't really bad, it's just a little outdated and not the color I was looking for. As I'm living in what's technically a 'basement' apartment I'm trying to bring in bright colors whenever I can.

This type of chair is the easiest type of chair to recover. The seat, after a little unscrewing, just pops off, allowing you to strip the fabric and staple on the new.

Which is exactly what we planned on doing! To pick out my fabric, I headed to Hancock's Fabric, armed with a 50% one fabric item coupon. Turned out I didn't need it. I perused the clearance rack and stumbled upon a couple yards of fabric that I thought would be just right.

And for 5 dollars a yard, it was a steal! Most upholstery fabric retails for closer to 20 a yard. There was four yards in the clearance section-- which was more than enough for the four chairs.


I thought if I covered the chairs with this, I could go back and do bright yellow/blue pillows on my couch for even more color.

Now comes the fun part!

Step One:

Unscrew the seat. There should be four screws, one in each corner. Once they are out, the seat will just pop right off. 


Step Two:

Strip the old fabric off. Most likely it was stapled onto the seat, so just pull the staples off and the fabric should fall off as well. This isn't a necessary step-- you could leave the old fabric on and use that as a little extra cushion.

Step Three:


If desired, add more more cushion to the chair. You can do this by buying some batting at a fabric store, then using the seat to cut it to size. Make sure to cut it large enough that you can wrap it around the back of the seat in order to staple it.

Using a staple gun, staple along the edge to adhere the batting. Then, fold the corners and staple them down as well. The corners require a little trial and error to figure out which fold works best.

One way to fold the corner is to pull the sides in, leaving a top flap, and then pulling the top flap down, stapling it, and then cutting any excess off.

[[As a side note, my first assignment in computer science 101 last fall was to write down how to fold an origami owl using only words. I thought it was an interesting assignment-- I got style points for my LOTR reference, but when my roommate tried to follow my directions, the resulting blob of paper looked more like a mishapened creature of the dark rather than a cute owl. This flashback brought to you by the batting description ;)]]

Step Four:

Next up, the fabric! You're going to do the same procedure as with the batting-- use the seat to trace out how much fabric to cut, allowing a good 3 or more inches on either side to pull over. Once you've done one seat, you'll see how much excess you really need. For the first seat be sure to err on the side of caution and cut out a large square of fabric.


Note: Be sure not to cover up the screw holes in the bottom of the seat with your new fabric. If you accidentally do, then just take scissors and dig the holes out so that you can properly reattach the seat.

Step Five:

Now, just pop your seat back onto the chair and screw it back in. You're done! You've transformed a dusty old chair into a hip new one. 


((I'll post a close up later when I got home! I'm blogging from the road today and this is the only 'after' photo I could find)) 

EDIT: here you go!


As always, thanks for reading! And be sure to stay tuned-- I have some fun posts coming up including more up cycled furniture and possibly a collaboration!