Tuesday, January 29, 2013

Sushi on a Student Budget

Last Saturday night some friends and I got together with the intent of making dinner.

Our dish of choice?

Sushi!

Seaweed!
Sushi sounds pretty extravagant, especially for four broke college students. NĂ©anmoins! When you make it yourself, it actually is pretty cheap. And delicious.

Ingredients:
  • 1 Avocado
  • 1 Cucumber
  • Drop of lemon juice
  • 8 (ish) seaweed pieces
  • 1 package (ish) of imitation crab (because we aren't stupid and didn't want to die of eating raw fish in Arkansas)
  • 1/2 package of cream cheese
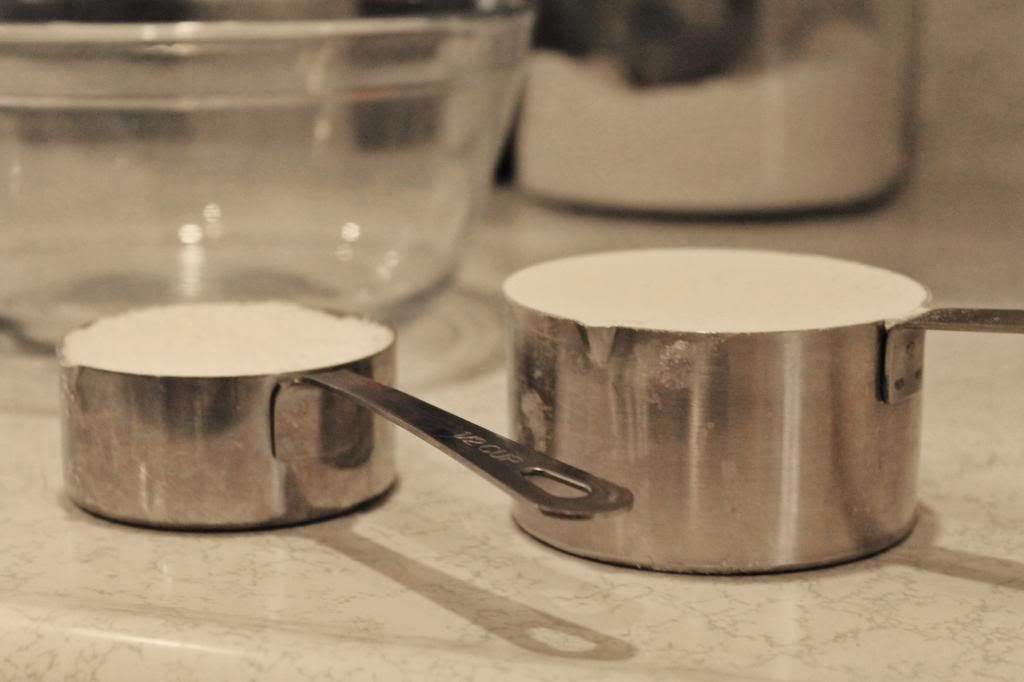
  • 8 cups or so of rice
  • tablespoon of rice vinegar
  • tablespoon of soy sauce
  • a placemat
  • sharp knife
For roughly 10 dollars the four of us made plenty of sushi for dinner-- cheap, and as it turned out, delicious!

I'm not normally a sushi fan. After all, raw fish?? No thanks. I always felt uncultured, but I would rather just have steak (or really any other piece of cooked meat). However, these rolls really changed my opinion of sushi as a whole.

We made vegetable and California rolls. For those of you who don't know (me before Saturday night), California rolls are where the rice is on the outside, and there isn't any raw fish, only delicious imitation crab! Once again, I am grateful for my cheap tastes.


We began by washing the rice.

Or rather, Dave washed rice while Blair and I caught up on Game of Thrones (an amazing series I just got hooked on). For sushi, you need to wash all the starch off the rice-- and often tedious procedure.

Once the rice was properly washed, we stuck it in the rice cooker. When it was done we put it in the fridge and got all of our vegetables ready. We had opted to use avocado and cucumber but there are a lot of other combinations out there. For the meat eaters among us, we grabbed a package of imitation crab meat-- which my friend and I can eat straight out of the bag.

Taking the rice, we sprinkled some lemon juice and rice vinegar on it to instill magic sushi properties in it. Or something to that effect.  


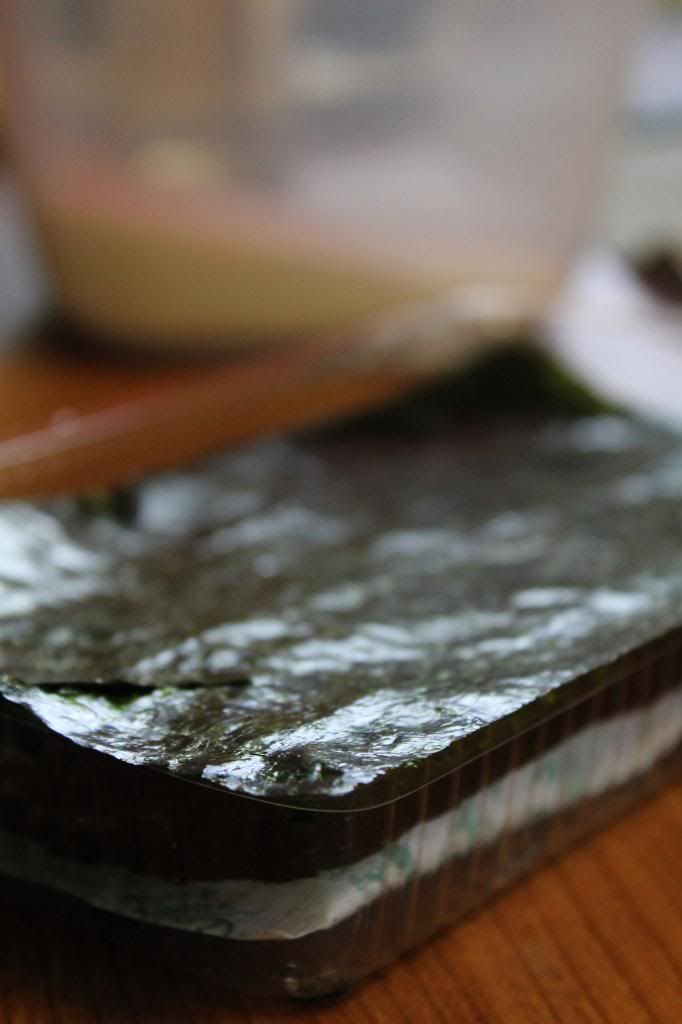
Next, we spread the rice out onto our rectangle of seaweed. The rice was very sticky, and had no issue adhering to the seaweed.


Then we flipped the seaweed over so the rice was on the bottom, and began layering all the goodies onto it. Trying our best not to overstuff the roll, we carefully lined up thin slices of the vegetables and chunks of the fish. We tried a variety of combinations with our ingredients, but my favorite was imitation crab meat + cream cheese + cucumber.

We took our placemat (and yes, for the record you are supposed to use a bamboo rolling mat. Conway apparently does not sell bamboo rolling mats. So we just used a placemat) and rolled the seaweed-- a nerve racking step.


It was pretty dark in the room (for a camera) and I was using like 6400 ISO (which is really high for you non camera people). I still took far too many photos to put on here ;) The sushi was just so photogenic!


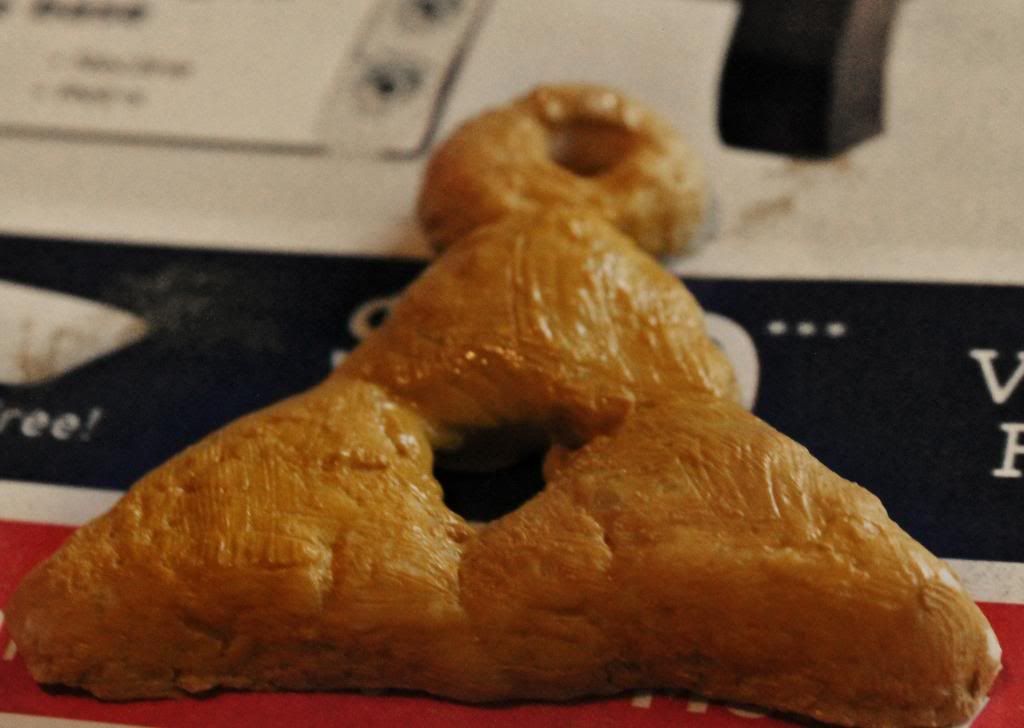
Then we took our sharp knife and sliced the roll into little disks.


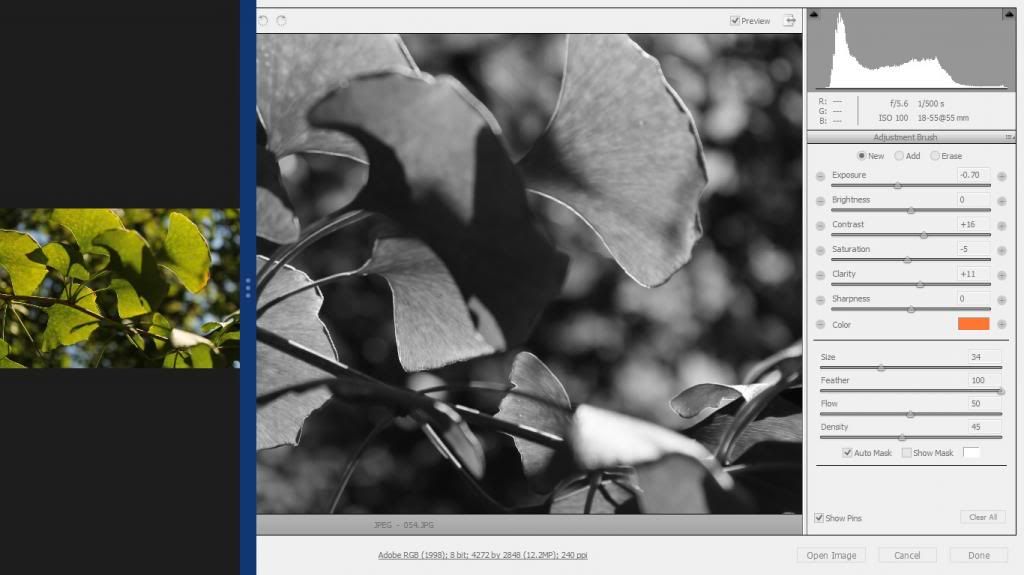
Editing these pictures has forced me to learn some new tricks in editing food photos-- something I don't do as often as editing nature photos. I should post another Photoshop tutorial sometime. In my copious amounts of free time I have as a Physics major. Ha.


Those are certainly not the only photos I took, but the only photos I had time to edit.

In total we must have made like eight rolls-- each of us getting our fill of sushi. All in all it was a pretty cheap dinner, a great idea for a Saturday night.

After dinner, we headed to a concert being held on campus. They were the Punch Brothers-- I hadn't heard of them, but they were a pretty good folk/Mumford and sons-esque band.

Yeah, I couldn't see much.

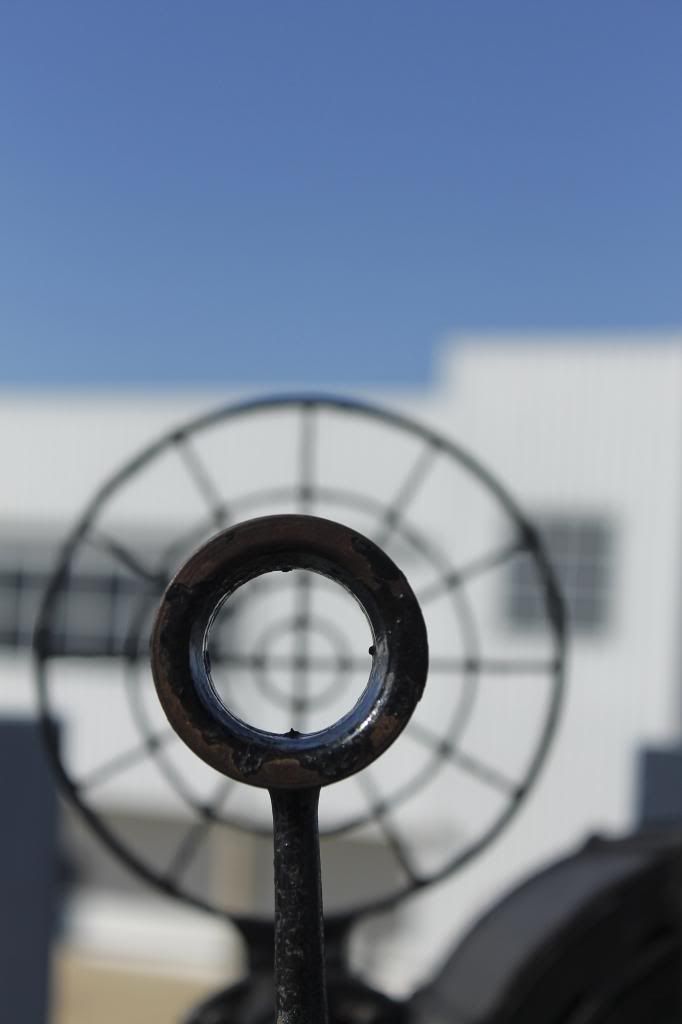
On an unrelated note, look at my new telescope!
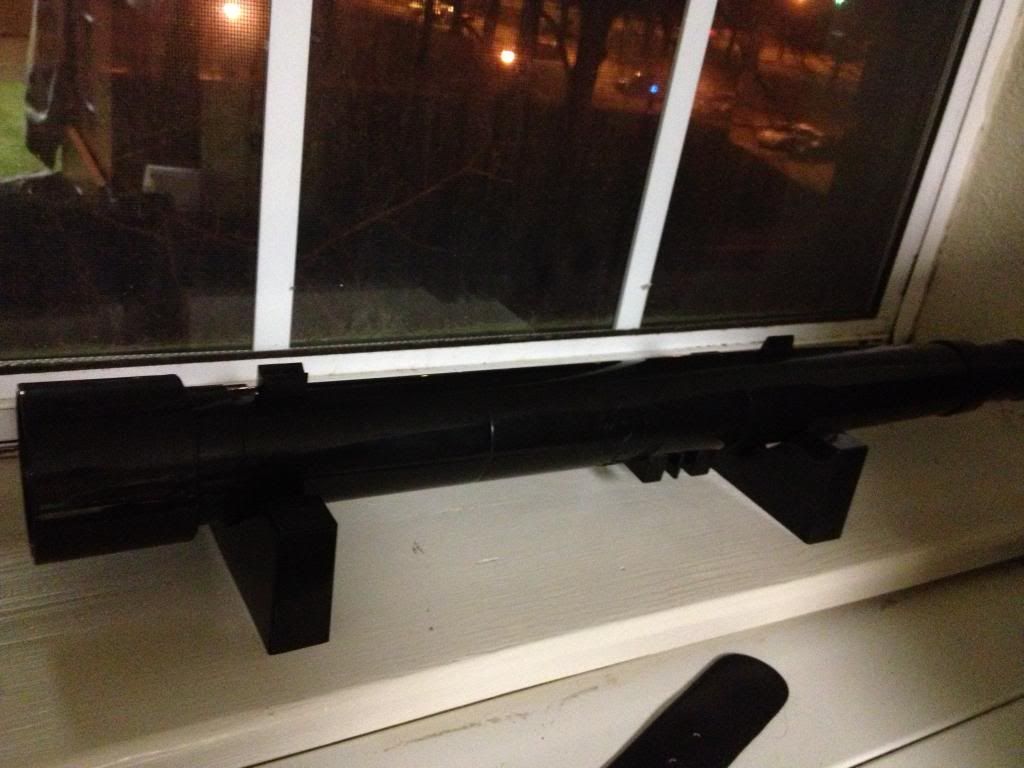
His name is Legolas
Long story short, I have amazing friends. A girl from my school won this at the raffle at the Physics conference. My friend then traded her gift card with this girl for the telescope, and then gave the telescope to me, because she knew how much I wanted it.

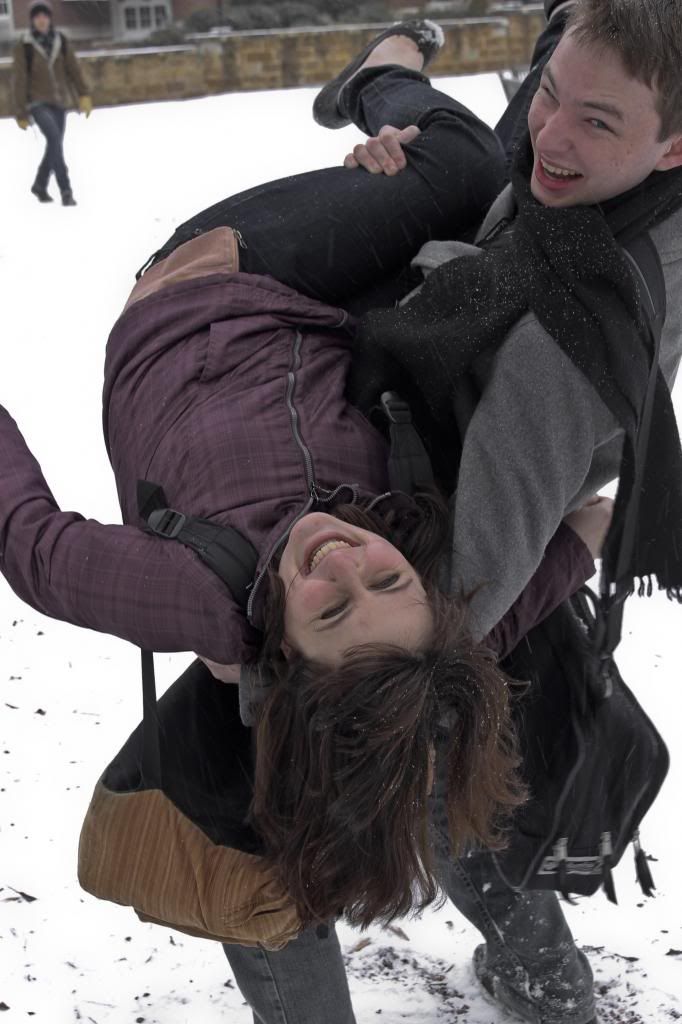
Yup, amazing friends. :)

Side note, it may look all spiffy, but I think I put it together wrong...you can't see anything out it....hopefully I'll have time this weekend to take it apart and figure out how to make it work.

Anyway! It has been a while since my last post-- thank you insanely busy sophomore year.

Thanks for reading :)


Tuesday, January 22, 2013

Phantasically Physics

The physics conference, that is!

Last Friday at the awful hour of seven in the morning, we all piled into one huge van and headed to the Southern Undergraduate Women in Physics conference in Austin, Texas.

A long nine hours later, we pulled into Austin, Texas.


All of the people attending the conference were put up in a nice hotel. The first night we had dinner and an amazing talk about galaxy formation in a dark universe.

Yeah. It was every bit as cool as it sounds.

Feeling Official
The weekend was jam packed with all sorts of interesting talks and panels. One panel talked about life after undergrad, and what opportunities were out there. My favorite talk discussed the Higgs-Boson and other fundamental particles.


This talk was all about statistics about job opportunities. I was surprised to find out that becoming a professor was not what the majority of people with a PhD in physics did. It was also nice to know that there were plenty of jobs to be had for every level-- from undergrad to PhD.


One dinner was held in this huge ballroom in the museum on campus. Not only was it a gorgeous room with 50-foot ceilings, the museum itself was pretty cool. We ate our food, and then went off exploring.


The entire weekend was just a lot of fun, and a good opportunity to get to know the students, and faculty, in the Physics department better.


There was an abundance of fossils in the basement we stumbled upon by accident.

Turtle!
It's crazy to think just how huge some of these animals were.

Sunday afternoon we got to tour a couple labs at the university. It was really cool to see the high tech labs, even if I didn't fully understand what they were doing.

Anyway! The semester has officially started, and the work has already started to pile up. I should probably go study for my Chem quiz.

Thanks for reading!

Thursday, January 17, 2013

Winter Wonderland

Title courtesy of my creative friend, as I hate coming up with titles.

Regardless! Tuesday morning I happened to glance out the window, only to spot dainty snowflakes drifting toward the ground. For the next half hour my roommate and I were glued to the window, squealing as the snow started to fall down harder.


It was a nice little surprise snowfall. Even though we got less than an inch, it was fun to watch.


We made up any excuse to just be outside, walking around in the frigid wind and swirling snow.


The snow was a beautiful surprise on the first day of classes.


Yes, that is like the fifth picture I have of Dave holding Blair. ;) I should do like a montage of those one of these days. As it is, I'm currently procrastinating from reading medieval French stories, and physics homework to write this post. Even with the homework, I'm excited about this semester. In Modern Physics we're learning about special relativity-- headache-inducing, yet terribly interesting-- Medieval Europe is a topic I've always been interested in, French Short Stories looks like it'll be challenging but really interesting, and Chem II is....well it's Chem II and a requirement for my major.


The Happy Couple

My beautifully photogenic roommate!
Anyway! I should probably get back to my homework, seeing how I am taking a break this afternoon to watch the Hobbit...for the second time. ;)

Thanks for reading!

Monday, January 14, 2013

USS Alabama

I'm officially back at Hendrix!

Which means that I'll have considerably less time to craft, which is sad, but c'est la vie.

What I do have time for is to post some pictures from our stay in Mobile! We went down there to watch the Red Wolves bowl game (we won!:) and stayed an extra day to see the town.

Panoramas for the win!

Our first tourist stop was the USS Alabama, a decommissioned battle ship from WWII. It was huge, and really interesting. We spent a couple hours there and I felt like we could have spent a couple more. The only drawback was that there was no guided tour, leaving us to wander the giant ship armed with only a piece of paper and colored arrows that dotted the steel walls.


I tried taking some pictures of the insides, but it was dark and none of them turned out.

On deck, however, is another story. It was a beautifully almost too bright morning, and I took some pictures of the huge guns.


This is actually the view from one of those telescope things that you have to put quarters into to work. I thought it might be interesting to take a picture through one-- it's nothing special, but I wanted to see how it would turn out.

My reflection! Everything was so blue and beautiful-- from the faded blue of the ship, to the robust blue of the sky, to the blue expanse of the bay.


We spent the rest of the day shopping at an outlet mall and headed home the next day. On our way home, we pulled over to get a better look at this beautiful derelict mansion we had driven past on our way to Alabama-- the mansion I posted about in my Photoshop tutorial.


Its front lawn was dotted with gorgeous live oaks-- lending it a classical Southern bell air.


I had some issues with overblown highlights-- it was a cloudy day, and white sky was hard to expose for. Still, I liked the pictures I ended up with.

Well I should get back to organizing! We completely redid the room, moving just about every heavy piece of furniture. It was so worth it; my bed is now at a normal height, and not six feet off the ground.

I know. I'm excited.

Thanks, as always, for stopping by! :)

Wednesday, January 9, 2013

Photoshop Tutorial

I thought I would take a brief detour from crafting to talk about a really cool Photoshop (or Bridge to more exact) technique I just learned about.

It was during the incredibly long eight hour drive back from Mobile that I was flipping through a Photoshop ebook I have on my computer and stumbled upon an interesting technique.

Let me show you a quick before and after and then I'll go into how I did it.

BEFORE:


AFTER:


As a quick side note, the house pictured is a beautiful old house falling into disrepair right off the highway outside of Mobile, Alabama. When we were driving to Mobile we briefly passed it-- getting a quick glimpse of the gorgeous mammoth live oaks that served as living columns before the house. As we were leaving Mobile, we remembered the house, and pulled onto the shoulder to get a better look. I hopped out of the car and snapped a lot of pictures of the old house. My favorite part was probably the huge live oaks in the yard. There was a tall fence that went around the house, broken up by this large iron gate.

Anyway! Back to the wonders of Photoshop.

What I Did:

Open your photo in Adobe Bridge. I'm pretty sure this program comes with Photoshop. It's main feature is Camera Raw, which allows you to quickly make minor edits to your photos and then either load them into Photoshop or save them.

Right click on your photo and open in Camera Raw.

In the main screen, drag the Saturation down to -100. This will make your photo black and white.

Next, hit 'K' or go up to the top of the screen and find the 'Adjustment Brush' icon and click it.

This gives you a brush like feature. On the right panel you have a lot of different options. I have 'Automask' selected. You can keep the color as white (which makes the color icon look like an X) and up the contrast. Then, when you use the brush, you'll be adding contrast wherever you brush.

Cool, huh?

It gets better. Go to the color icon and choose a color. When you start to brush it on, a pin (little circle icon) will appear. This icon is linked to the settings you just choose-- for example, it might be linked to a green color. If you wish to switch colors, go to the top and click 'add', then change your settings and start painting. A new pin will appear-- this one linked to your new color.

If you ever want to go back and edit a specific color, just click on the corresponding pin.


I used to cool spilt screen feature of Windows 8 to remind myself what the color picture looked like. I tried to replicate the colors that the original picture had. This doesn't produce a copy of the picture, as it'll be different from the original. I think the end result looks like recoloring an old black and white photo-- for whatever reason that's what I think when I see the results.

Anyway, for the above picture here's how it turned out :

BEFORE:


AFTER:


Here's another before and after-- the middle shot is the first screenshot I posted.

BEFORE:


AFTER:


I like this result-- it seemed to help with my almost overblown whites.

One more!

BEFORE:


AFTER:


While my favorite one is probably the very first one, I liked how the technique worked on all the photos.

Et, volia! There are a lot of other applications of the Camera Raw brush. You can keep your photo in color, and then brush on some contrast, or brush some extra blue on the sky, or warm up a photo by brushing on some golden yellow tones.

Anyway! I hope this tutorial was helpful-- the technique was definitely a new one for me.

Thanks for reading :)

Monday, January 7, 2013

Salt Dough and a Football Game

There has been a tutorial floating around Pinterest recently that I thought I would try: salt dough.

The tutorial was pretty easy.
My estimation of my own sculpting skill was pretty high.
Growing up I tried my hand at every art form—and did pretty poorly at all of them. It wasn’t until I found photography that I found some area of art that I was decent at. Sculpting was probably my shortest lived phase—tried it once or twice, my grand ideas turning into unrecognizable lumps of clay, and gave up on it.
But this tutorial sound so easy. So I thought I would give it a try. Most people, every source I found was a young mother, use this dough to make easy Christmas ornaments. It’s foolproof, and easy enough kids can help shape the dough into whatever their heart desires.

I, however, had slightly loftier goals. I wanted to use the dough to create little necklace pendants—perhaps for a late Christmas gift.

WHAT YOU NEED:

-a 1:2 ratio of salt and flour

-enough water to make it a dough

I chose to use around one cup of flour, ½ cup of salt, and probably 2/3 cup of water. The water, however, is subjective—start off with a little and see how long it takes for your flour to become dough.

Kneed all the ingredients together , et volia! You have salt dough. You can roll it out and use cookie cutters, or you can be adventurous and try to shape things by hand.

I used a pen and a ball of dough to create a place for the necklace string to go through.


I was surprised how useful a butter knife was when I was making my pendants.
Yes, that is the makings of a TARDIS :)

Birdie!


I put my clumsily created creations on a cookie sheet and set them in the 200 degree oven for ten minutes, then flipped them over and baked them for another three. It really depends how thick your ornaments/pendants/things are as to how long you should bake them. Mine were pretty small, so they didn’t take long at all. I’ve read horror stories about sticking the dough in the oven for hours, but that would have probably caused my pendants to erupt into flames and then I really would be banned from the kitchen.

Like I’ve implied, I wasn’t overly wowed by the end results—the dough puffed up slightly and had an odd, rough texture. I think I strayed a wee bit too far into the artsy side of crafting.

Triforce! For all you Zelda fans out there ;)
 

In other news, we all woke up earlyyyy this morning to leave for the Red Wolves bowl game in Mobile Alabama((side note: we won!!))! I haven’t been up this early in a long time—yay for breaks and sleeping in—and I forgot how beautiful early morning light really was.


The light glistened off the frost covered ground, bouncing up to create a beautiful golden glow.


I grabbed my old camera and took my last two exposures; I have no idea how they will all turn out, but I’m excited to send them off to be exposed. With my film finished, I grabbed my SLR and snapped a few shots before we left the house.
And now I'm off to explore the wonderful city of Mobile, Alabama!
 
Thanks for reading :)