Then I remembered an idea that I had thought of a while ago, but then put it on the backburner. For Christmas I received a beautiful new laptop. Last semester my poor laptop went through a lot of abuse as I threw it into my backpack and toted it around. I have a laptop case-- but it's large and too bulky to carry around with my backpack. I just needed a nice, little cover to protect my laptop when it was in my backpack. My friend has a beautiful Vera Bradly laptop cover-- but I didn't want to spend all my Christmas money on a case like that. Instead, I figured I would just make one.
Since I'm kind of lazy, I didn't want to have to manually pad the entire case-- so I decided to use quilted fabric. Quilted fabric is two layers of fabric that house a thin layer of stuffing-- ready made padding. I headed to the trusty Hobby Lobby, only to find that quilted fabric had gone out of fashion, and they no longer carried it. I didn't even bother trying Wal-Mart. It's sad how hard it is to find fabric-- with less people making things by hand, the supply has gone down.
Reluctantly, I headed to Hancock Fabrics. I was sure that they would have it-- I mean, come on, they have everything sewing related, but for a sometimes steep price. On a whim, I searched the web, and stumbled upon a 50% off coupon on Hancock's website! Always check around and see if the store offers any coupons-- Hobby Lobby always has a 40% coupon, for example.
What I used:
- 1/3 yard of fabric
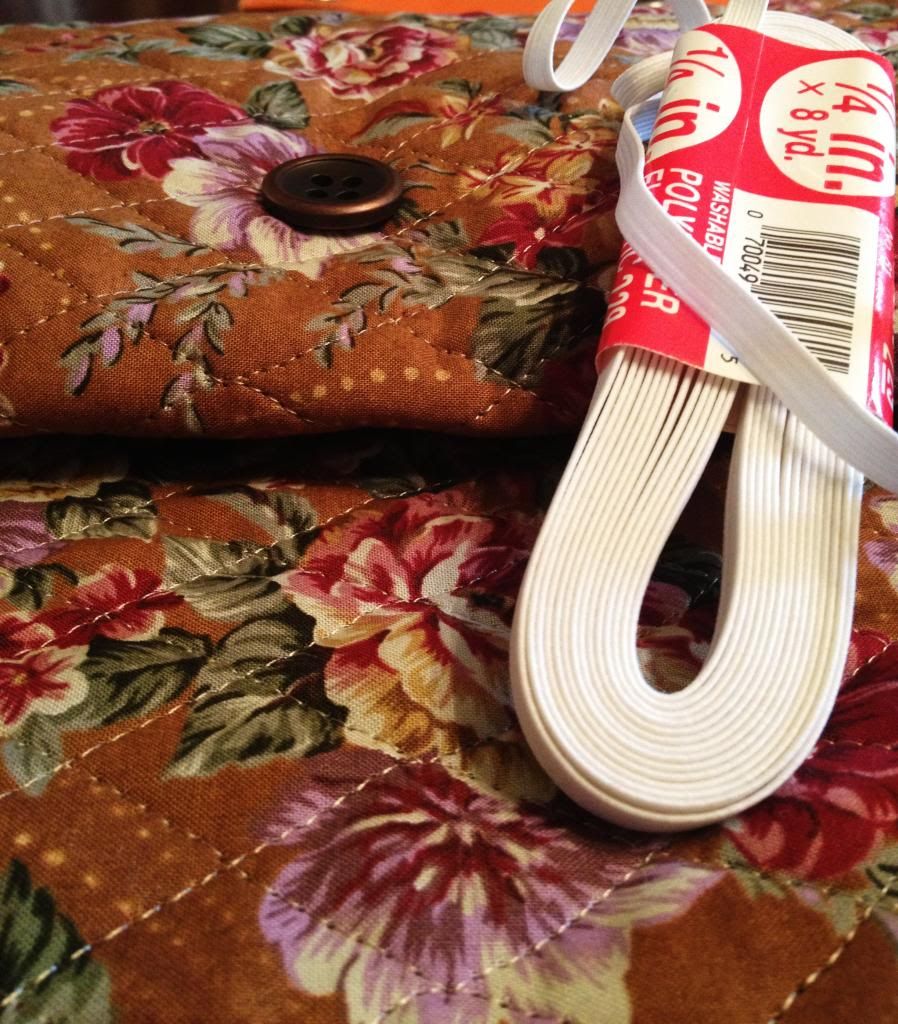
- one button
- a little bit of elastic
- sewing machine
- lots of patience
- a wonderful mother who knows how to do things like load the bobbin and can sew precisely.
I found the cutest floral quilted fabric-- and the coupon made the whole project a good deal. The fabric cost around nine dollars, but with the coupon, it was less than five.
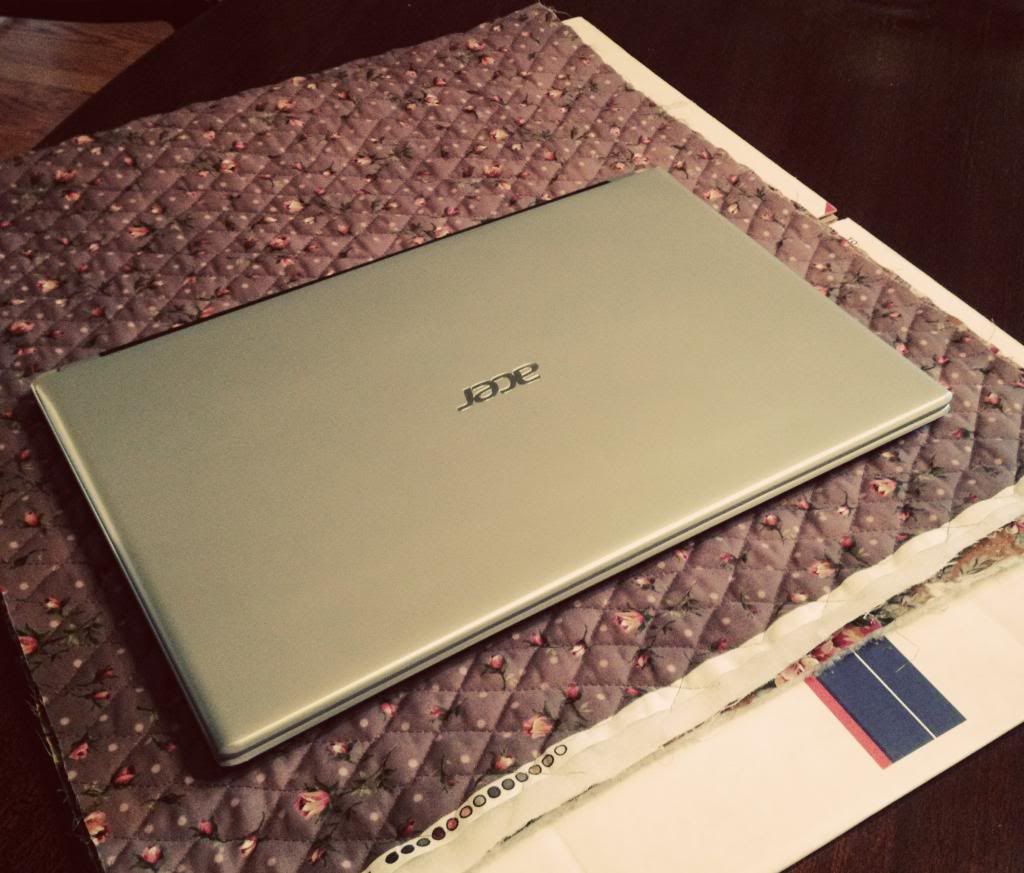
This is actually the reverse side of my fabric-- not the side that would be showing. I began by measuring how big my laptop was.
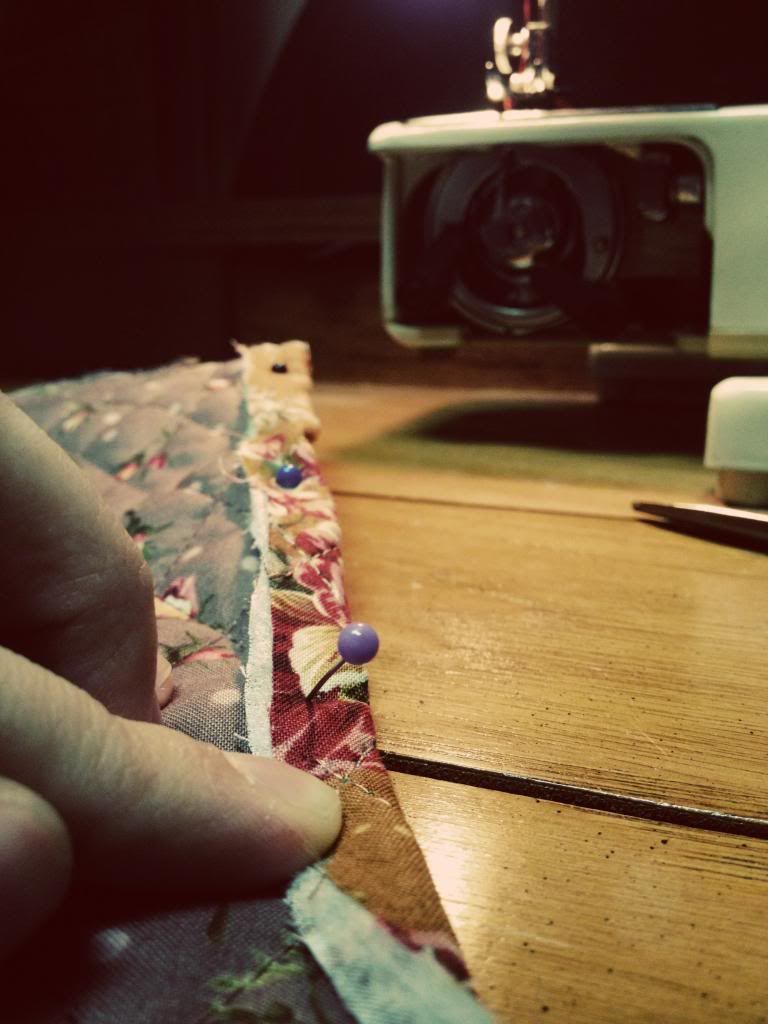
Next, I hemmed the two ends, and sewed both sides of the fabric to prevent unraveling. I found some orange thread that worked well the colors of the fabric.
Then I measure how much I needed to sew on each side to create a nice pocket for my laptop. Since I had enough fabric, I also folded down the top, to create a closing flap. Sure the seams were a bit crooked, and it wouldn't win any precision awards but that's the beauty of handmade items. Well, at least the beauty of handmade items made by the hands of an amateur (moi!).

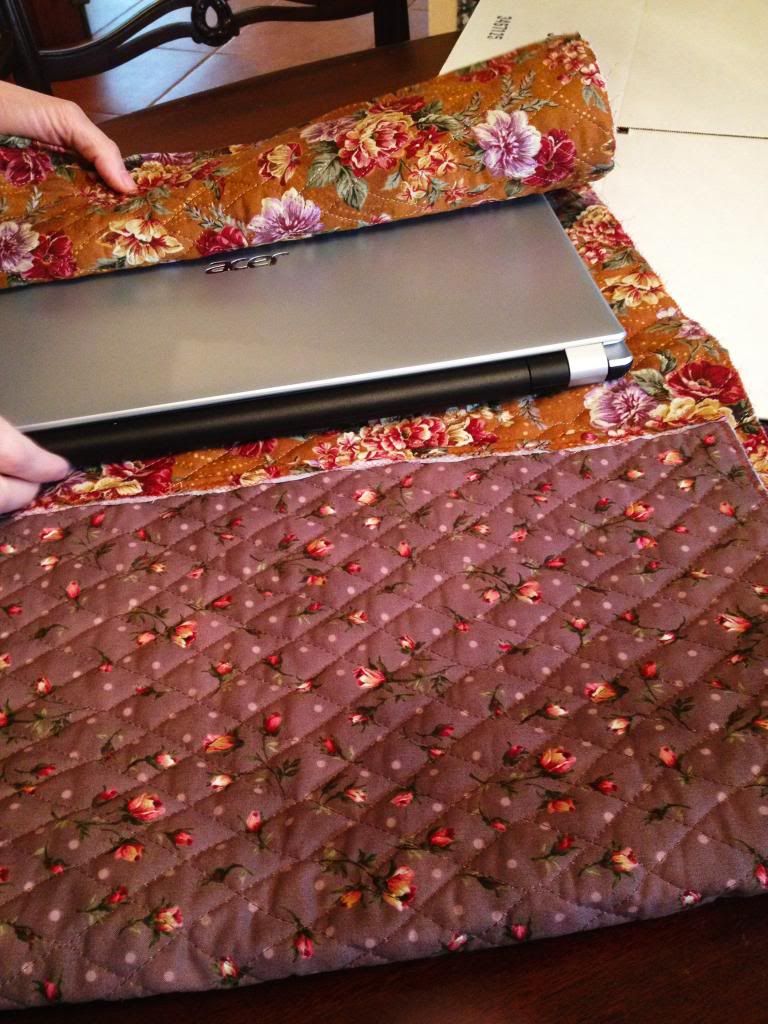
After sewing I essentially had two pockets-- one where my laptop fit, and one that folded over as a cover.
Looking at the cover pocket I had an idea-- why not stuff it? My mother had some loose stuffing, I could always use more protection, and I might as well do something with that top pocket.
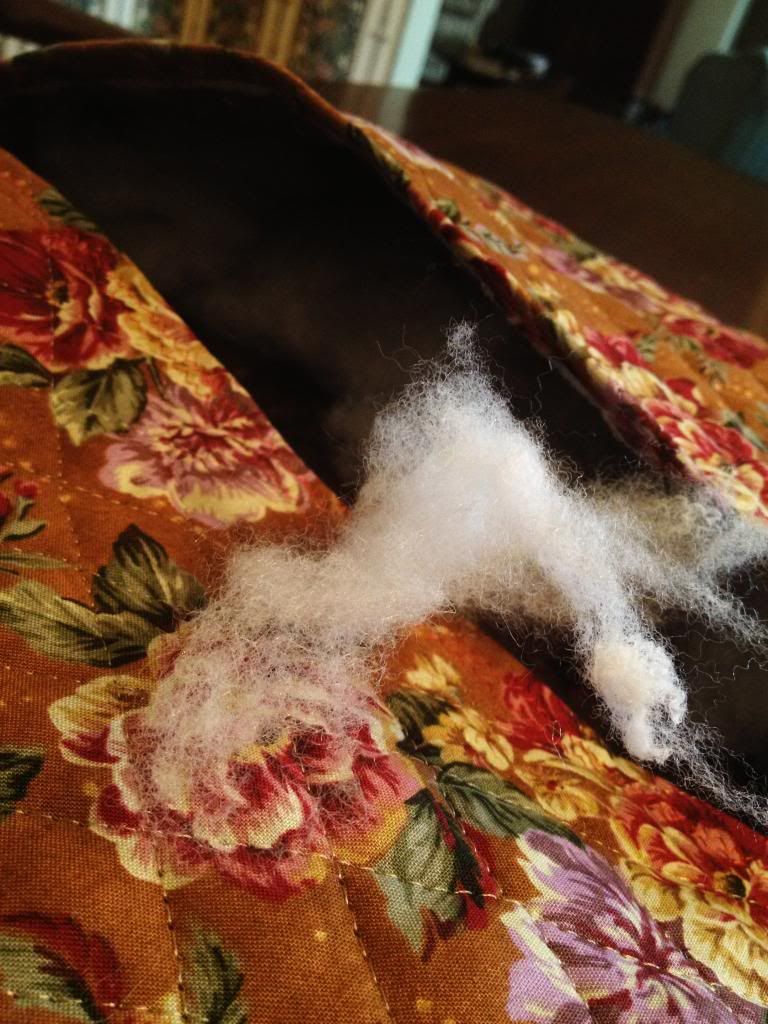
So I added some stuffing and then sewed the top pocket closed.
Then came the question of how I would close the cover. At first I toyed with the idea of doing a button, but the fact that I would have to sew a button hole on the quilted and padded fabric quickly killed that idea. I thought of using Velcro, but didn't think it would be hardy enough.
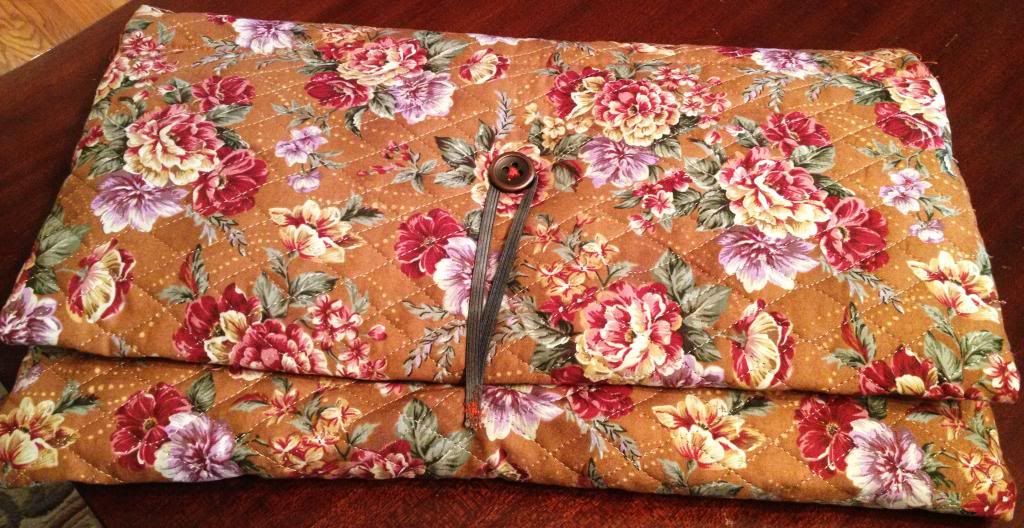
Finally I settled on the idea of sewing a button and using a loop of elastic to close the case.
The only issue with this was that the only elastic I could find was white elastic that did not mesh well with the fabric I had.
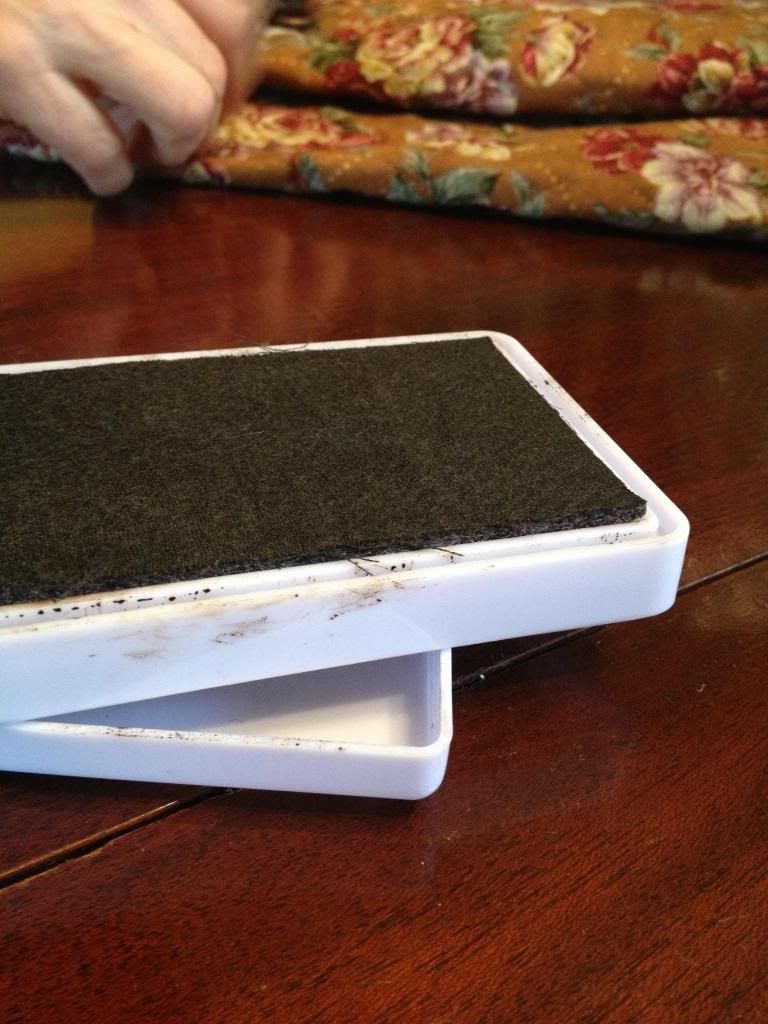
Enter, a stamp pad of a wonderful brown color. I pressed the white elastic on the stamp pad to dye it a nicer brown color. You could also take the easy route and use a marker, but I tried that and wasn't a huge fan of the results. Also, I thought of using shoe polish, but the stamp pad worked well enough.
My brief stint in girl scouts, in which I only really remember learning how to sew a button hole and wishing that I was in boy scouts, came in handy as I sewed the button onto the cover.
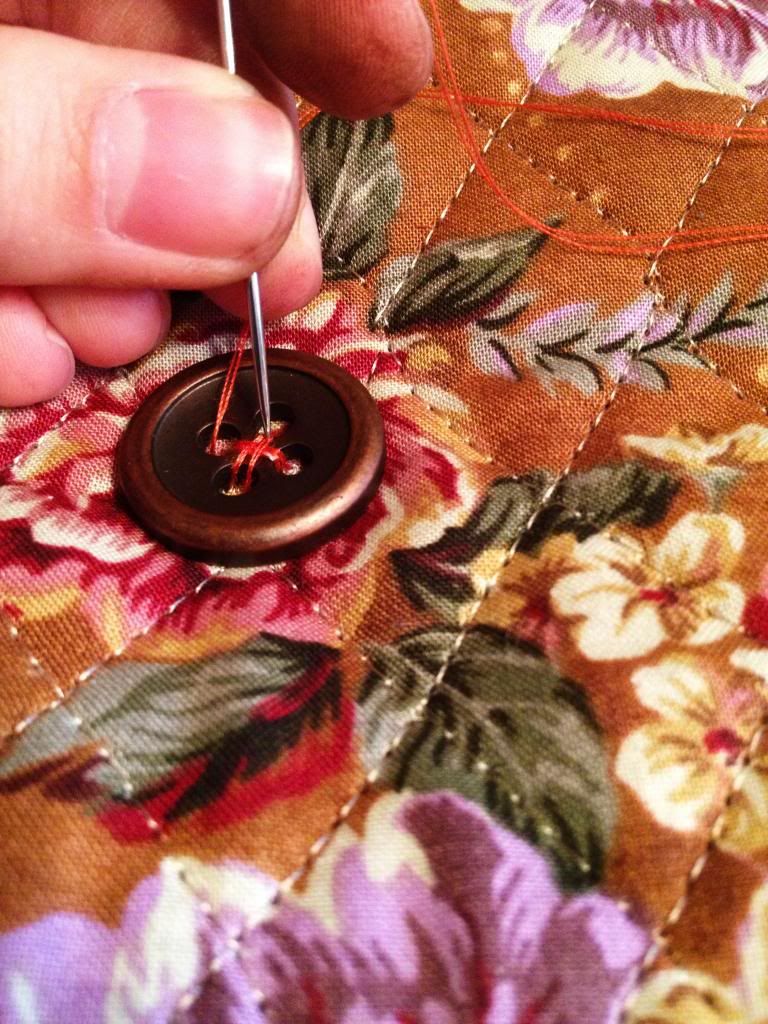
With the button and elastic sewed on, the laptop case was ready to go!
Total time: 2-3 hours
Total Cost: roughly five dollars
Et, volia! A cheap, easy, personalized laptop case!
Love it! Thanks for the idea!
ReplyDeleteAlthough laptop bags are a necessary accessory for anyone who owns a laptop that has become a means of making a fashion statement.laptop cover
ReplyDeleteLaptops are extremely sensitive to external damage. Get your own Custom laptop sleeves by choosing your custom design and personalize your laptop sleeve based on yours.
ReplyDeleteNice post, Thanks for sharing much appreciated for commenting. Keep posting like this.
ReplyDeleteMetal Pen Manufacturers in India
Promotional Pens In Mumbai
Eco Friendly Pens
Plastic Pen Manufacturers In Mumbai
Metal Pen Manufacturers In India
Pen Manufacturers In Mumbai