Wednesday, August 28, 2013

Travel Post #2: Packing

I've always been a light packer. I prefer to use just a backpack for short trips, often times bringing less luggage than any guys I'm traveling with.

Well, my friends, that whole mentality goes flying out the window whenever the trip I'm packing for is longer than a week. For my four month stay in the wonderful country of France, I resisted the urge to pack every item of clothing I have ever owned. Ever.

After all, I have to pack for two seasons! I arrive in September, which in Arkansas means shorts and dresses, but leave in December, which means scarves and sweaters. Luckily for me, St. Étienne is cooler than Arkansas so I was able to leave all my shorts and dresses at home. It's currently in the 70s this week in St. Etienne-- I will be glad to leave behind the high 90s!


The cool to cold climate I'm going does simplify the packing process...somewhat. I'm allowed one 50 lbs checked suitcase and while the suitcase I have is cool and pretty, it's also small. And sweaters take up a lot of space. 

Enter the magic of space saving bags. We've all seen the commercials. Pack away your bulkiest possessions, attach a vacuum cleaner and BAM! it shrinks down before your eyes. And while it seems too good to be true, they really do work magic in person!


What I packed:

Large Space Saver Bag:
4 pants
1 jacket
1 scarf
1 tank top
8 sweaters


Medium Space Saver Bag:
1 jacket
5 sweaters
3 scarfs


Medium Space Saver Bag:
2 shorts
2 skirts
7 shirts
3 tank tops
1 pair of gloves
1 beanie

Gracie wanted to help :) just kidding, she wants to coat all my clothing with her fur so that everyone in France knows that I own a cat


Medium Space Saver Bag
8 shirts

Loose
2 pairs of tights
1 belt
1 scarf
1 pair of tennis shoes

Backback
1 pair of boots
laptop/cords/case
nook/cords
phone/cords
camera cords

Did I overpack? Probably.

Do I care? Nope! My suitcase is still under the weight limit and everything fits. 

Of course, I can always buy things over in France but if I own a cute sweater already, I would rather take it with me as opposed to buying it over there. It's hard trying to gauge just how many sweaters you will wear in next month, how close the laundry mat will be, ect. I'm only bringing three pairs of shoes; I'm wearing my Chacos, and packing my tennis shoes and boots. I thought three was a reasonable number, but it was very difficult finding room for my bulky shoes.

It seems unreal than in five days I will be boarding a plane heading towards France! This weekend I'm heading down to Conway to hangout with some friends, since my flight leaves from Little Rock. It will be quite odd going back to Hendrix with everyone in school and not being involved in any of that.

I had a stressful morning when I went through a new packet of information from my school in France. As it turns out, I will be missing the orientation and the first day of classes-- though the coordinator assured me that it was no big deal. My ISEP paperwork lists a different starting day, which is why I'm flying over there when I am.

Oh well, c'est la vie. I'll find out when I get over there when I can take the placement test, if there is another orientation, and how much of my classes I have missed. So far it is looking pretty intense-- the first week I supposedly have class from 9-5 with a break for lunch. The program is called intensive language classes; I guess I shouldn't had skimmed over the intensive part.  ;)

Regardless, I will learn a lot-- like whether the indirect pronoun goes in front of the helping verb or the past participle, something I couldn't remember this afternoon.

But all that fun stuff will just have to wait!

Thankkksss for reading :)

Monday, August 19, 2013

DIY: Pants into Shorts

I've seen the picture on Pinterest countless times. Some cute chick with a fashionable pair of shorts-- that she made! From a pair of pants! In just a few easy steps! 

So, buoyed by this false sense of easiness I went to my local Goodwill in search of the perfect pair of pants. After all, this was the easy part, right? Just pick a pair of pants that fit, a couple well placed cuts, a little sewing later and BAM, I would have my own cute pair of shorts.

Right?

Well, as I found out, not exactly. You see, how quickly and how easily your pair of pants turns into a pair of shorts depends on two key factors.

First up, the fabric. My jeans were made out of a stretchy denim-- which you do not  want. It doesn't spell the end of your project but it can stretch (haha) an easy 30 min craft into a two-day ordeal. Sewing with elastic material is really difficult-- wrinkles just appear out of nowhere and the only way to get rid of them is to pull out your seam and start over.

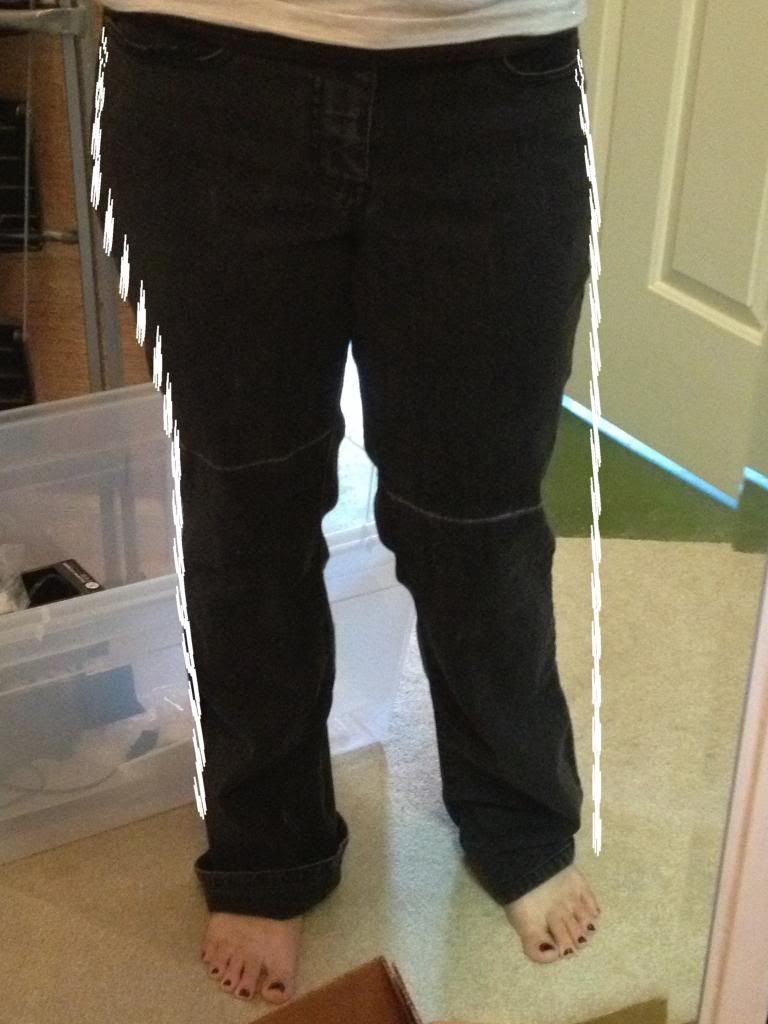
Second up, is the cut. When I tried my jeans on, I liked the fit. They were snug against my hips and thighs before falling straight down. Overall, everyone was balanced out. Until I cut them into shorts. The snug fit around the thighs remained, but it wasn't balanced out anymore. Rather, my shorts were like skinny-shorts. If that is what you are going for, then make sure your jeans are snug and not extremely loose.


The line on the left was the cut I bought. The line on the right is the cut I should've bought. With the cut I bought, my shorts were unflatteringly close on my hips and thighs.

Once you have your jeans, it is relatively straight forward to transform them into shorts.


I laid a pair of my shorts on the jeans to get an idea of how short I should cut them. I used chalk to mark where I wanted to cut. Since I'm not a detail person, I cut each leg a slightly different length-- but I corrected that when I made my hem.


A couple snips later, my jeans were slightly rough shorts. Next up was the hem. You can do hems in a variety of ways. You could flip the jean up and sew the hem down for a rougher look. Since one leg needed to be hemmed about a inch more than the other leg, I didn't go for that option. Instead, I turned the jeans inside out, flipped up my jeans, and sewed a hem.


The hem was difficult, as my material was stretchy. Another problem when you go with a form fitting jean is that the material you flip up to sew a hem might be smaller-- or larger-- than the fabric you are sewing it on. Jeans naturally get smaller as you go down the thigh and sewing that smaller hem onto the larger fabric can be an issue.


Since my jeans were a bit too snug in the thighs I took out some of the side hem, and sewed the flaps of fabric down to give me a short of V cut on the side of the pants that allowed me more movement.


Et, volia! If you pick out the right pair of jeans, then turning them into shorts is as easy as a few cuts and a little sewing. I didn't really like how my shorts turned out-- they were too form fitting to be flattering. However, I thought maybe someone could learn from my mistakes and pick out the right pair of jeans for their next project :)

As always, thanks for reading!

Friday, August 16, 2013

Moving Pictures

Yes, I have jumped on the bandwagon.

But it is such a fun bandwagon! Artistic criticisms aside, I've always loved Instagram. Yeah, it's cheesy. Yeah, it's weird how popular retro filters have become.

Still, what I love is the functionality of Instagram. Whenever I am feeling lazy-- or don't have my DSLR on me-- Instagram is a fun way to jazz up my iPhone photos.

So when Instagram introduced videos, I was understandably excited. I love how you can compose your video of varying clips and I love the filters.

Today, I thought I would post a couple of my instagram videos. I took a lot of videos in St. Louis, capturing little details in the art museum, or beautiful views in the gardens. I think the videos are best viewed on silent-- I wasn't paying attention to the sound when I took the videos so it doesn't really add to the video.


The 15 seconds allows you a quick glimpse into my life. I can't wait to take tons of short videos in France. It's an easy way to convey cool little experiences.


Below is a short collection of my favorite section of the art museum-- impressionist landscapes. I could look at them all day, I just think they are so beautiful.


This was in the St. Louis botanical garden-- the statue is of Henry Shaw, as he was on his death bed. Always concerned with propriety, he wanted to be immortalized, thus the huge statue. He was also worried about his large feet and requested that cloth be draped over him so that 200 years later we wouldn't gawk at his feet.

You know, this is the first non-tutorial/craft/recipe post I have written in a little while! I didn't have room in my St. Louis post to show off my new videos, so I thought I would dedicate a small post to my new love of Instagram videos.

As far as my adventures in France go, I have a little more than two weeks before I leave! It's crazy how quickly it is approaching. I'm slowly checking things off my checklist-- from buying luggage to getting my ears (re)pierced. I'll talk soon about my troubles purchasing train tickets and how I am going to miraculously fit four months worth of clothing into one small piece of luggage! Stay tuned, it's going to be interesting.

Thanks for reading! What did you think about the videos?

Wednesday, August 14, 2013

The Saint Louis Adventure

City? St. Louis

Duration? 3 days, including travel

Number of photos taken? 421.

:) I will not show you guys alllll 421 of the beautiful photos that I took, but I wanted to show some to highlights the cool places we went to. The best part? Almost all of the things we saw were free ((and all of them would have been free, if we happened to be lucky enough to be residents of St. Louis)).

First up, the St. Louis art museum!


This gorgeous, huge building houses an amazing collection of works-- from the old masters to modern art. I much prefer the old masters-- I was constantly in awe of they way they used some paint on a canvas to richly depict life.


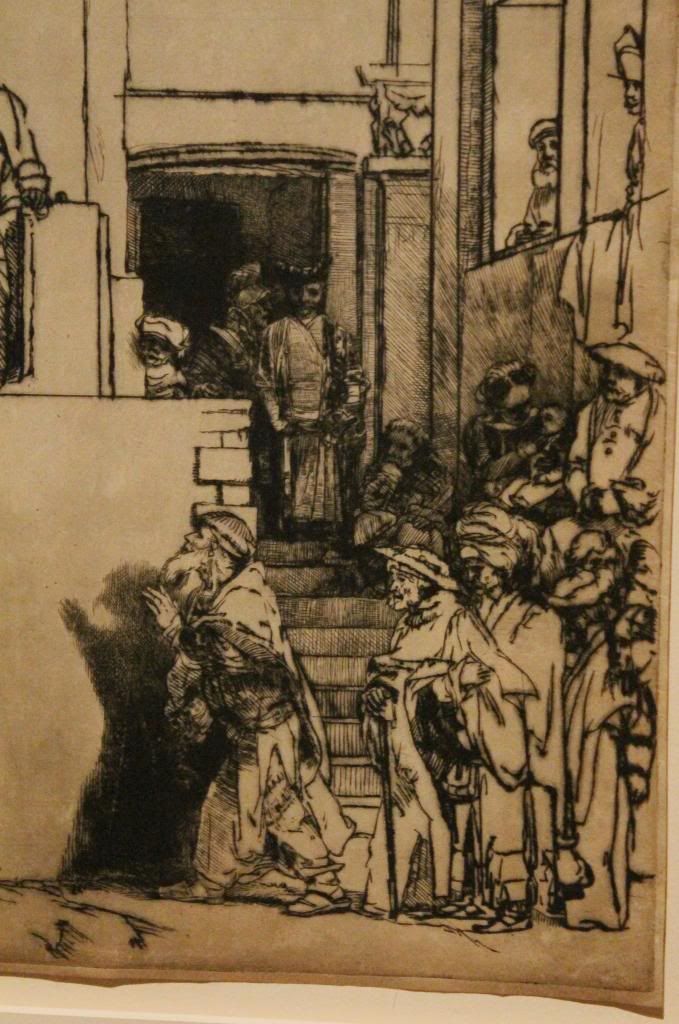
I loved the detailing of this-- it was a sketch for a process where you etched the picture onto a copper plate to make copies of it.


This was one of my favorite paintings-- it depicted Judith from the Old Testament killing some man. I loved just how beautiful all the details were, from her surprisingly muscular figure, to her expressive face.


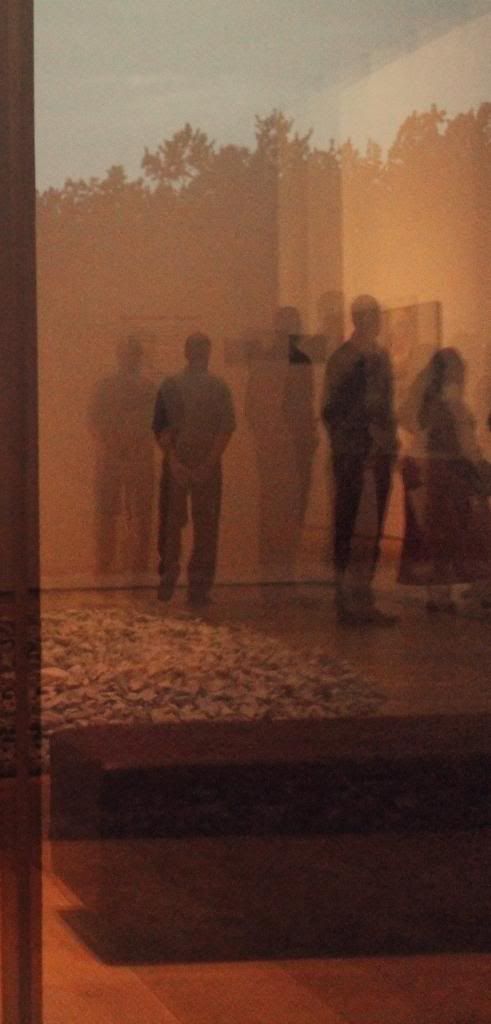
So I'll be the first to admit it, I hate modern art. I know there are people who see value to a pile of rocks in an art museum, but I am most definitely not one of them. I was bored in the modern section, so I started shooting into the dark window to capture the reflections. If buttons glued onto a white canvas is art, then so are my photos!

Art Museum Recommendations: Plan out at least a couple of hours-- if not more. The museum is huge; we only spent around two hours in there and we could have easily spent more. We accidently caught the tail end of a tour-- definitely take the tour. The guide was able to tell us so much more about the paintings, details we would have never guessed. It really helped you understand the paintings better.

Next attraction we visited was the St. Louis botanical garden! The day was shockingly gorgeous-- not hot as one would expect in the dead of August.


There were a couple of glass sculptures scattered throughout the botanical garden by this artist. I loved this one-- there was an identical one facing it on the other side of the garden. They were labeled 'sunrise' and 'sunset' though they both just looked like 'midday sun' to me.


We paused in the Japanese garden to snap a few photos, taking advantage of the gorgeous greenery.

St. Louis Botanical Garden Recommendations: We spent most of our day here. They have a nice little cafe to eat lunch in and the food was good. There is just so much to see! We took the trolly ride first, which gives you a great broad overview of the entire garden. Then, after lunch, we took the walking tour. Now, the walking tour is not for the faint of heart. It depends on your guide, but our tour lasted over two hours. It was a great way to learn more about the gardens, but it was a bit tiring.

Next up was Grant's farm! Now, Grant's farm isn't a farm and it is owned by Budwiser, which makes it a bit confusing. They have Clydstale stables-- it was fun to see the massive horses. Basically it's a little animal sancutary. When you first enter the farm, you go on a trolly ride through the land-- where you get to see buffalo, deer, and cattle. Once you get off the trolly you can feed little goats, check out some gorgeous parrots, and generally enjoy the animals.


One of the perks of Grant's farm is the free beer! By the parrots they were giving out free samples of the new Budwiser product. In the food area you could get two free beers. There were more horses to look at, camels, and some pretty birds.


Grant's Farm Recommendations: This was definitely the busiest place we went to in St. Louis. The lines were pretty long-- it took us maybe 30 min of waiting before we could get into the park. However, the free beer and cute animals made the wait worth it. It costs one dollar to get some milk in a baby bottle to feed the goats and I recommend doing that. It's cheap and really fun. Though the enterprising goats tried to feed also on my jeans, camera bag, and hair.

Whew, that was a long post! If you are reading this then you deserve a gold star. Since I lack any gold stars to give out, you'll just have to take my thankfulness :)

Sunday, August 4, 2013

Easy Recipe: Blue Moon Beer Bread

Look how informative that title is! You almost even know what this post will be about.

But, to further clarify, I wanted to share a delicious recipe I found for bread. Not only is it easy, but it's also crazy quick-- you can have beautiful, homemade bread within an hour!

Now, if you've ever made bread before, you should be surprised by the timeline. Normally, you have  to mix your ingredients, let the dough rise, kneed the dough, then finally, bake the bread. This recipe takes advantage of the hops (?) in the beer to replace yeast. You simply mix your ingredients together, kneed briefly, then pop in the over for 45 min!

It's that easy.

Yum!


Ingredients :
  • 3 1/2 cups of flour
  • 3 tablespoons of sugar
  • 1 1/2 teaspoons of salt
  • 1 tablespoon of baking powder
  • 12 oz of beer (your choice!)
  • 1 egg, beaten
Step One:

Preheat your oven to 375 degrees.

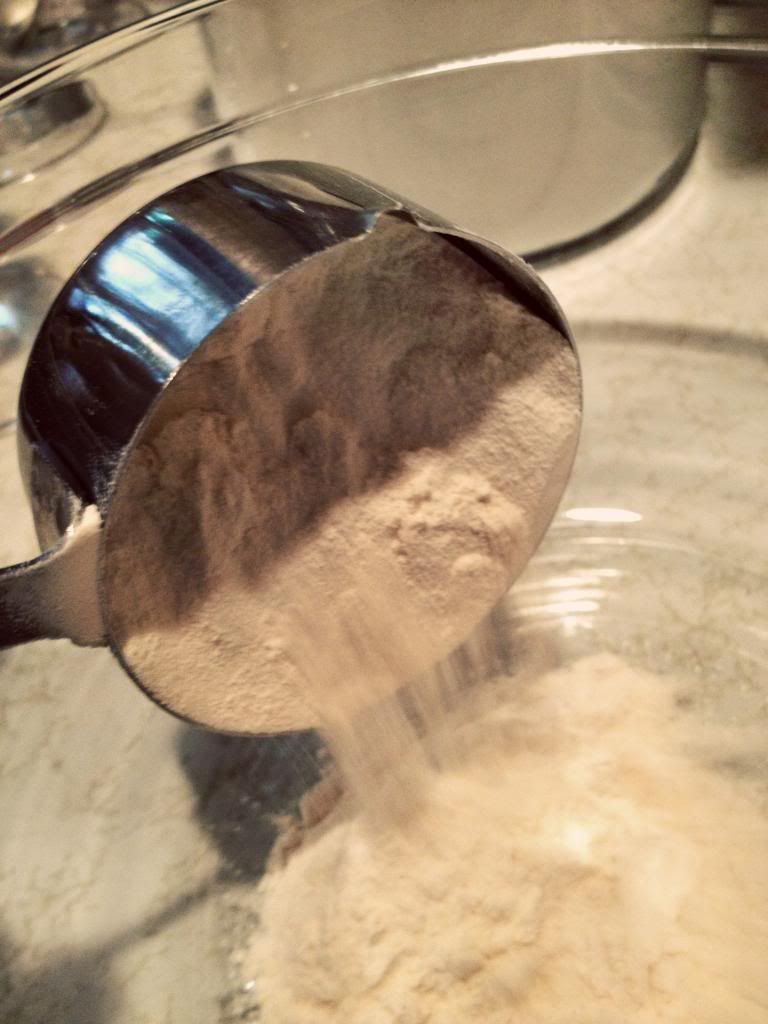
Mix together your flour, sugar, salt, and baking powder.  


Step Two:

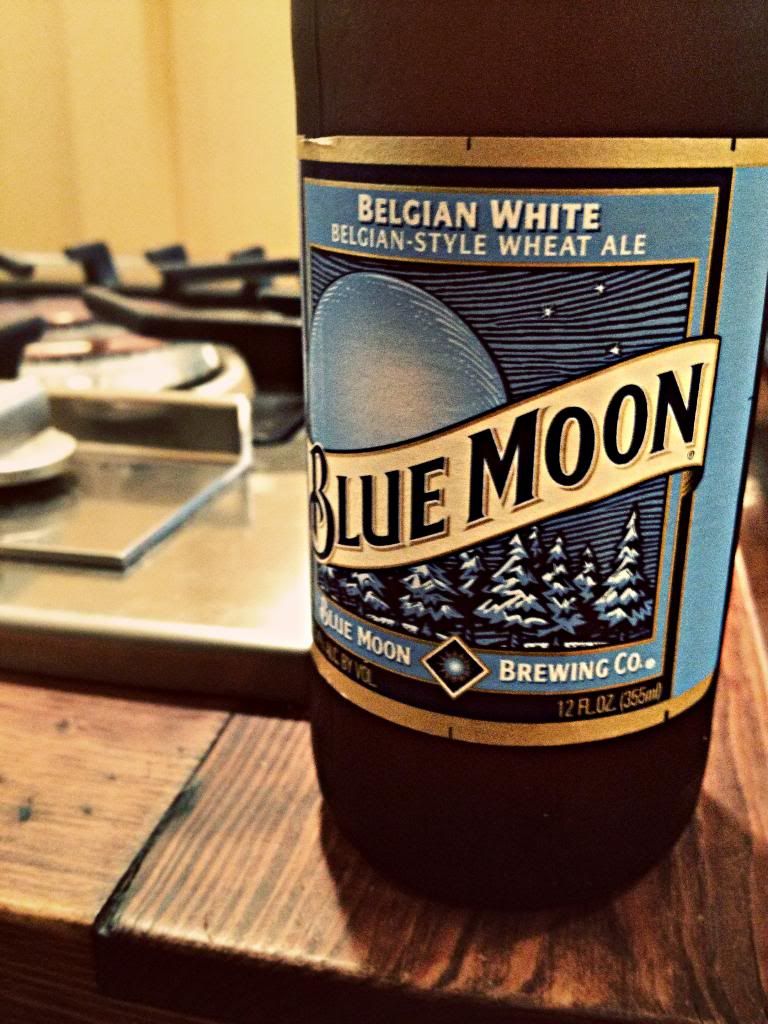
Add your beer-- no sipping! Most beers come in 12 oz and you need all 12 for your bread, sadly. I used Blue Moon because that's what we had on hand. Last time I used a possibly-stale Michelob that we had lying about. The Michelob seemed to produce a more fragrant bread-- it smelled wonderfully of beer when I pulled it out of the oven. The Blue Moon one was less fragrant, but still tasted good. The Blue Moon is a lighter beer, so this is to be expected.

Delicious!

When you pour the beer in it will start to foam. Just use a fork and combine the ingredients. Mix until a dough appears.


Step Three:

Once a dough forms, put it on a flour covered surface and start to kneed. Don't worry if when you take the dough out of the bowl it is just a tattered mix of dough scraps-- when you kneed it, all the little bits of dough will combine. Like magic. Form your dough into a rough ball.

Step Four:

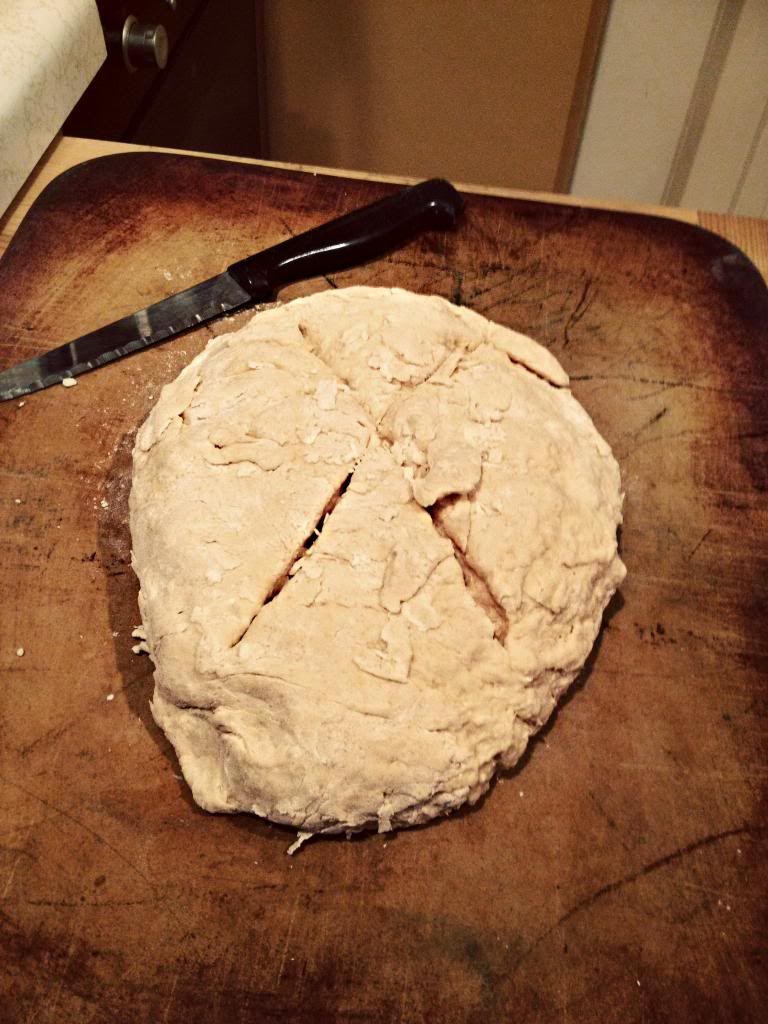
Beat one egg in a bowl, and then brush the egg wash over your  dough. Take a sharp knife and cut an X into the top of your dough.

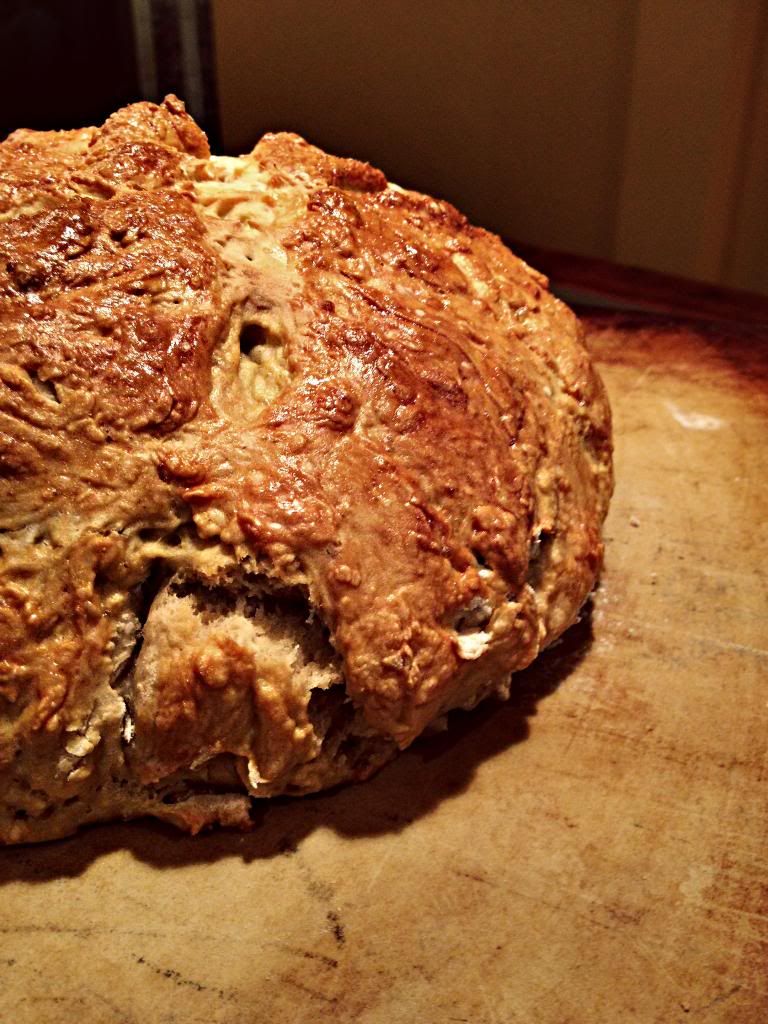
I cooked my bread on this pizza stone we have-- it helps the bread get crispy on the bottom. This picture is pre-egg wash, by the way. Your bread will have a golden slime (doesn't that sound delicious!) coating the top of it when you stick it into the oven. Bake for 45 min, or until golden brown.

Et, volia! You have homemade, delicious, easy bread in under an hour!


My family isn't big beer drinkers so we don't often have beer just laying (humans lie, objects lay if you are curious about English grammar) around. When we do, I like making this bread :)

Thanks for reading!