It was during the incredibly long eight hour drive back from Mobile that I was flipping through a Photoshop ebook I have on my computer and stumbled upon an interesting technique.
Let me show you a quick before and after and then I'll go into how I did it.
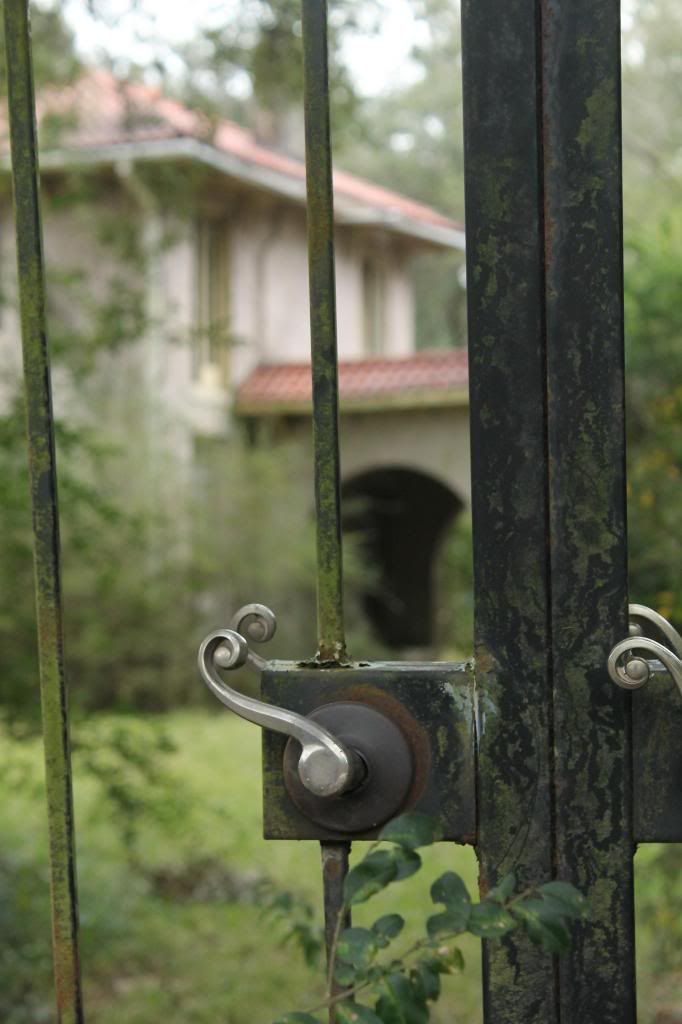
BEFORE:
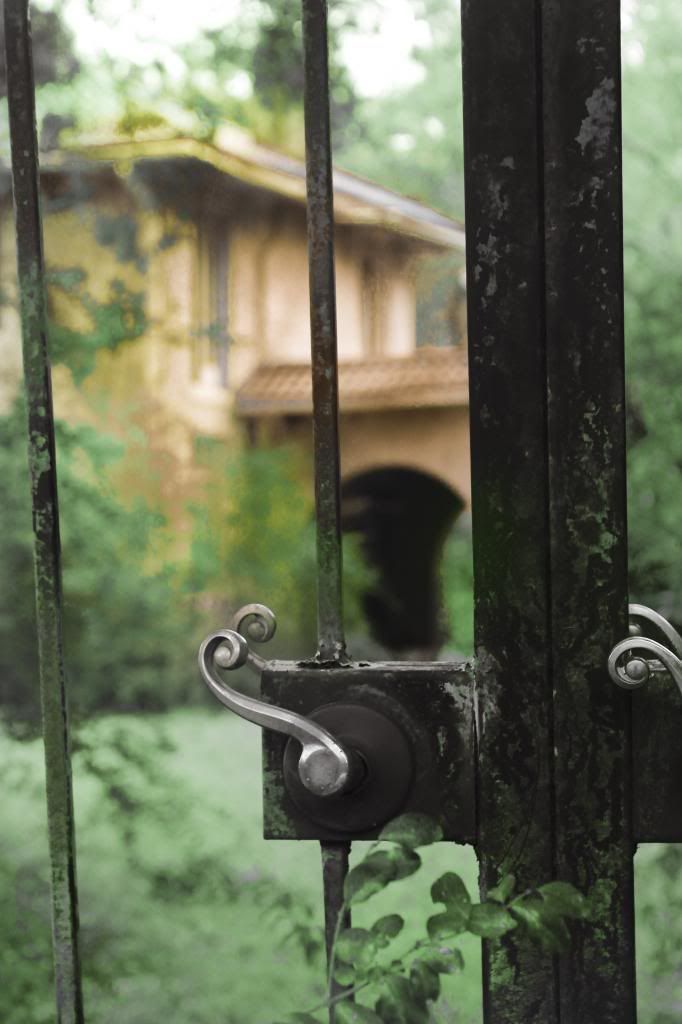
AFTER:
As a quick side note, the house pictured is a beautiful old house falling into disrepair right off the highway outside of Mobile, Alabama. When we were driving to Mobile we briefly passed it-- getting a quick glimpse of the gorgeous mammoth live oaks that served as living columns before the house. As we were leaving Mobile, we remembered the house, and pulled onto the shoulder to get a better look. I hopped out of the car and snapped a lot of pictures of the old house. My favorite part was probably the huge live oaks in the yard. There was a tall fence that went around the house, broken up by this large iron gate.
Anyway! Back to the wonders of Photoshop.
What I Did:
Open your photo in Adobe Bridge. I'm pretty sure this program comes with Photoshop. It's main feature is Camera Raw, which allows you to quickly make minor edits to your photos and then either load them into Photoshop or save them.
Right click on your photo and open in Camera Raw.

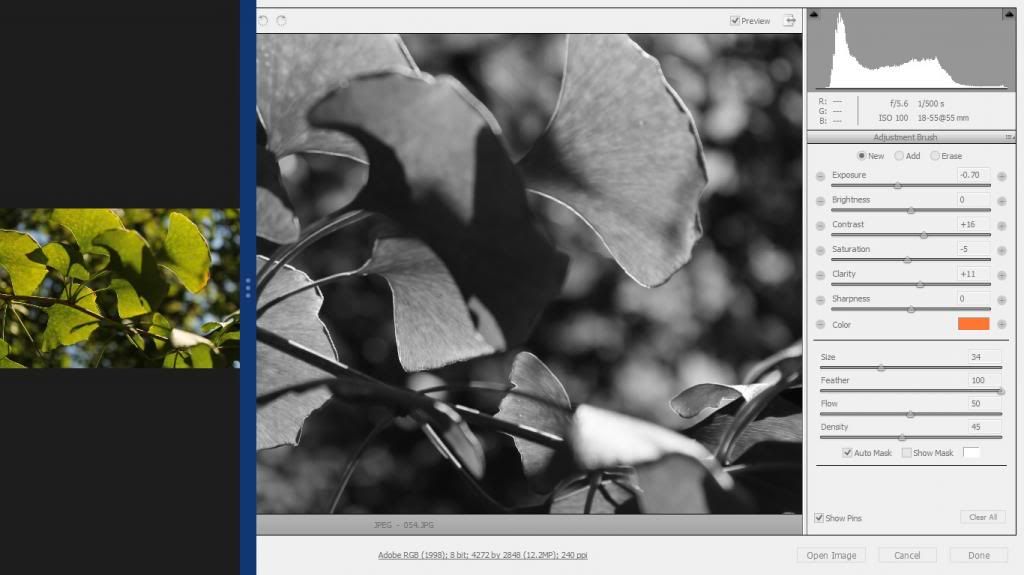
Next, hit 'K' or go up to the top of the screen and find the 'Adjustment Brush' icon and click it.
This gives you a brush like feature. On the right panel you have a lot of different options. I have 'Automask' selected. You can keep the color as white (which makes the color icon look like an X) and up the contrast. Then, when you use the brush, you'll be adding contrast wherever you brush.
Cool, huh?
It gets better. Go to the color icon and choose a color. When you start to brush it on, a pin (little circle icon) will appear. This icon is linked to the settings you just choose-- for example, it might be linked to a green color. If you wish to switch colors, go to the top and click 'add', then change your settings and start painting. A new pin will appear-- this one linked to your new color.
If you ever want to go back and edit a specific color, just click on the corresponding pin.
I used to cool spilt screen feature of Windows 8 to remind myself what the color picture looked like. I tried to replicate the colors that the original picture had. This doesn't produce a copy of the picture, as it'll be different from the original. I think the end result looks like recoloring an old black and white photo-- for whatever reason that's what I think when I see the results.
Anyway, for the above picture here's how it turned out :
BEFORE:
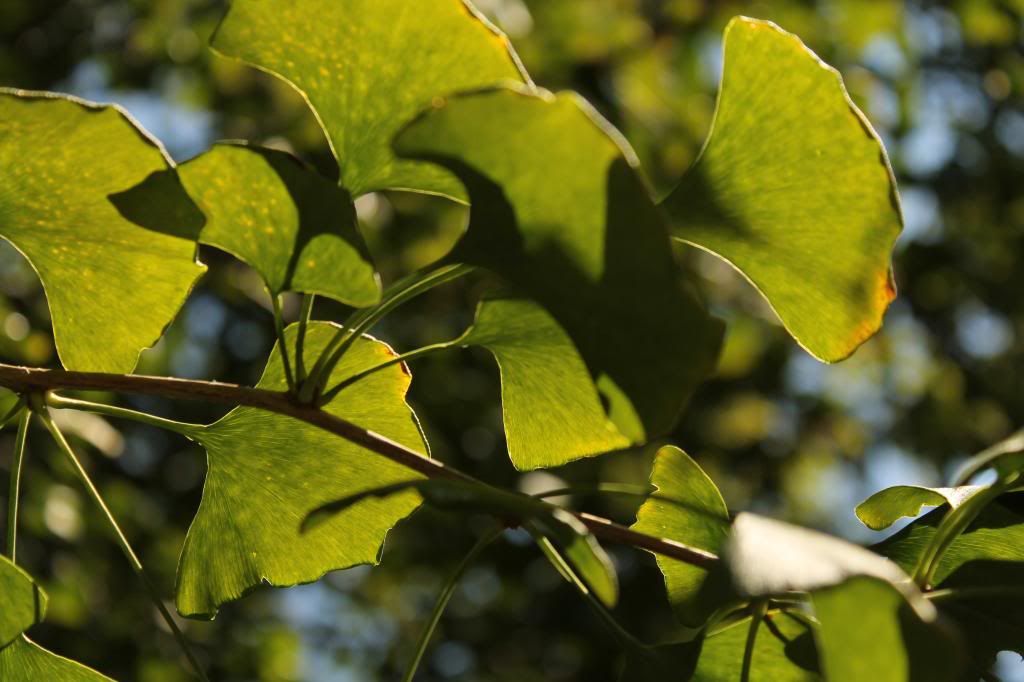
AFTER:

Here's another before and after-- the middle shot is the first screenshot I posted.
BEFORE:
AFTER:

I like this result-- it seemed to help with my almost overblown whites.
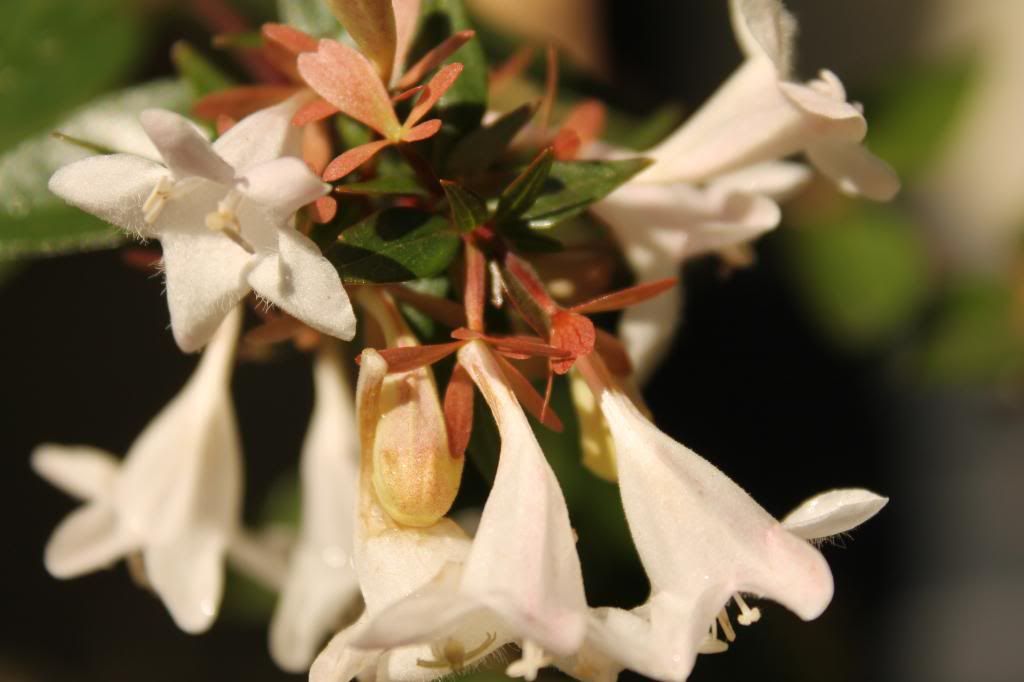
One more!
BEFORE:
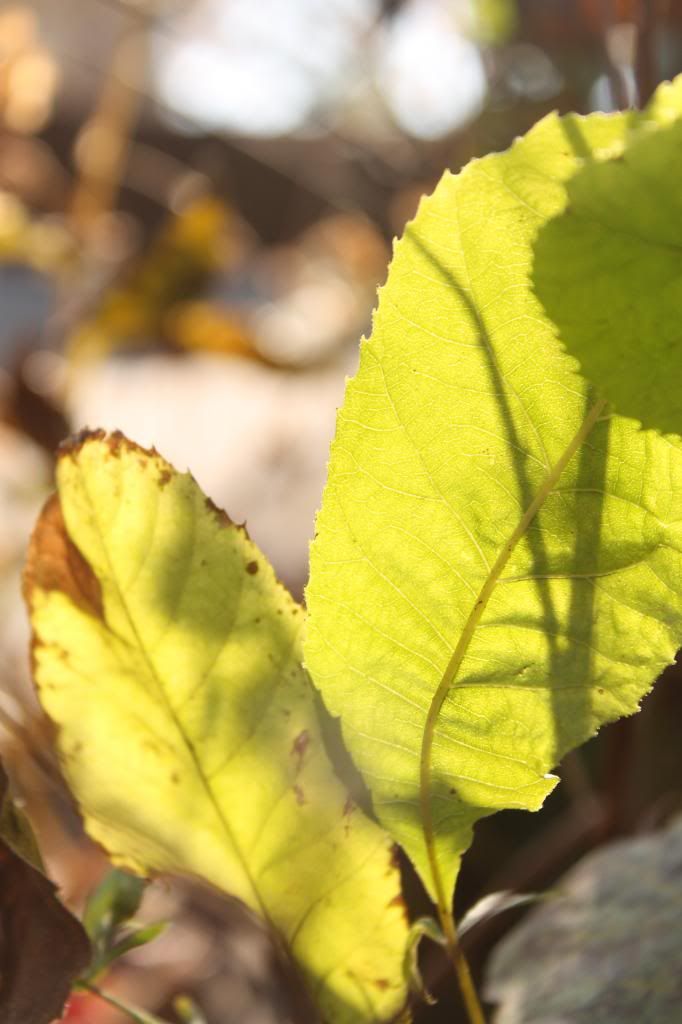
AFTER:

While my favorite one is probably the very first one, I liked how the technique worked on all the photos.
Et, volia! There are a lot of other applications of the Camera Raw brush. You can keep your photo in color, and then brush on some contrast, or brush some extra blue on the sky, or warm up a photo by brushing on some golden yellow tones.
Anyway! I hope this tutorial was helpful-- the technique was definitely a new one for me.
Thanks for reading :)
No comments:
Post a Comment