Showing posts with label food. Show all posts

Sunday, August 4, 2013

Easy Recipe: Blue Moon Beer Bread

Look how informative that title is! You almost even know what this post will be about.

But, to further clarify, I wanted to share a delicious recipe I found for bread. Not only is it easy, but it's also crazy quick-- you can have beautiful, homemade bread within an hour!

Now, if you've ever made bread before, you should be surprised by the timeline. Normally, you have  to mix your ingredients, let the dough rise, kneed the dough, then finally, bake the bread. This recipe takes advantage of the hops (?) in the beer to replace yeast. You simply mix your ingredients together, kneed briefly, then pop in the over for 45 min!

It's that easy.

Yum!


Ingredients :
  • 3 1/2 cups of flour
  • 3 tablespoons of sugar
  • 1 1/2 teaspoons of salt
  • 1 tablespoon of baking powder
  • 12 oz of beer (your choice!)
  • 1 egg, beaten
Step One:

Preheat your oven to 375 degrees.

Mix together your flour, sugar, salt, and baking powder.  


Step Two:

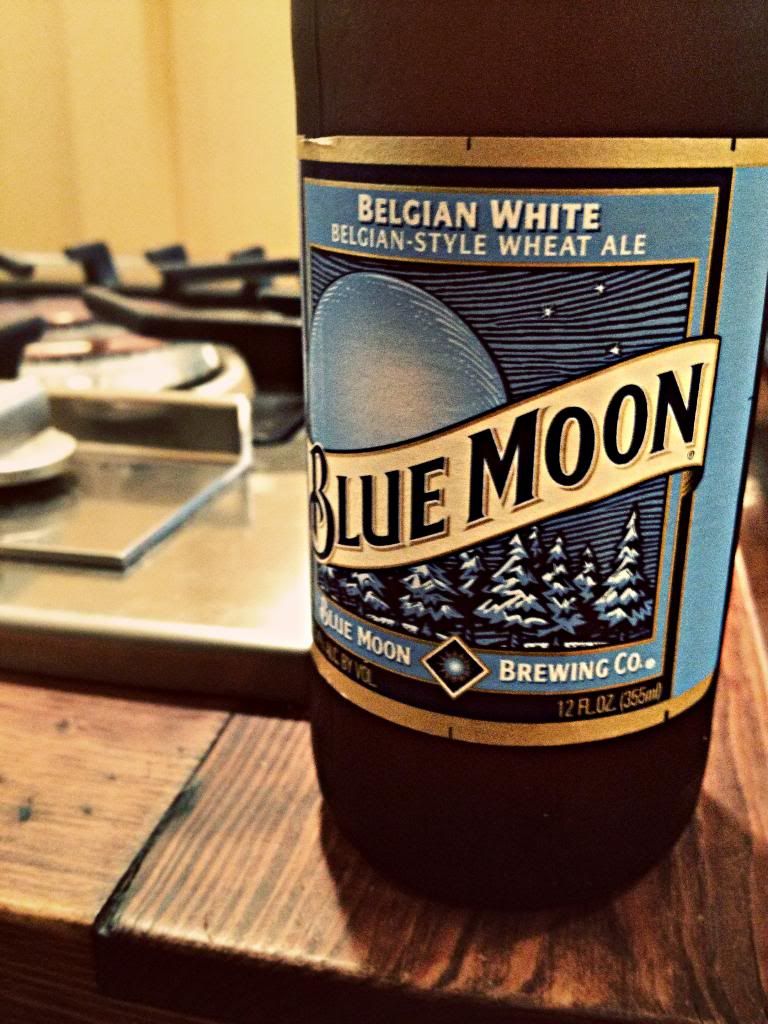
Add your beer-- no sipping! Most beers come in 12 oz and you need all 12 for your bread, sadly. I used Blue Moon because that's what we had on hand. Last time I used a possibly-stale Michelob that we had lying about. The Michelob seemed to produce a more fragrant bread-- it smelled wonderfully of beer when I pulled it out of the oven. The Blue Moon one was less fragrant, but still tasted good. The Blue Moon is a lighter beer, so this is to be expected.

Delicious!

When you pour the beer in it will start to foam. Just use a fork and combine the ingredients. Mix until a dough appears.


Step Three:

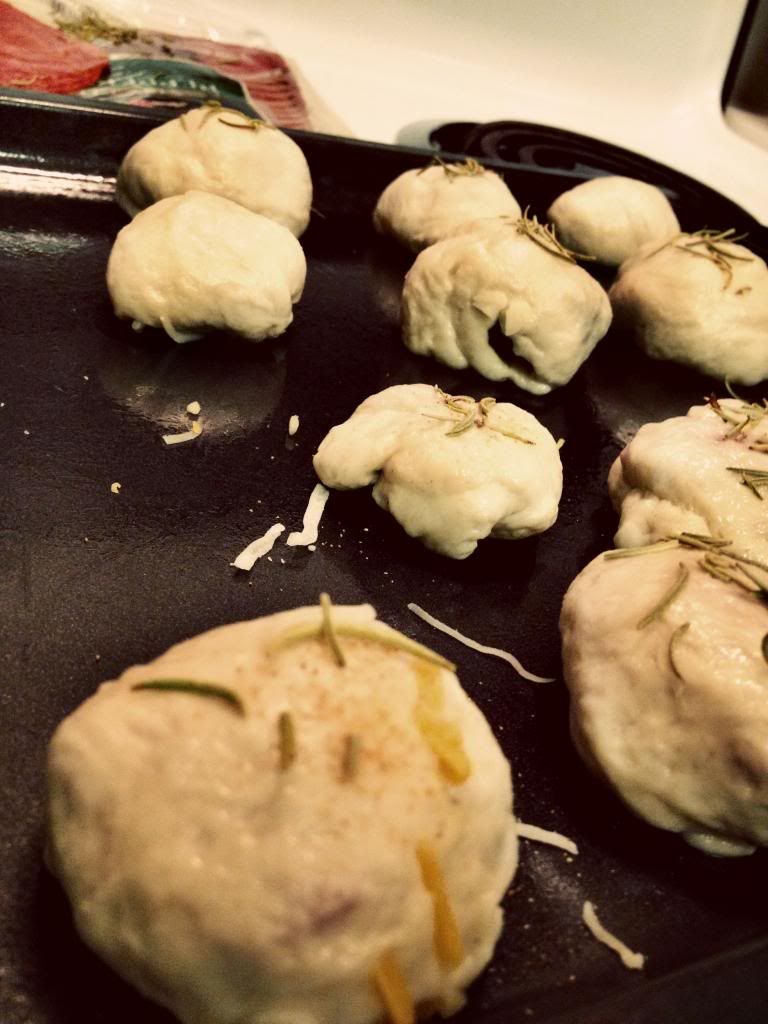
Once a dough forms, put it on a flour covered surface and start to kneed. Don't worry if when you take the dough out of the bowl it is just a tattered mix of dough scraps-- when you kneed it, all the little bits of dough will combine. Like magic. Form your dough into a rough ball.

Step Four:

Beat one egg in a bowl, and then brush the egg wash over your  dough. Take a sharp knife and cut an X into the top of your dough.

I cooked my bread on this pizza stone we have-- it helps the bread get crispy on the bottom. This picture is pre-egg wash, by the way. Your bread will have a golden slime (doesn't that sound delicious!) coating the top of it when you stick it into the oven. Bake for 45 min, or until golden brown.

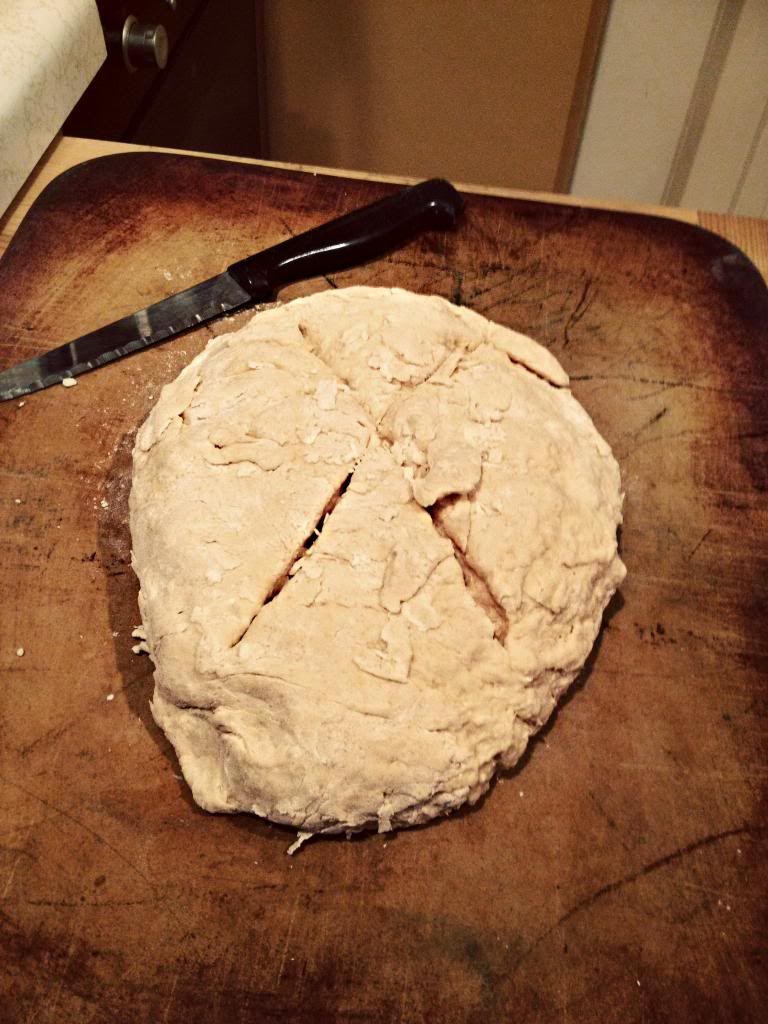
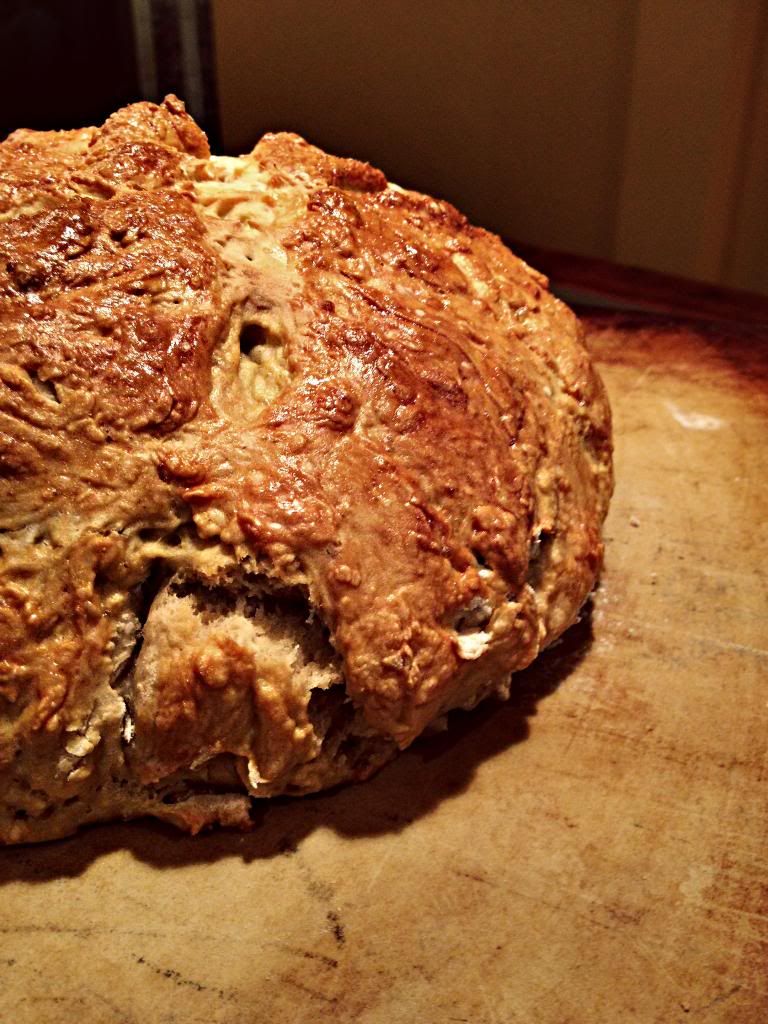
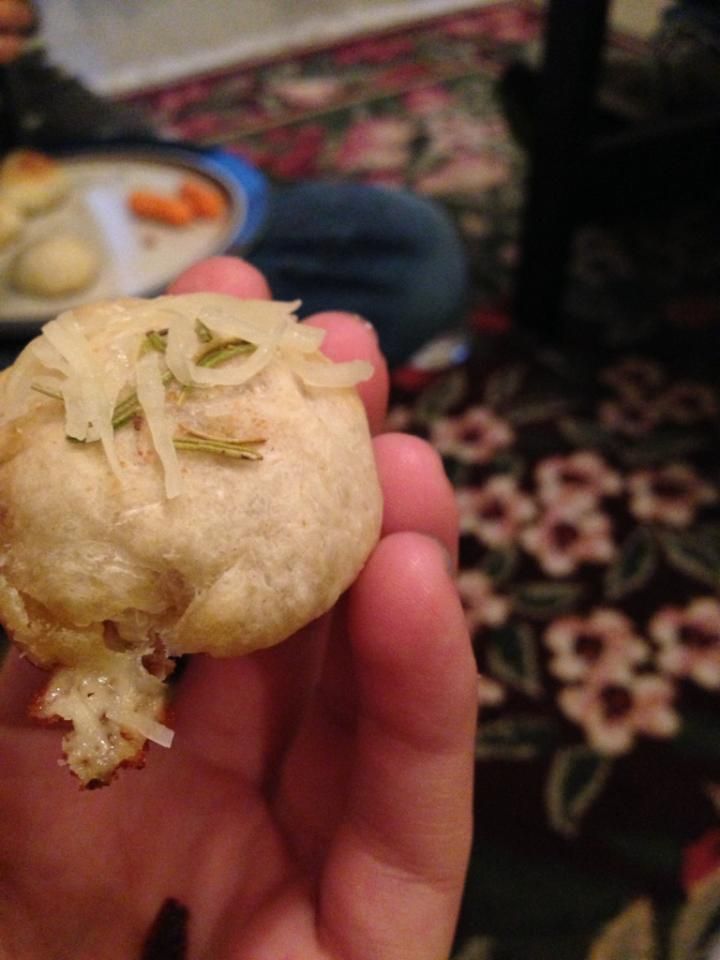
Et, volia! You have homemade, delicious, easy bread in under an hour!


My family isn't big beer drinkers so we don't often have beer just laying (humans lie, objects lay if you are curious about English grammar) around. When we do, I like making this bread :)

Thanks for reading!


Thursday, June 6, 2013

Homemade Pizza Rolls

Living own my own for the first time-- well, I mean, on my own with my roommates...and friends-- has made me appreciate the school cafeteria in a new way.

Instead of dropping by the caf when I'm hungry and being greeted by a huge variety of good food, I go to my apartment and am greeted by a empty kitchen. What this means is that my cooking skills are being challenged, but with surprisingly good results.

I got the idea of homemade pizza rolls from Pinterest-- where else? It's super easy, super quick, and super delicious! What more could one want?

Prep time: 5 min
Cooking time: 5 min
Total Time: 10 min
Yield: (around) 15 rolls 

Ingredients:
  • A prepackaged pizza crust-- they are amazing creations
  • A cup (or two) of shredded cheese-- I used a mix of Colby, Cheddar, and mozzarella. Because there is no such thing as too much cheese.
  • Some pepperonis-- however much you want. I live with two vegetarians so I never use much meat, just however much I want to eat. 
  • Garlic Powder
  • Rosemary

Step One:

 
Open the packaged awesome-ness of pre-made pizza crust.What makes this invention even more amazing is that you just pull some paper, gently twist the can, and it pops open without the need of a can opener.

I just love civilization sometimes.

Anyway! Unroll-- oh yeah, another benefit of this pizza dough, is that it rolls out beautifully, no need for a rolling pin-- your dough. You can unroll the dough on a greased pan but it's not terribly necessary. You will need to put the rolls onto a greased cookie sheet though.

Step Two:

Pinch off some of the dough. You don't need much-- the larger amount of dough, the larger the pizza roll. Spread it out with your fingers into a nice circular shape. I pinched maybe two inches off the dough for each roll.

Step Three:

Toppings!


Here's the fun part! Load up your dough with cheese, pepperonis, anything your heart desires. Be careful not to over load your roll-- it won't fully close, and the toppings will run out when baking.

Step Four:


Pinch your roll together and flip it over, so that the seam is on the bottom. Dust the top of the roll off with some garlic powder and rosemary.

Step Five:

Bake! For my rolls, there were done in five minutes at 350. If your rolls are bigger you can start with five minutes, check them, and see if they need to go longer.

Step Six:


Enjoy! I really loved how these pizza rolls turned out. I am not a tomato sauce person, but if you are you can always put a little in your roll before baking. Not only was this a quick, good recipe, but it was also pretty cheap. I don't have the exact numbers, but the crust was probably the most expensive ingredient-- and that was less than three dollars. Considering we made this feed three people, the cost per person was wonderfully low.

Sorry it's been so long since my last post! I can't even claim that I'm swamped with homework anymore. I started my researching job at Hendrix-- robotics! It's a challenge but mostly fun. I have a ton of recipes, crafts, and even a photoshop tutorial to post so be sure to check back!

Thanks for reading :)


Tuesday, January 29, 2013

Sushi on a Student Budget

Last Saturday night some friends and I got together with the intent of making dinner.

Our dish of choice?

Sushi!

Seaweed!
Sushi sounds pretty extravagant, especially for four broke college students. Néanmoins! When you make it yourself, it actually is pretty cheap. And delicious.

Ingredients:
  • 1 Avocado
  • 1 Cucumber
  • Drop of lemon juice
  • 8 (ish) seaweed pieces
  • 1 package (ish) of imitation crab (because we aren't stupid and didn't want to die of eating raw fish in Arkansas)
  • 1/2 package of cream cheese
  • 8 cups or so of rice
  • tablespoon of rice vinegar
  • tablespoon of soy sauce
  • a placemat
  • sharp knife
For roughly 10 dollars the four of us made plenty of sushi for dinner-- cheap, and as it turned out, delicious!

I'm not normally a sushi fan. After all, raw fish?? No thanks. I always felt uncultured, but I would rather just have steak (or really any other piece of cooked meat). However, these rolls really changed my opinion of sushi as a whole.

We made vegetable and California rolls. For those of you who don't know (me before Saturday night), California rolls are where the rice is on the outside, and there isn't any raw fish, only delicious imitation crab! Once again, I am grateful for my cheap tastes.


We began by washing the rice.

Or rather, Dave washed rice while Blair and I caught up on Game of Thrones (an amazing series I just got hooked on). For sushi, you need to wash all the starch off the rice-- and often tedious procedure.

Once the rice was properly washed, we stuck it in the rice cooker. When it was done we put it in the fridge and got all of our vegetables ready. We had opted to use avocado and cucumber but there are a lot of other combinations out there. For the meat eaters among us, we grabbed a package of imitation crab meat-- which my friend and I can eat straight out of the bag.

Taking the rice, we sprinkled some lemon juice and rice vinegar on it to instill magic sushi properties in it. Or something to that effect.  


Next, we spread the rice out onto our rectangle of seaweed. The rice was very sticky, and had no issue adhering to the seaweed.


Then we flipped the seaweed over so the rice was on the bottom, and began layering all the goodies onto it. Trying our best not to overstuff the roll, we carefully lined up thin slices of the vegetables and chunks of the fish. We tried a variety of combinations with our ingredients, but my favorite was imitation crab meat + cream cheese + cucumber.

We took our placemat (and yes, for the record you are supposed to use a bamboo rolling mat. Conway apparently does not sell bamboo rolling mats. So we just used a placemat) and rolled the seaweed-- a nerve racking step.


It was pretty dark in the room (for a camera) and I was using like 6400 ISO (which is really high for you non camera people). I still took far too many photos to put on here ;) The sushi was just so photogenic!


Then we took our sharp knife and sliced the roll into little disks.


Editing these pictures has forced me to learn some new tricks in editing food photos-- something I don't do as often as editing nature photos. I should post another Photoshop tutorial sometime. In my copious amounts of free time I have as a Physics major. Ha.


Those are certainly not the only photos I took, but the only photos I had time to edit.

In total we must have made like eight rolls-- each of us getting our fill of sushi. All in all it was a pretty cheap dinner, a great idea for a Saturday night.

After dinner, we headed to a concert being held on campus. They were the Punch Brothers-- I hadn't heard of them, but they were a pretty good folk/Mumford and sons-esque band.

Yeah, I couldn't see much.

On an unrelated note, look at my new telescope!

His name is Legolas
Long story short, I have amazing friends. A girl from my school won this at the raffle at the Physics conference. My friend then traded her gift card with this girl for the telescope, and then gave the telescope to me, because she knew how much I wanted it.

Yup, amazing friends. :)

Side note, it may look all spiffy, but I think I put it together wrong...you can't see anything out it....hopefully I'll have time this weekend to take it apart and figure out how to make it work.

Anyway! It has been a while since my last post-- thank you insanely busy sophomore year.

Thanks for reading :)


Saturday, August 4, 2012

Consignment Shops

I love consignment shops. Second hand stores.

You have no idea. They are just amazing! I have run out of old t-shirts hiding out in the back of my closet. Yet, I wanted to do another t-shirt. So, I headed out to Abilities Unlimited.

Abilities Unlimited is awesome because they not only have incredibly cheap items, they also use their money to help those with mental/physical disabilities.

I wasn't sure what I was looking for as I headed the store. I had no inspiration, no design I was just itching to make. I was hoping that I would see something that would inspire me.

What I did find was some amazingly cheap shirts!

One was from Aeropostal, and said 'Be Kind to your planet'. Hendrix really has made me a hippie.


I also found an old Indians (home college old mascot) t-shirt! It's kind of retro since we have since changed our mascot.

Both of these shirts, which fit wonderfully, cost me four dollars. Total.

So cheap!

I also picked up a couple of blank shirts. They fit, and have ample space for me to be all...creative.

The problem? I'm not feeling all that creative right now. The Zelda shirt was a design I had thought up like a year ago, and the Dr Who shirt was prompted by my friend's shirt.

Now that I've made those two shirts, however, my mind is blank.

I'm toying with the idea of putting a quote-- whether from photography, Shakespeare, or just poetry-- or trying to do a theme shirt-- another Zelda, Dr Who, Lord of the Rings, or Physics.

I just don't feel inspired, like I did with the other shirt ideas.

If you have any ideas, I would love to hear them! I've been quizzing my poor friends, trying to rummage up any ideas.

Anyway! I do hope you like the new layout! Recently I helped someone start a blog. Helping her set up all the features she wanted caused me to realize just how many features Blogger has! Which is why you might have noticed new gadgets springing up all over the place. ;)

To the right, at the top of the page, is a Share button. Click it to share this page on your Facebook page! Spread the love!

You might remember that a while ago, during a I-miss-Hendrix night, I attempted to make pizza, from scratch. Being the rather impatient person that I am, I found a no-yest-quick-result recipe online. The result? A concrete-hard-weird-dough-tasting pizza dough, with delicious toppings.

Well, it's round two for pizza! This time, I wimped out and purchased a ready-made crust from Wal-Mart.

I know, I know, I feel like a sellout.

But it's so convenient! However, whatever points it gained in convenience, it lost in taste. It wasn't as bad as my yeast-less attempt, but it wasn't particularly good.

The taste I lost with the crust was more than made up for by the toppings! (it's like an equation....convenience - taste of crust + taste of topping...gahh I am not looking forward to Cal III)

I cooked up some chicken, bacon, and pepperoni. After all, there is no such thing as too much meat.


Or too much cheese!


After eight minutes in the oven, my personal pizza was ready!

Yummmmm! Like I said, the toppings were delicious. I used olive oil and rosemary as a base, seeing how I don't like tomatoes.


Monday, June 25, 2012

Berry Good


Sorry. Couldn't resist.

It has been a while since I last posted so I thought I would share just about the only pictures on my camera, which are of a dessert.

Hey, it's like 100 degrees outside, don't judge. It's so much more enjoyable inside, with air conditioning, there just aren't as many photo opportunities. 


I made some pudding from scratch yesterday. It's a really easy recipe. You just mix some ingredients together, like an egg, flour, sugar, milk, and a dash of vanilla. Then you just stuck all that in a pot, put it over heat, and stir it till it boils.


 Volia! 

I then threw on some fresh berries. The blackberries are from a huge bush in our backyard.

This is a photo I found hiding in one of my numerous folders on my computer. Light trails are not only for night!  It was a cloudy day, so there wasn't much natural light to be had. I turned my aperture to some ridiculously large number, say f/15 to allow my shutter speed to almost a second. Then, I quickly hit the shutter and waved my phone in front of the lens, creating this photo. ;)

My pirate kitty! Adorable as always. I love the shallow depth, and the way it allows her face to really pop.

Anyway! Thanks for reading, and have a berry good week.

Sorry, last one.

Promise.

Monday, June 18, 2012

Homemade Pizza

I miss Hendrix.

It's the first summer I've ever spent, wanting school to start back up. Of course, the second school starts I'll be wishing for a break from the stress and work.

Still. I miss lots of things about Hendrix. The amazing friends I made. The fact that they all lived within a five minute walk from my dorm. Eating delicious deserts at every single meal.

Also, I miss the pizza. You see, Hendrix has the most amazing cafeteria I have ever eaten from. Something they started toward the end of the school year was late dinner. At this late dinner, they had salads and personal pizzas made to order.


This plate of heaven was devoured during a late night dinner. In a cafeteria. This amazing was found in a cafeteria.

It still blows my mind.

Anyway! While I'm waiting for August to arrive, I decided to recreate a little bit of Hendrix in my kitchen.

I decided to make pizza. From scratch. By hand.

The only hitch was that I decided this about half an hour before I wanted to eat. Since traditional dough takes houuurrss to make, I quickly looked up pizza dough recipes that did not involve yest.

Alas, I fell prey to the all the common allure of get-it-now fever that racks our society. There is a reason dough has yest in it. My recipe was nothing special, some flour, oil, backing soda, and water.


It looks innocent enough, right?? What you don't see is me pounding the iron-like dough, forcing it to conform to a vaguely pizza like shape. It was tough as a rock. And then some. I figured that it would taste something awful but I had gotten this far so I figured I would keep going.


There was enough dough to make two little pizzas. They sure looked like the pizza from Hendrix.


I was worried that they would taste anything but.


The topping was the easy part. I hate anything that resembles tomato, so I coated the dough with an herb/olive oil mixture. I then quickly cooked some chicken in a skillet, loading them with spices. I layered on three different types of cheese, chicken, and bacon onto the personal pizzas.


....and forgot to take pictures of me doing all that. ;) So! I snapped a photo of them cooking. It didn't take long for these puppies to cook. 


And here they are! They don't look bad, though I was worried about how the crust would taste.

The result? Ehhh. I ended up making a little herb/olive oil dipping sauce for the dough. It didn't taste bad-- and the topping tasted amazinggggg! The dough just tasted...dough-y. And it was dense as a rock. Next time I'm going to definitely take the time to make actual pizza dough with yest. :)