Friday, August 22, 2014

DIY Journal


What I made:


As the pages in my current journal come to an end, I started looking around for a replacement. I knew what I wanted-- a rather basic one, perhaps with a cardboard-type cover that I could cover with whatever photos/quotes I wanted.

I perused all the usual places-- clearance racks at Target, Hobby-Lobby-- and found nothing that resembled the blank slate that I wanted. Then it hit me. If I wanted a cardboard cover that I could decorate, then I should just take some cardboard and make a journal. How hard could it be? And that way, I could dictate what type of paper was in it, lined or not, and what how the journal was decorated.

I gathered any material around that looked like it had journal potential. I considered poster board, flimsy poster board, scraps of cardboard, and even the backs of used spiral notebooks. In the end I decided that while I wanted a hardcover journal, the poster board was a bit too thick, and choose the scraps of cardboard. The two pieces of cardboard I found were slightly differing thickness-- the thinner one was tremendously easier to work with than the thicker piece, which was quite annoying, though still feasible.

I used my previous journal as a guide, and used a box cutter to cut my cardboard pieces down to size. They were rough-- but since I was going to cover them with paper it didn't matter.

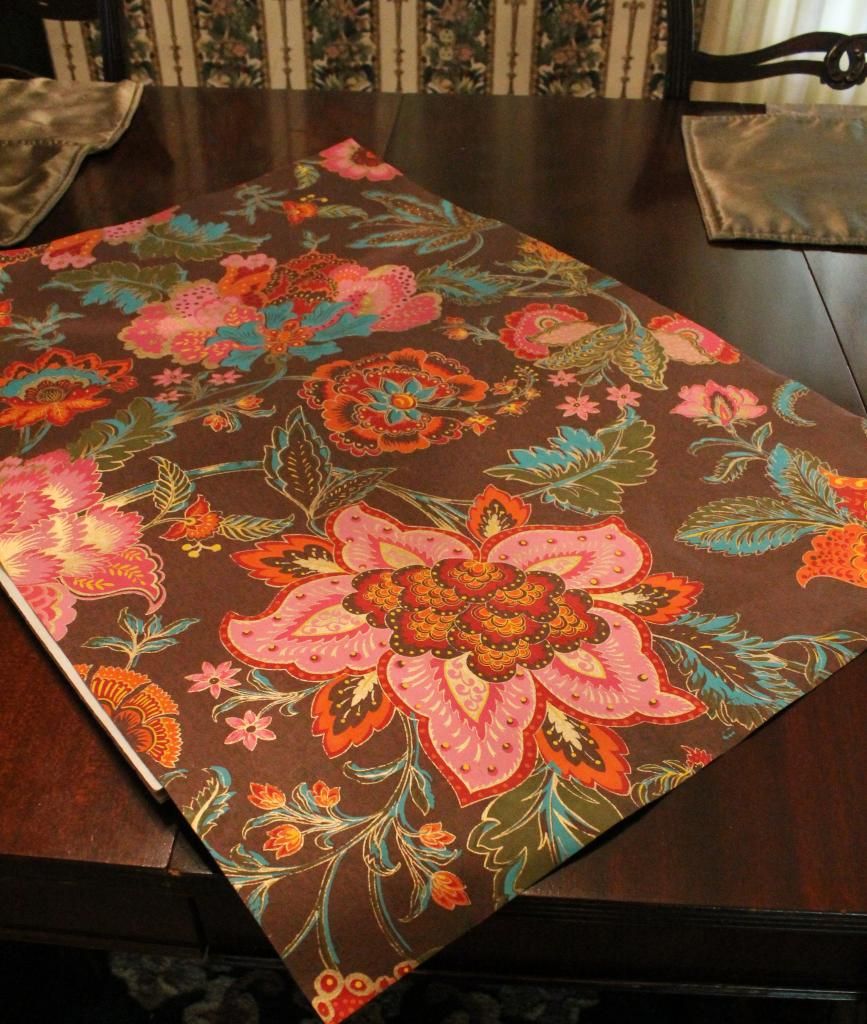
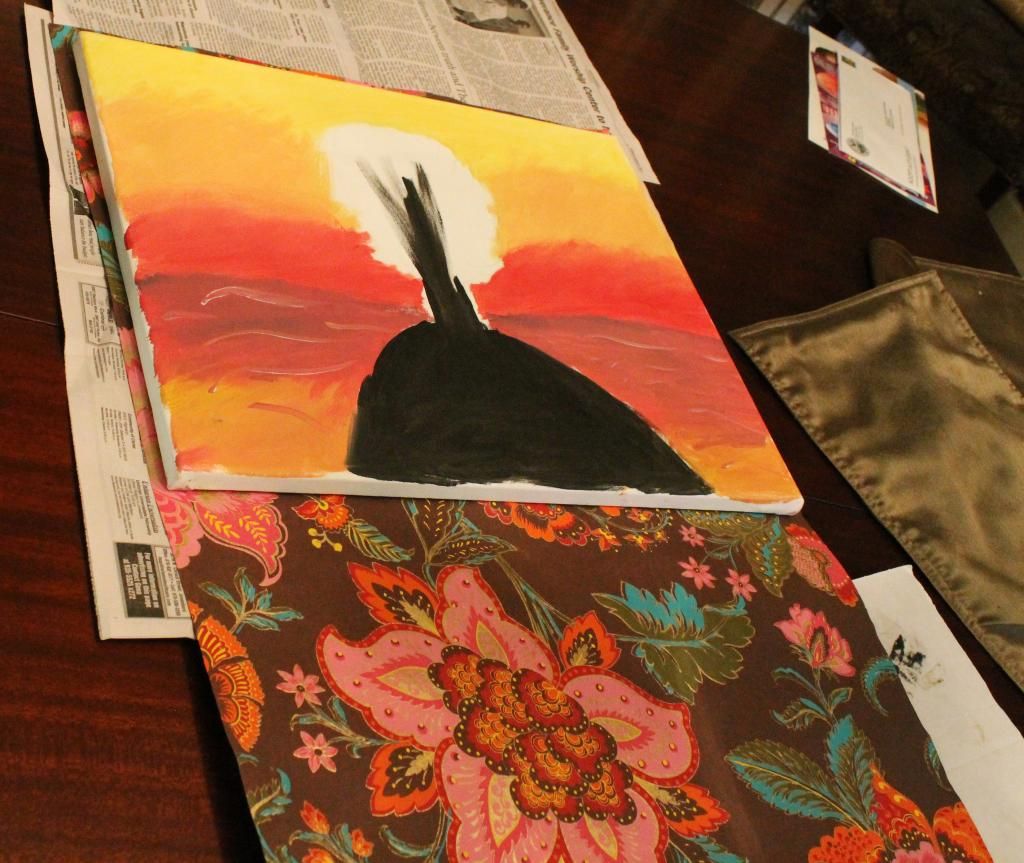
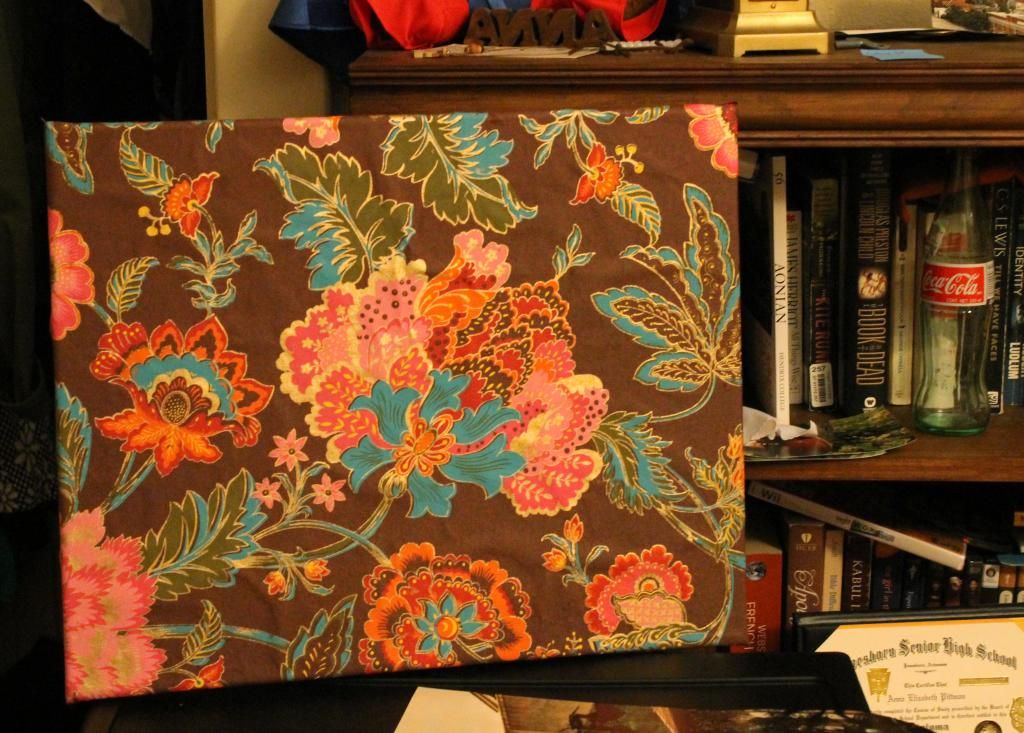
Remember that canvas DIY I just did? Well, the sheet of patterned paper I used (which was 3 dollars) was larger than the canvas, so I had a decent amount of excess.

 
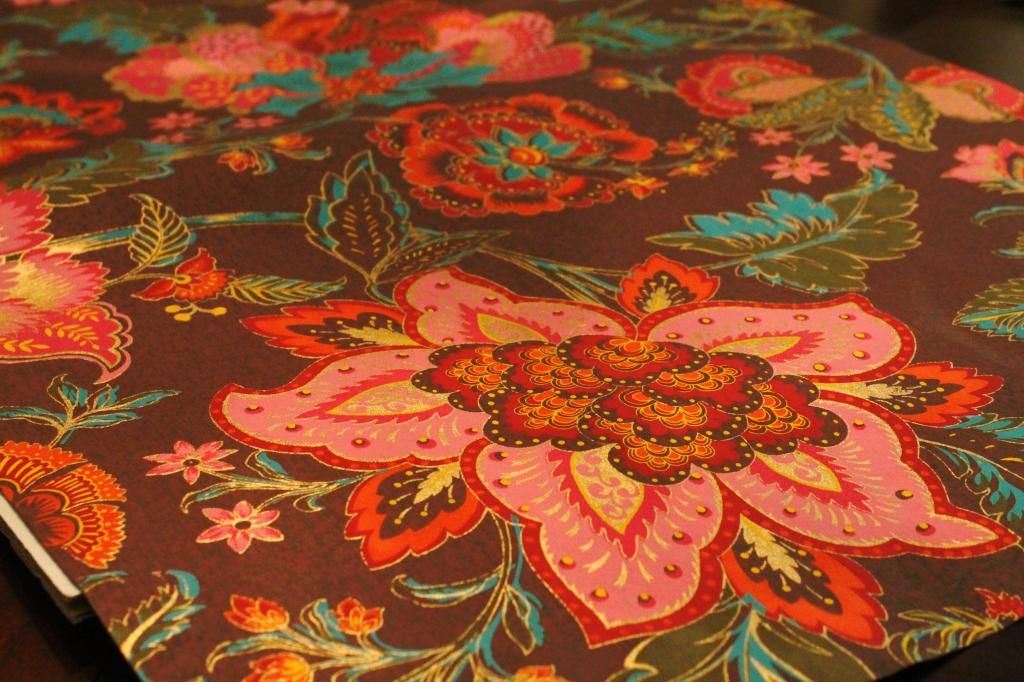
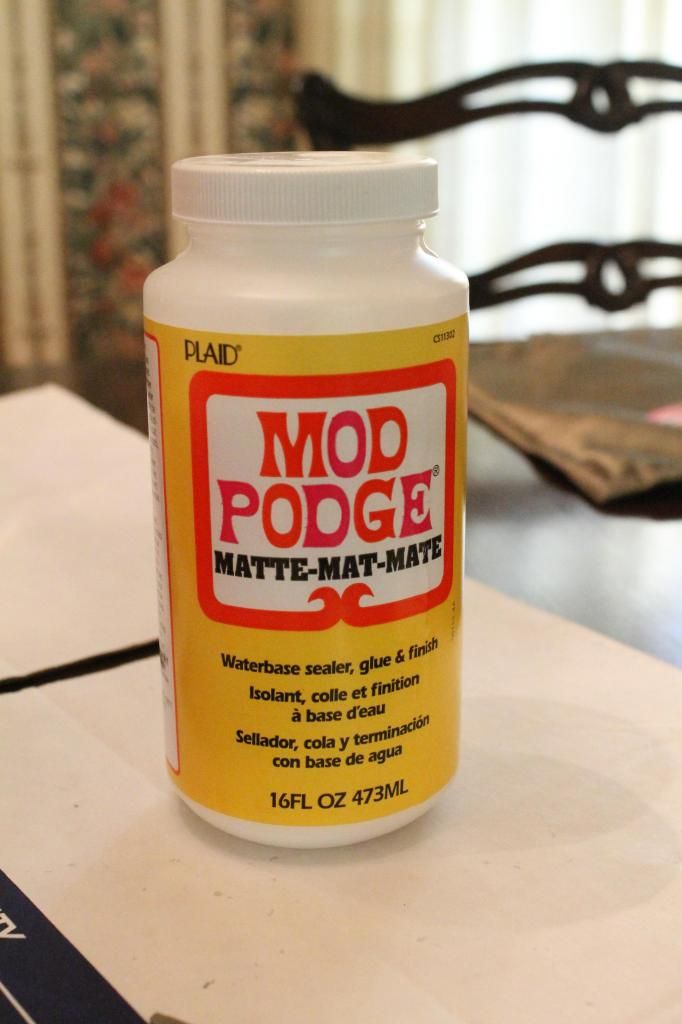
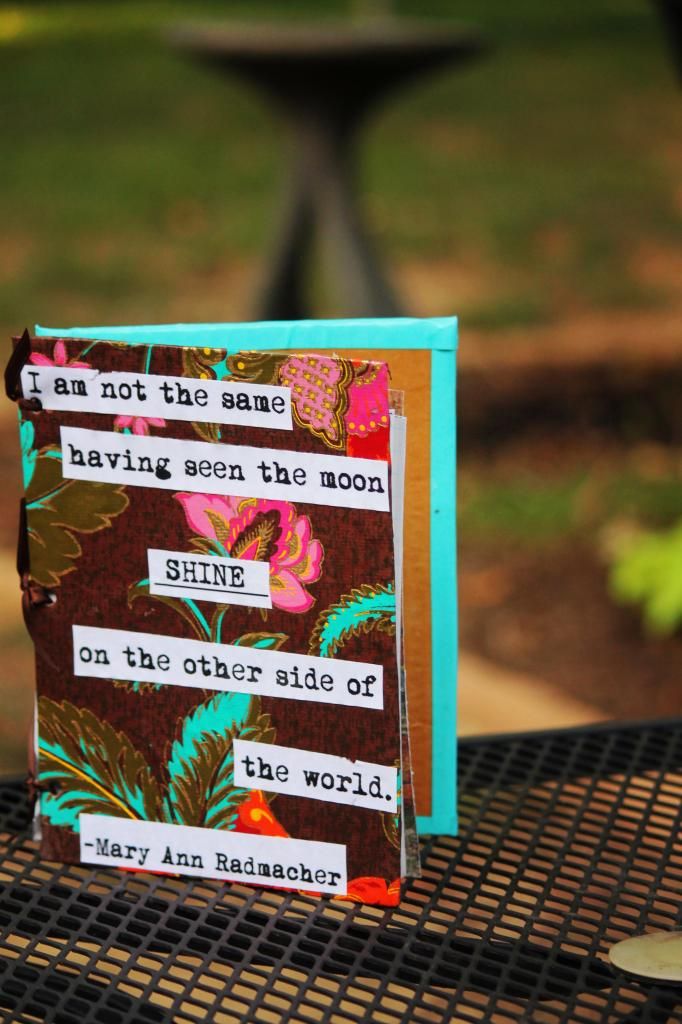
I chose to use that to cover the front of my journal. I slathered the cardboard with Mod Podge and arranged my paper so that I had enough overlap to wrap the edges. Sorry for the absence of photos! I wasn't sure if the craft would turn out and my ever-handy iPhone no longer takes acceptable photos. Eventually though, I figured I would blog about this, and pulled out my SLR.


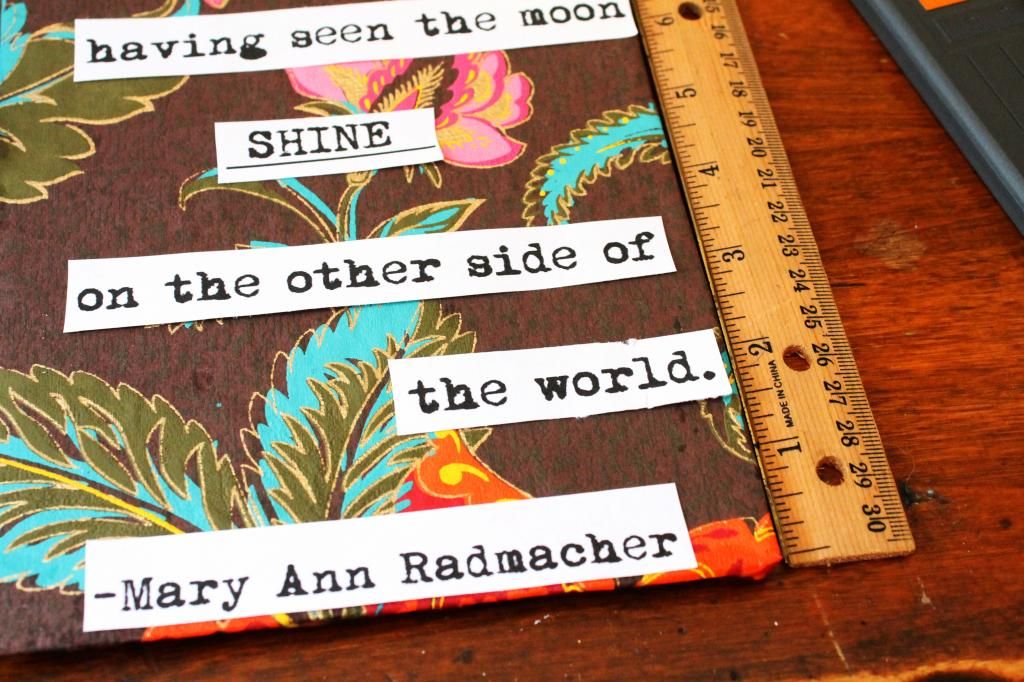
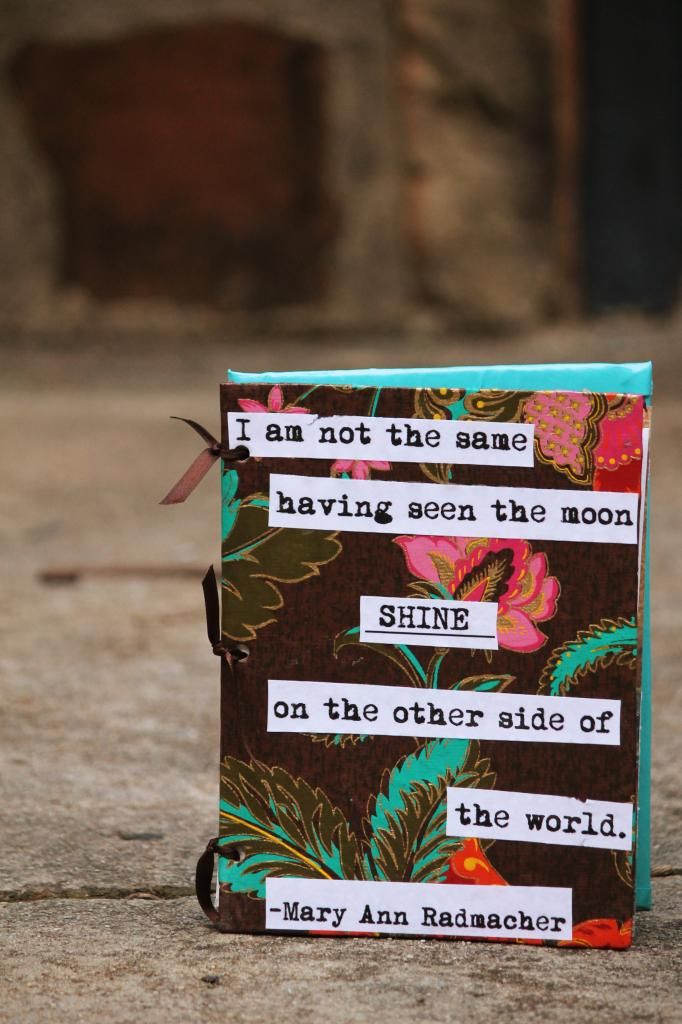
To decorate the front, I found a quote online that I liked and downloaded a free typewriter font and printed it out. I liked the idea of having block white quotes on top of patterned paper. Since I suck at cutting/drawing/anything to do with straight lines, I used a little cutting device to help. I spaced out the words and then used Mod Podge to fix them to the cover. Then, for good measure I spread Mod Podge evenly over the entire front cover. What this does is give it some mild weather proofing-- the Mod Podge acts like a sealant and helps protect the paper.


And that was the front cover! Next I worked on covering the back cover. I had enough of the floral paper to cover the back but I opted to go for a solid blue piece of cardstock instead. I also gave this a light overall coat of Mod Podge to seal it.

Next up, hole punching! The front cover wasn't ornery-- the hole puncher easily went through the thin cardboard. The back cover, however, was awful; the hole puncher couldn't make it through the thick cardboard. I managed to get some holes in there, but if I had been more discerning with my cardboard selections in the first place, it would have went a little smoother.

I am still not sure exactly what type of paper I want to stock my journal with. For starters I cut some regular line paper into a size that would fit, and hole punched it.


Currently, to bind my journal, I have three pieces of ribbon tied in knots. I'm looking around for some little metal clasps that might work better. For the meantime, the ribbon is doing just fine.

Random interlude-- I took a picture of this beauty while doing my mini-photoshoot for the journal.

One of the things I love about this journal is how completely customizable it is! If I ever want to add photos, all I have to do is punch some holes in them, untie the ribbons and add them. I can add new pages, pictures I like.


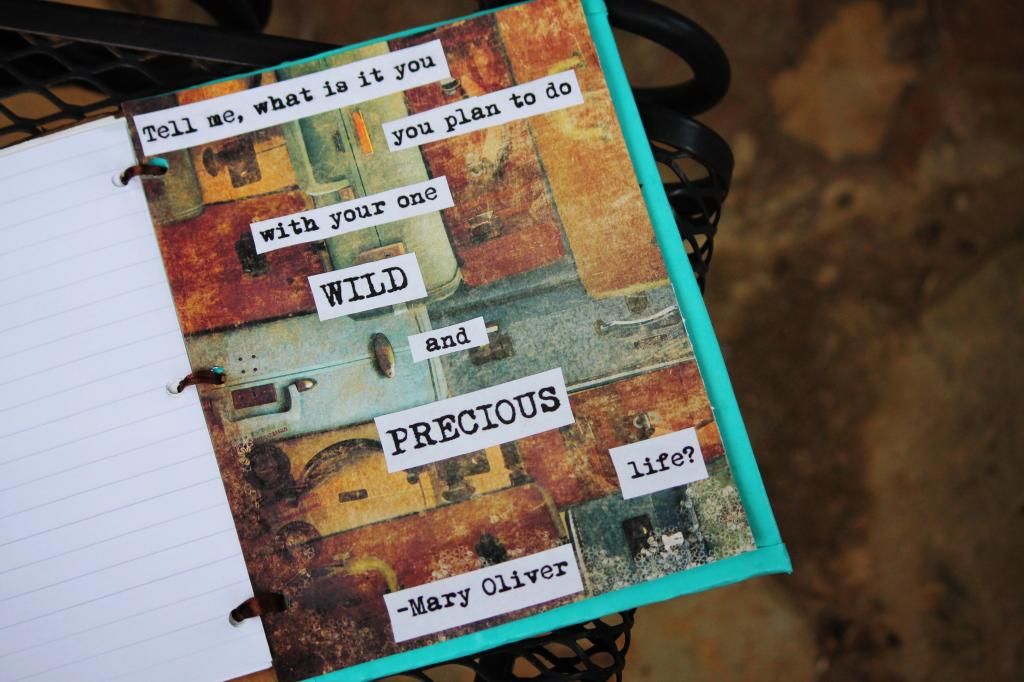
This is one page I put in with the regular lined paper. I love this poem and used some baby typography on a pretty piece of scrap booking paper ((having a mom who does card making comes in handy;)).


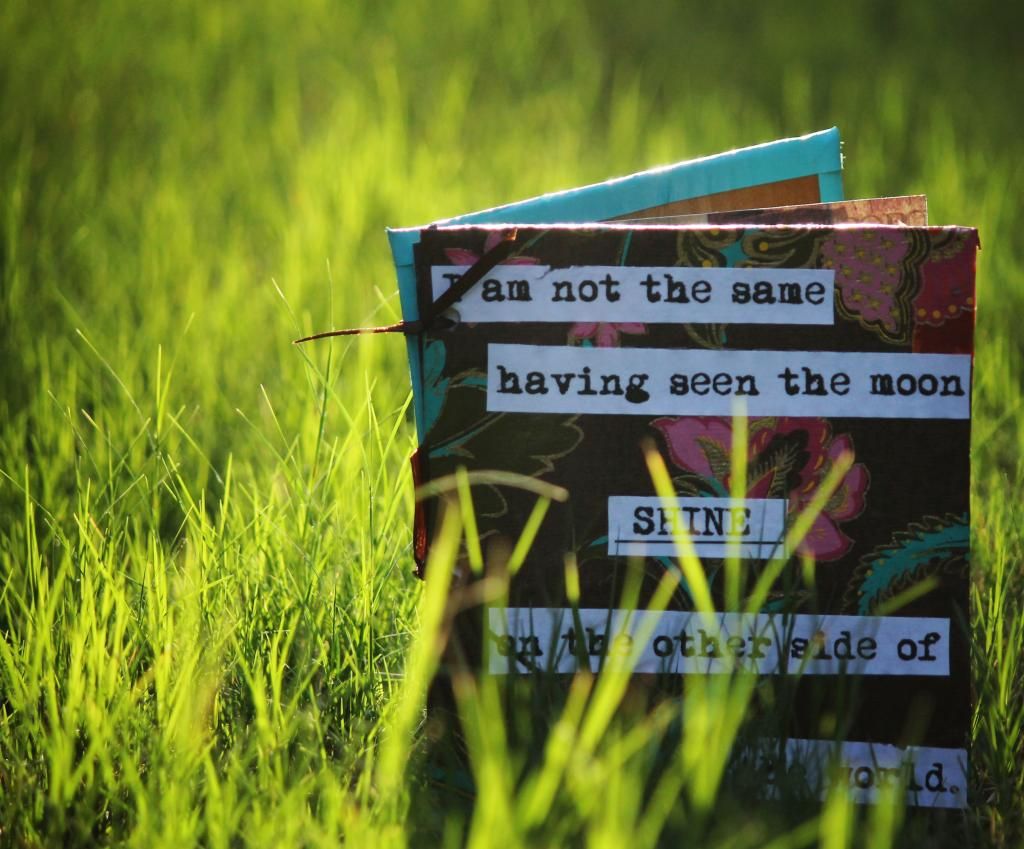
And there you have it! A lovely, customizable, easy to make journal, all made with material I found laying around the house. :)

Thanks for reading! I move back to college this Sunday so my time for crafting will see an exponential decrease sadly. But stay tuned for more posts!

Sunday, August 17, 2014

DIY Dresser Makeover

This semester I'm moving up in the world.

I've gone from sharing one (tiny/moldy/size of a large closet) dorm room with two lovely people sophomore year to sharing an entire apartment with two friends senior year! The overabundance of mold/zombie-suicidal ants (true story) sophomore year may have helped boost my immune system, but I am quite excited to get a (hopefully) cleaner living situation this year. 

While there are obviously many perks to living in an apartment, the apartment is unfurnished. So I picked up a cheap plastic dresser/drawers set up. Next year when I'm off to graduate school I'll spend more thought and perhaps money on setting up an apartment, since it'll be more long term.


But this will do fine for at least one year. I've seen tutorials about cutting up a large poster and decorating the front of an old wooden dresser. I thought that could be a cool way to spice up my plastic drawers. However, my plastic dresser is a bit bigger than most of the posters I found online-- and I'm too cheap to spring for a large poster on a project that may or may not turn out.

Then, a week or so ago, I was wandering through a cool hippie store and stumbled upon a large sheet of patterned paper. I bought one sheet for my quick canvas DIY and bought another one for my dresser DIY. The papers were about three dollars a piece, and was big enough to outfit my dresser.


The hardest part about this DIY was just taking the time to cut and tape each little piece of paper into the drawers. I used the patterned paper for the front of the dresser and used black card stock for the rest of the sides. I'm a decently messy person, and I wanted to use the card stock to hid my messy piles of clothing/whatever ends up in the drawers.

I tried using Mod Podge to fix the paper to the plastic drawers, but Mod Podge doesn't work well with plastic, so I stuck to using tape. I measured how long the drawers were, cut up my paper, and taped it to the inside of each drawer. I made sure to apply extra packing tape so that the paper wouldn't tear as I threw clothes in and out of the drawers.


 It was a bit tricky to fold the purple paper over the contours of the drawer handle, but nothing a some scissors and some tape can't fix.

If you want your pattern to be all over the drawers, you can always find some fun wrapping paper and use that. I really liked the purple paper-- no one is going to see the sides, so I don't mind that they are just covered in black card stock.

Et, volia! That's it-- an easy way to customize a cheap set  of plastic drawers.


It's not perfect-- the purple paper was about 1in too small width wise, and I don't have a perfect amount of patience. However, you won't notice the imperfections unless you sit and stare at it and I know that is one thing I won't have time for this coming semester.


Thanks for reading! Hope you were inspired to spice something up with a little DIY.
 :)

Saturday, August 16, 2014

10 Things I Learned my Freshman Year

 My senior year of college starts in a little over one week. Every time I realize this, I am amazed to think that in two semesters my entire undergrad experience will be over. High school was fun but college has been such a a blast, I'm not ready for it to be over! Even though I know that the friendships I've made will not end after graduation, I'm not exactly ready to enter the real world. Even if the 'real world' just means more schooling at graduate school.

Thinking ahead reminds me of where I was three years ago, just about the start my freshman year. I even wrote a little paragraph of things the summer before college--what I was looking forward to, and things I was worried about. Looking back now it's almost funny how insignificant my worries were.

Your freshman is a very special time in your life. For the first time you're leaving home, living with a bunch of strangers, and making all of your own decisions. There are best friends to make, amazing courses to take-- college is where you start to solidify and defend what you think and believe about the world.

Without further ado, here are ten things I learned my first year of college!


--Should you spontaneously dye your hair because you have a coupon and it's some day that ends in a y?
The answer is always yes. College is a very peculiar time in your life. It is also one of the only times in your life that you can dye your hair bright red/any other obnoxious/unnatural color and it will be alright. You don't have a job to look 'professional' for.

My short lived red hair phase :)


--Best friends take time to make. 
Your freshman year is a crazy period of time where you meet people by the bushel. However, those sometimes awkward ice-breaker events help you make a bunch of acquaintances. It's over the course of the semester that these acquaintances grow into friendships. Even in the separate universe that college sometimes seems to exist, these friendships take time to grow.

Bonding over Quidditch! One of the best parts of this photo isn't shown: I was playing Keeper which meant I got an awesome cape.
--You should start your homework sometime before the night before it's due. 
In high school my classes were never very challenging. I approached my first semester of college expecting the difficulty level to be reminiscent of high school.
Well I was in for a surprise. College courses turned out to be far more challenging than I had expected. This was a great thing-- being challenged is always fun-- but my attitude towards homework took a bit of time to be updated. I sometimes cringe to think about how I didn't even start my physics homework till the night before it was due (spoiler alert: that didn't turn out well). I quickly changed my approach and things got better from there.

This is the best way to study for a physics exam. Perhaps not the most productive, but the yummiest.

--Say yes to new activities. 
Sometime early on freshman year my roommate mentioned she was going to watch a TV show I had never heard of with some people in our student union. The TV show sounded weird but I figured I might as well tag along. The TV show turned out to be Dr. Who-- now one of my favorite TV shows. Not only did I find a really cool show, it also turned out to be a great bonding activity with people I just barely knew.

Side note: This was in September and it was probably like 80 degrees outside. However, this was a scary episode of Dr. Who, thus the cuddling and blanket ;)

--If you see a sign at a local coffee house proclaiming that live Irish music would be performed that night you should drop all homework/other obligations and go. 
Even if the sign turned out to be a lie, hanging out with new friends was worth pushing off homework till later.

--Sign up for (almost) every club/activity/group that looks mildly interesting. 
Freshman year is a temporally amazing time. Somehow I managed to: (a) be in the wind ensemble, (b) take piano lessons, (c) be in a small ensemble, (d) sing in my church's choir, (e)play some in the orchestra, (f)join the Qudditch team (sometime I don't like to admit to, but since I've already blogged about it, I figure all hope is lost), (g)join my church's college group, (f) and, you know, classes and that.
Looking back I'm not sure how I didn't die but the special thing about freshman year is that while your classes might be hard, the work load is nothing compared to the coming years. You're getting time to focus on making friends-- something that will disappear as college goes on.

I had the pleasure of playing two clarinets-- at the same time. Just kidding, but these are a B-flat and an E-flat clarinet I was able to play in the orchestra. Lucky for me I always had enough rests to switch between the two clarinets during the pieces.

--Movie nights are the best. 
I recently read an article that advocated not bringing a TV to college your freshman year because if you do you'll be glued to the TV and miss out on life. Which sounds like a personal problem with me. I brought a TV freshman year and I'm glad I did. My roommate and I rarely watched it but it was great for Friday movie nights. We would buy a bunch of junk food and pull down our mattresses to lay on the floor, invite friends over, and have a good time.

Momma Mia night!

--Don't neglect your studies
Freshman year I got B's in classes where I easily could have gotten A's simply because I put minimal effort into them. Freshman year is where you learn how to balance having a life and doing well in your courses-- it takes a while to find a nice balance.

--College parties aren't all they are made out to be in the movies
In fact they generally aren't much fun at all. I never had enough alcohol in my blood to fully enjoy them like some people seemed to be doing. Turns out going to a party sober just means you won't be able to forget the regrettable fashion choices some people are making. This was a big thing for me freshman year-- I felt like I should be going to parties and loving them. Instead, I learned to accept that while dorm/house/off campus parties might be fun for some people, it's perfectly acceptable to skip them and bake cookies with friends instead.

The best part of any party is generally getting ready with friends :)


--There is no one-size fits all plan for how to make the most out of your freshman year. 
One of my pet peeves are those articles that tell you how to be 'pretty/more intelligent/more successful'. There are articles that tell you, if you just follow these steps, you will have a great freshman year. The problem with these articles is that they impose these qualifications on your life. In order to make friends, do X, in order to be happy you should be doing Y. These blanket proclamations don't take into account individuality and differing personalities. There were things I did freshman year-- that awkward Twister ice break, various parties-- that I did solely because I felt like they were things I should be doing. I didn't enjoy them, I felt awkward, and I didn't get anything out of the experience. The perhaps most important lesson I've learned is to not follow anyone else's guidelines on how to enjoy your life. Just because person A wrote an article about how glad they were that they went to ever party//spoke to every stranger they saw at college doesn't mean that you should feel obligated to follow their lead.

Ice skating with some new friends :)


There you have it! Ten lessons I learned my freshman year. Right now I'm recuperating from getting my wisdom teeth out ((so forgive any stupid grammar/spelling mistakes. I blame the drugs)). However, I still have at least two more craft tutorials to write, so stay posted!

Thanks for reading :)

Monday, August 11, 2014

5 Min. DIY Wall Art

Summer is coming to an end and the back-to-school season is in full swing! For some reason I love the influx of school supplies, the overabundance of school-themed commercials, the prospect of a fresh new school year. I've always been a geek and looked forward to the start of school.

Now that I'm entering my last year of college (oy!) the back to school season is slightly different. Not only do I have new classes to be excited for, I also have an apartment to decorate!

Enter, DIY decorations. This project is so simple I almost feel foolish posting about it. However, I thought the same thing with my collage art and I believe that post has the most views ever (like 1300 views! which is a lot for me).

A couple of weeks ago my family and I were passing through the wonderful city of St. Louis (where, in a perfect world, I might be attending graduate school) and stopped at a cool shop called World Market. I was shopping around for some posters/paper for another diy project I had going on (post soon to come!) when I stumbled upon these large pieces of patterned paper.


I fell in love with the flowery pattern. It was about the thickness of card stock (a little thicker than regular paper). I wasn't sure what I was going to do with it, but I knew I wanted it, somehow, in my room at college.

pretttyyyyy
When we got back home, I rummaged through my crafting supplies and found large canvas with an abandoned paint project on it. I've always been very enamored with silhouettes and figured 'how hard can it be to paint them?' However, I lack almost all artistic abilities and my paintings never looked like they did in my head, so my painting phase was rather short-lived.


I laid my paper on the canvas, making sure that I had enough excess that I could wrap the paper around the edges of the canvas and then cut it to size.

My trusty sidekick!
There are a couple different ways to attach the paper to the canvas-- I just went with my trusty Mod Podge. You could always use tape or even staple the paper like the canvas was stapled onto the wooden frame.

If you go with the Mod Podge, all you have to do is put a thin layer of it on the canvas. Then, lay your paper on the canvas and smooth out any wrinkles. I let it sit for a minute or so before flipping the canvas over to work on the sides.


To help wrap the paper, I cut diagonally at the corners so the paper would lay flat.

Et, volia!


This technique can be modified in a variety of ways. You can print out a photo at Walmart and put it on a canvas. If you run across a cool wrapping paper you can always stretch that out over a canvas. The canvas adds definition and makes something as simple as a piece of paper a work of art.

I now have two weeks until school starts! Two weeks to study for the physics GRE, pack for school, finish all my sewing crafts, get all of my wisdom teeth taken out, and binge watch my new favorite show Supernatural.

Stay tuned for more back to school crafts!

Thanks for reading :)