Now that I'm entering my last year of college (oy!) the back to school season is slightly different. Not only do I have new classes to be excited for, I also have an apartment to decorate!
Enter, DIY decorations. This project is so simple I almost feel foolish posting about it. However, I thought the same thing with my collage art and I believe that post has the most views ever (like 1300 views! which is a lot for me).
A couple of weeks ago my family and I were passing through the wonderful city of St. Louis (where, in a perfect world, I might be attending graduate school) and stopped at a cool shop called World Market. I was shopping around for some posters/paper for another diy project I had going on (post soon to come!) when I stumbled upon these large pieces of patterned paper.
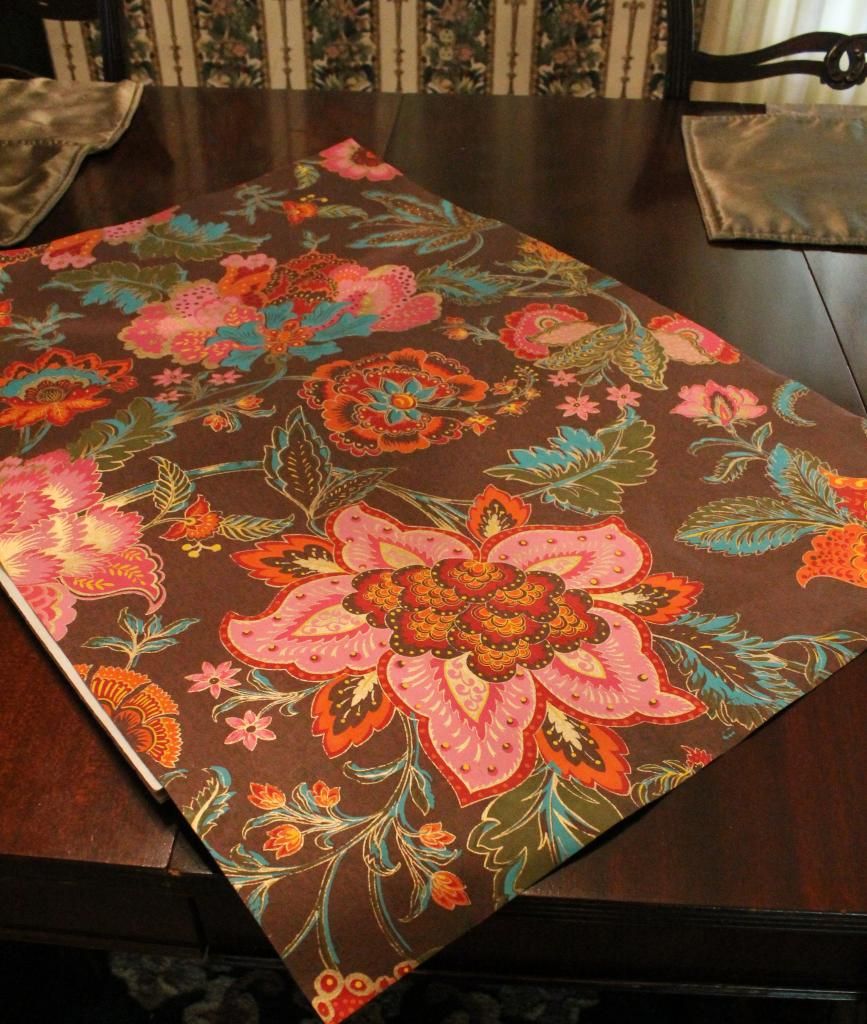
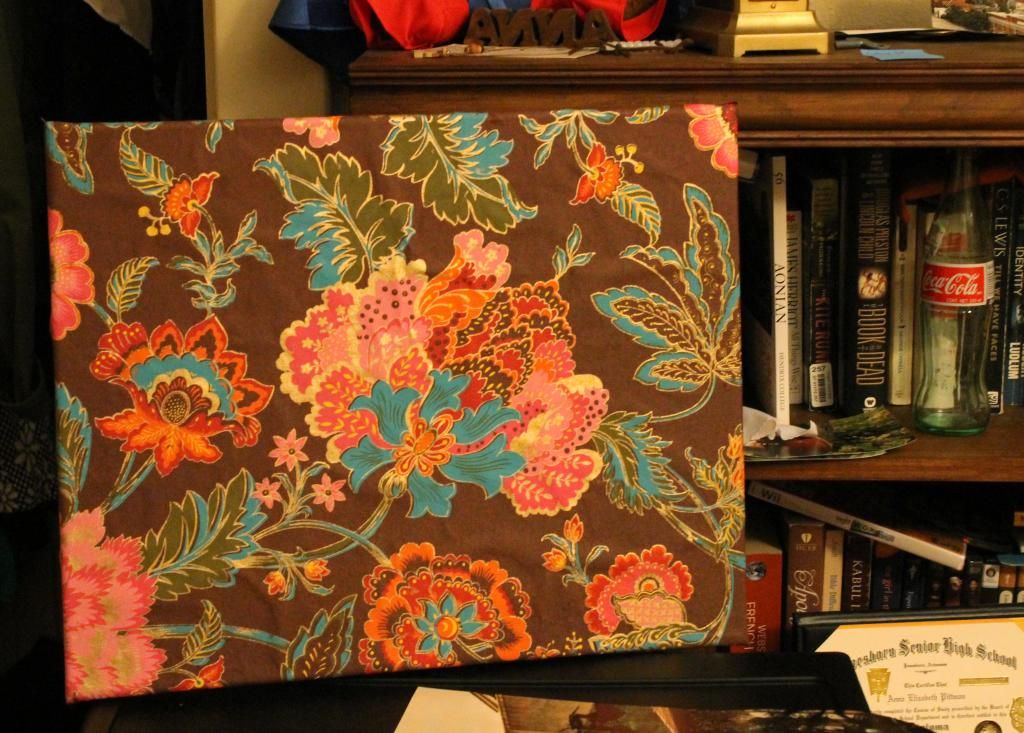
I fell in love with the flowery pattern. It was about the thickness of card stock (a little thicker than regular paper). I wasn't sure what I was going to do with it, but I knew I wanted it, somehow, in my room at college.
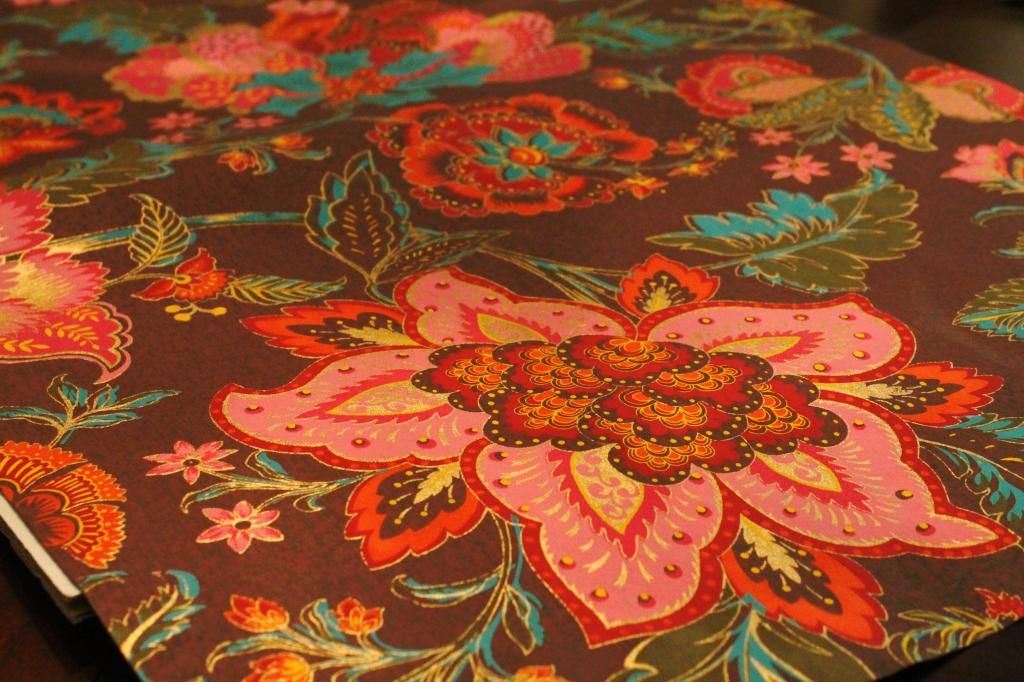 |
| pretttyyyyy |
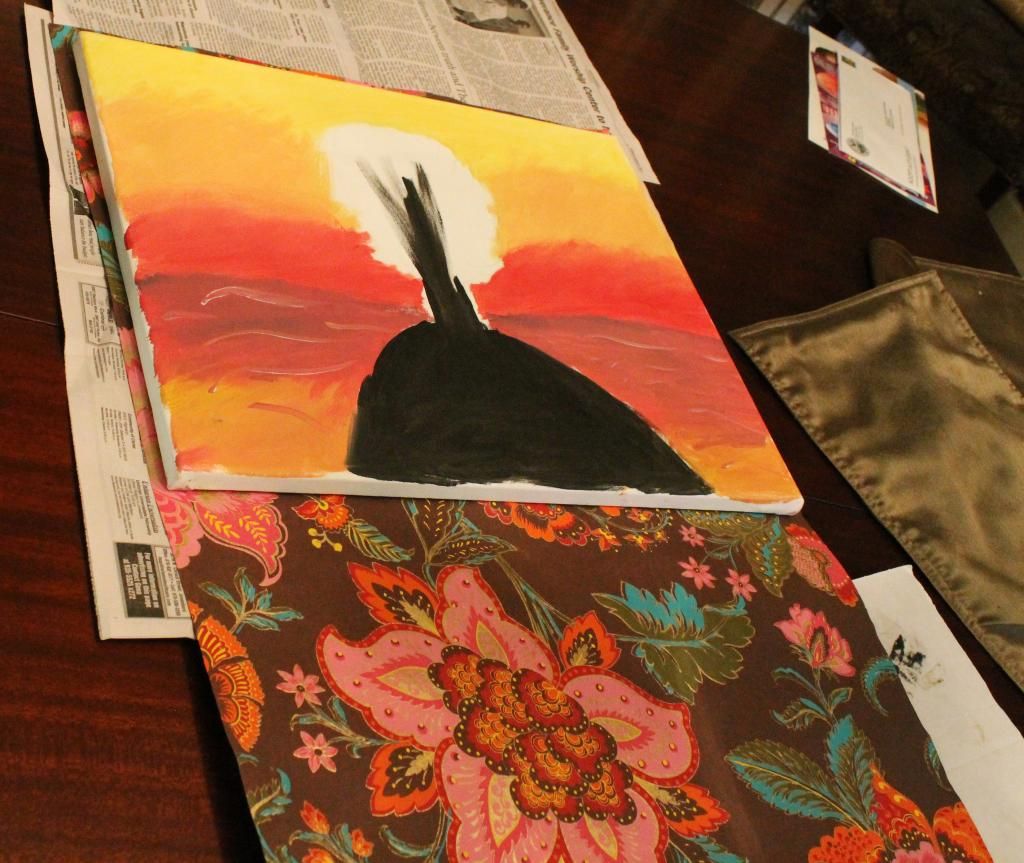
I laid my paper on the canvas, making sure that I had enough excess that I could wrap the paper around the edges of the canvas and then cut it to size.
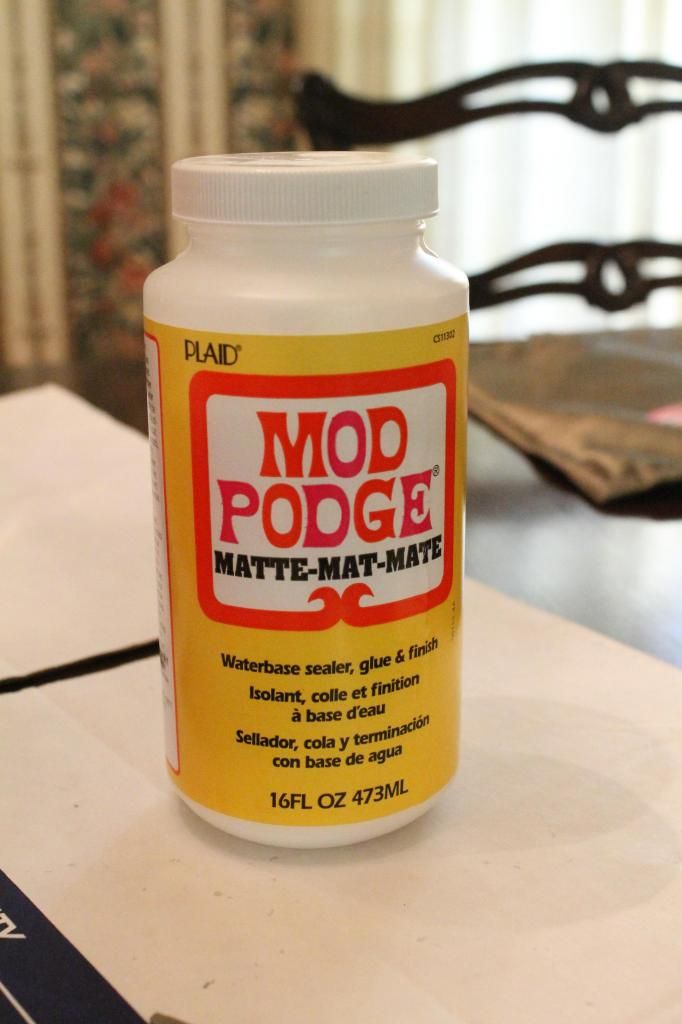 |
| My trusty sidekick! |
If you go with the Mod Podge, all you have to do is put a thin layer of it on the canvas. Then, lay your paper on the canvas and smooth out any wrinkles. I let it sit for a minute or so before flipping the canvas over to work on the sides.

To help wrap the paper, I cut diagonally at the corners so the paper would lay flat.
Et, volia!
This technique can be modified in a variety of ways. You can print out a photo at Walmart and put it on a canvas. If you run across a cool wrapping paper you can always stretch that out over a canvas. The canvas adds definition and makes something as simple as a piece of paper a work of art.
I now have two weeks until school starts! Two weeks to study for the physics GRE, pack for school, finish all my sewing crafts, get all of my wisdom teeth taken out, and binge watch my new favorite show Supernatural.
Stay tuned for more back to school crafts!
Thanks for reading :)
No comments:
Post a Comment