It didn't seem like it would take a lot of time to make it, so optimistically I thought I could just do it one weekend at school.
Enter, life and far too much homework. The board just sat unused in a corner of my dorm room until I decided to bring it home for Spring Break, when I knew I would have to time to do it.
It's rather straight forward, but I thought I would show you guys what I did.
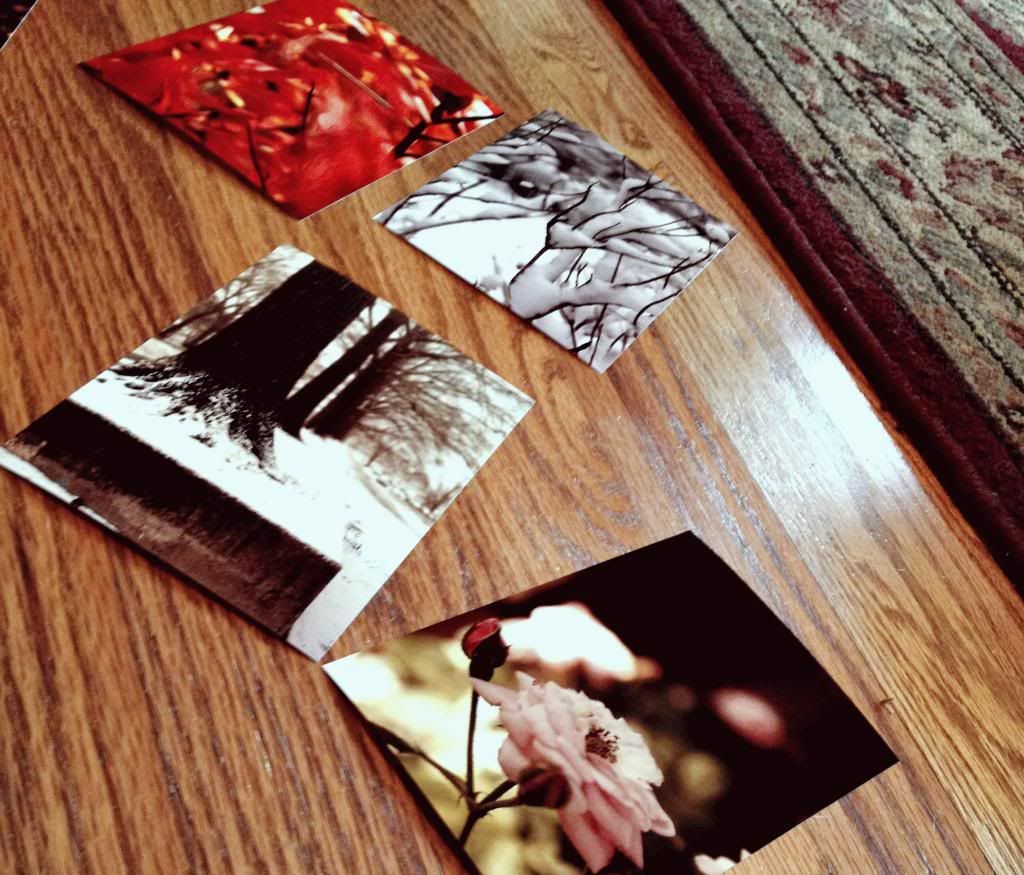
I printed out some of my favorite pictures; I only ended up being able to fit 18 on my poster board. The craft idea I had seen used square photos-- and if you can print square photos go for it. But I ended up with a mixture of vertical and horizontal photos.

I played around with the order for a while, trying to maximize space. I ended up doing two lines of vertical photos on the edges and two lines of horizontal photos in the middle. I also tried to evenly distribute the colors so I didn't have huge group of all back and white toned photos.
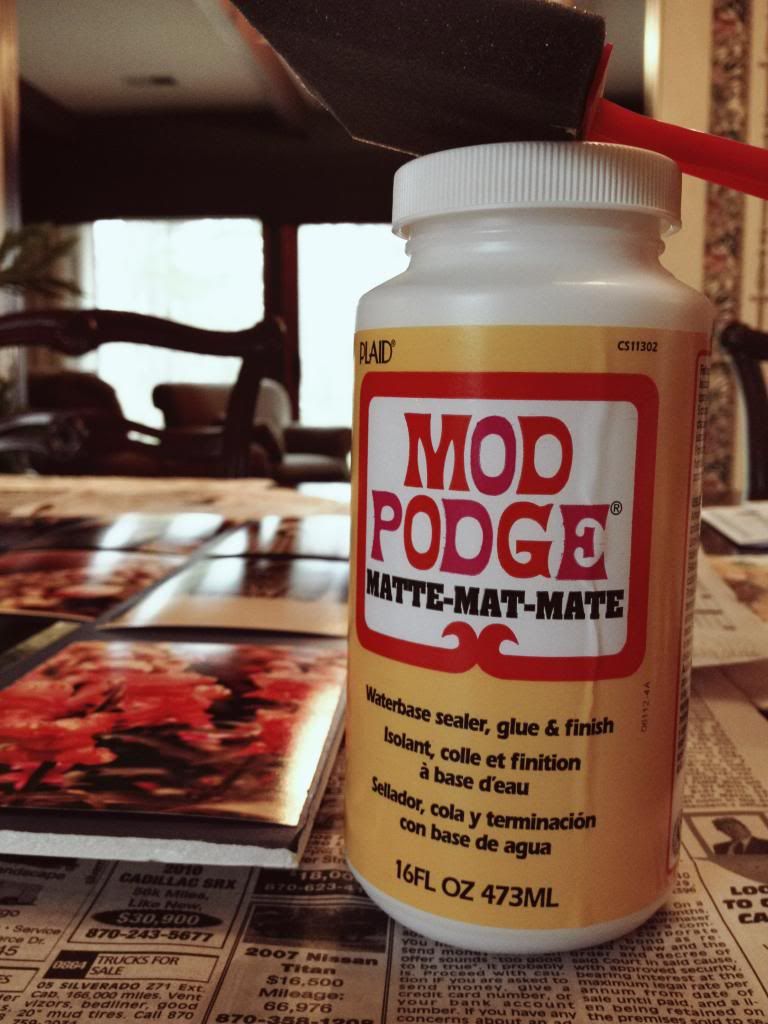 |
| Trusty Mod Podge! |
I began by laying down a nice coat of Mod Podge onto the poster board. The craft I had seen used black poster board but all Wal-Mart was selling at the time was a nice dark blue board. I like the blue, it's not as harsh as a black background would be.
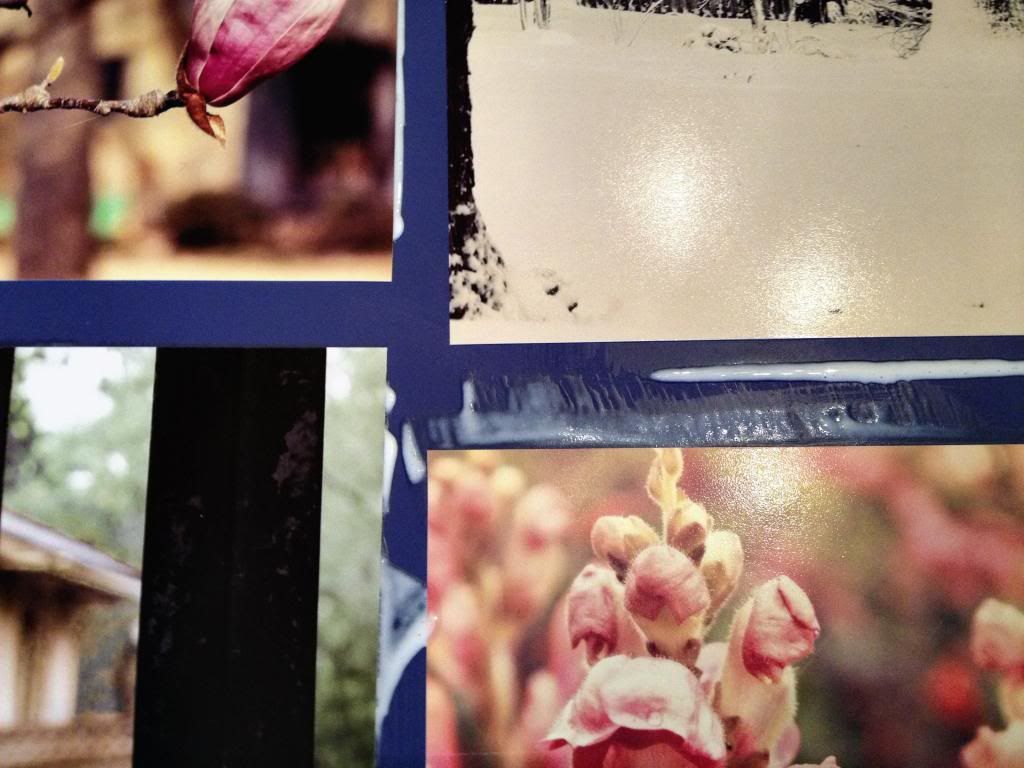
What I didn't do is check to make sure that the pictures were flush against the poster board. Look out for air bubbles-- they're fairly easy to get rid of when you first put the photo down. I didn't even think about that until after everything was done and I noticed a couple of air bubbles.

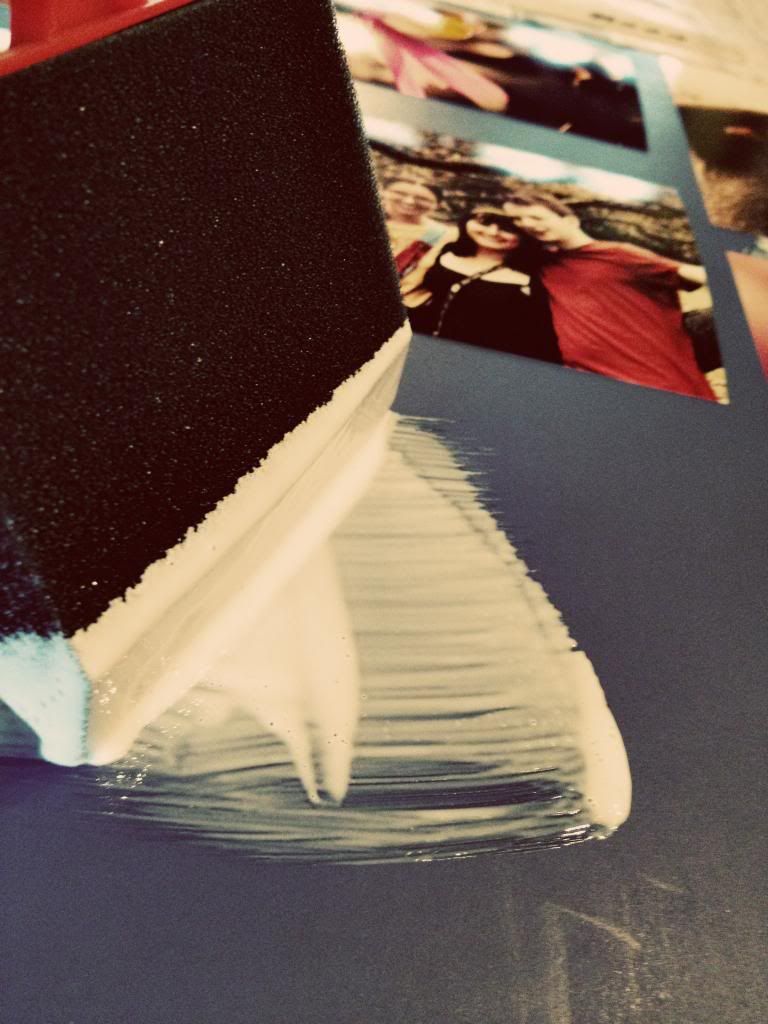
Once your photos are pretty well dried and attached, go over them with another coat of mod podge. This just really helps cement them all evenly to the poster board. Have no fears, it'll dry clear. (if you use the right mod podge I suppose. I used Matte but I think the others also dry clear....) Try to evenly distribute the mod podge, don't leave any streaks of it or you'll be able to tell when it dries. Now the top layer of Mod Podge will give a texture to your photos, for better or for worse. I don't mind it and I know I've seen a couple of craft tutorials that actually use that to their advantage by making a photo look more like a painting with textured brush strokes thanks to a layer of Mod Podge.
Then, you wait.
I put a lot of mod podge on the top layer-- probably a bit more than was strictly necessary but it didn't have an adverse outcome-- so it took a while for my poster board to dry.

Et, volia! A rather straight forward and easy way to show off your photos in an orderly fashion without paying for a frame.
Now here in the wonderful land of Hendrix I'm sick as a dog. Luckily it's a slow week for me, homework wise and my early morning lab was cancelled, allowing me to relax a little and blog.
Thanks for reading!
No comments:
Post a Comment