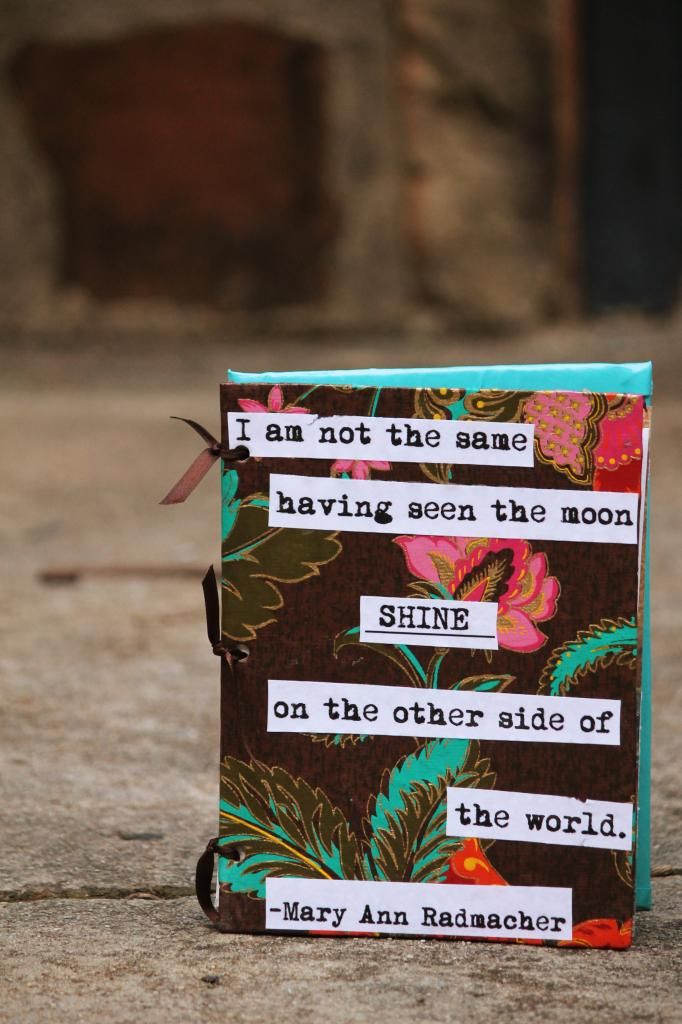
What I made:
I perused all the usual places-- clearance racks at Target, Hobby-Lobby-- and found nothing that resembled the blank slate that I wanted. Then it hit me. If I wanted a cardboard cover that I could decorate, then I should just take some cardboard and make a journal. How hard could it be? And that way, I could dictate what type of paper was in it, lined or not, and what how the journal was decorated.
I gathered any material around that looked like it had journal potential. I considered poster board, flimsy poster board, scraps of cardboard, and even the backs of used spiral notebooks. In the end I decided that while I wanted a hardcover journal, the poster board was a bit too thick, and choose the scraps of cardboard. The two pieces of cardboard I found were slightly differing thickness-- the thinner one was tremendously easier to work with than the thicker piece, which was quite annoying, though still feasible.
I used my previous journal as a guide, and used a box cutter to cut my cardboard pieces down to size. They were rough-- but since I was going to cover them with paper it didn't matter.
Remember that canvas DIY I just did? Well, the sheet of patterned paper I used (which was 3 dollars) was larger than the canvas, so I had a decent amount of excess.
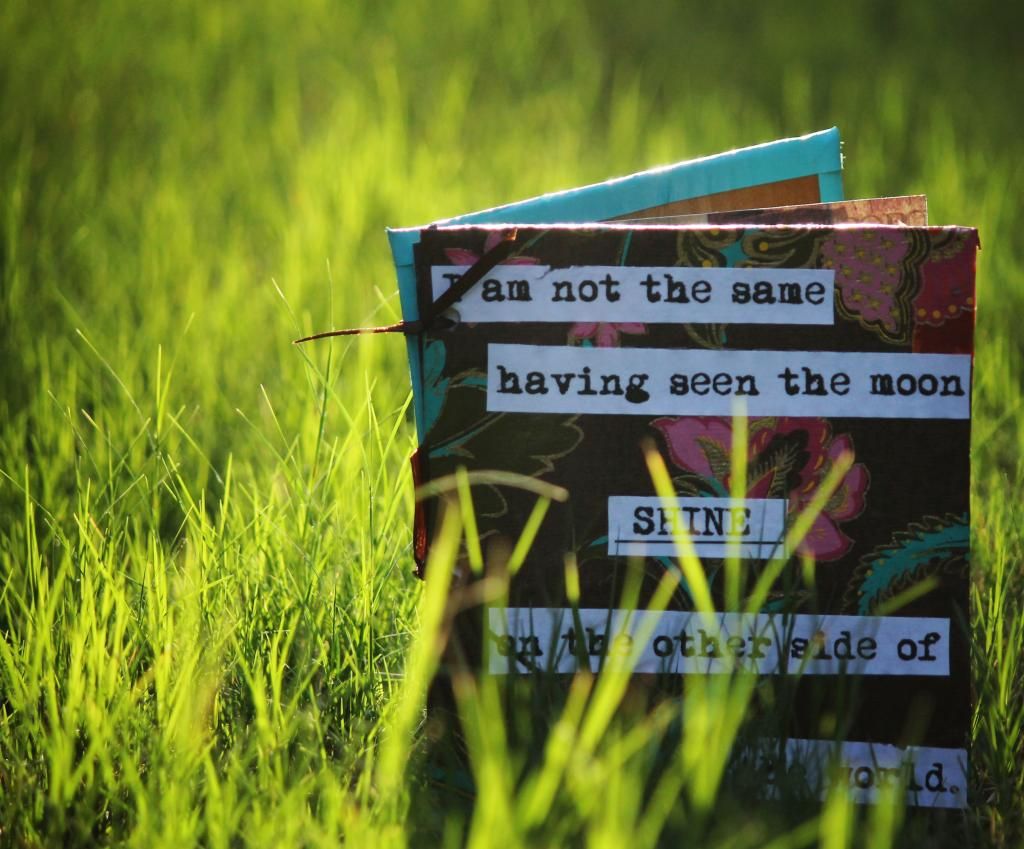
I chose to use that to cover the front of my journal. I slathered the cardboard with Mod Podge and arranged my paper so that I had enough overlap to wrap the edges. Sorry for the absence of photos! I wasn't sure if the craft would turn out and my ever-handy iPhone no longer takes acceptable photos. Eventually though, I figured I would blog about this, and pulled out my SLR.
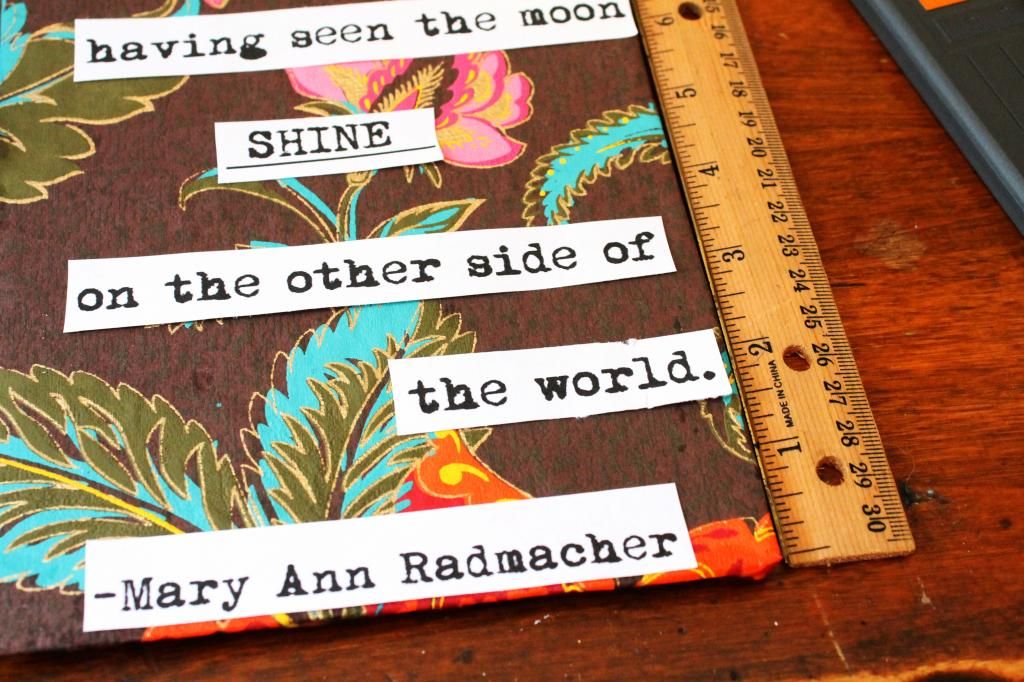
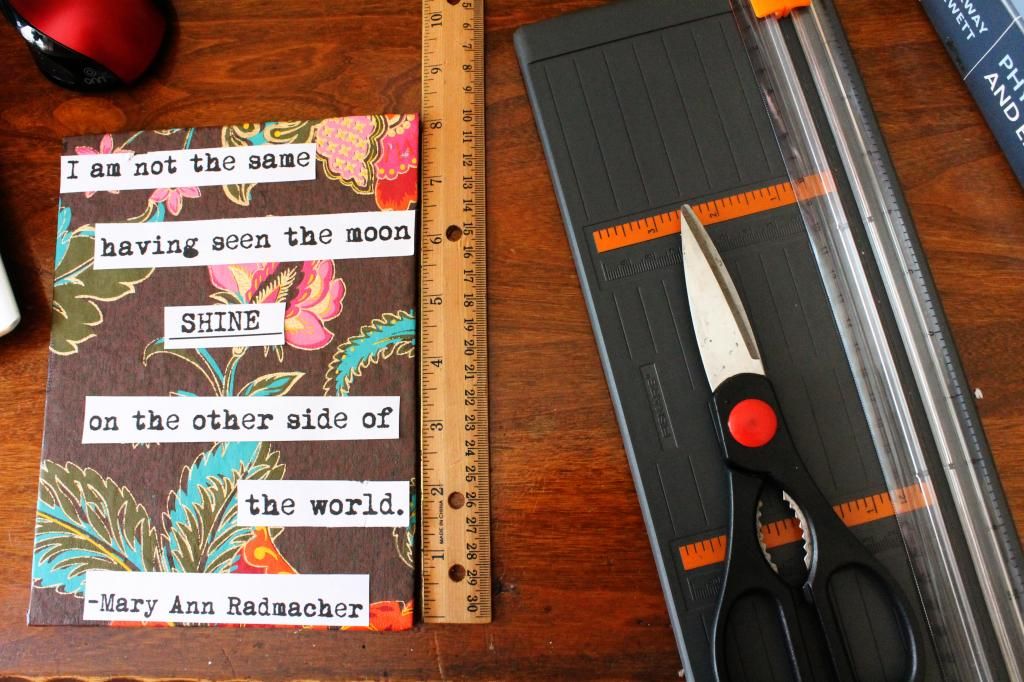
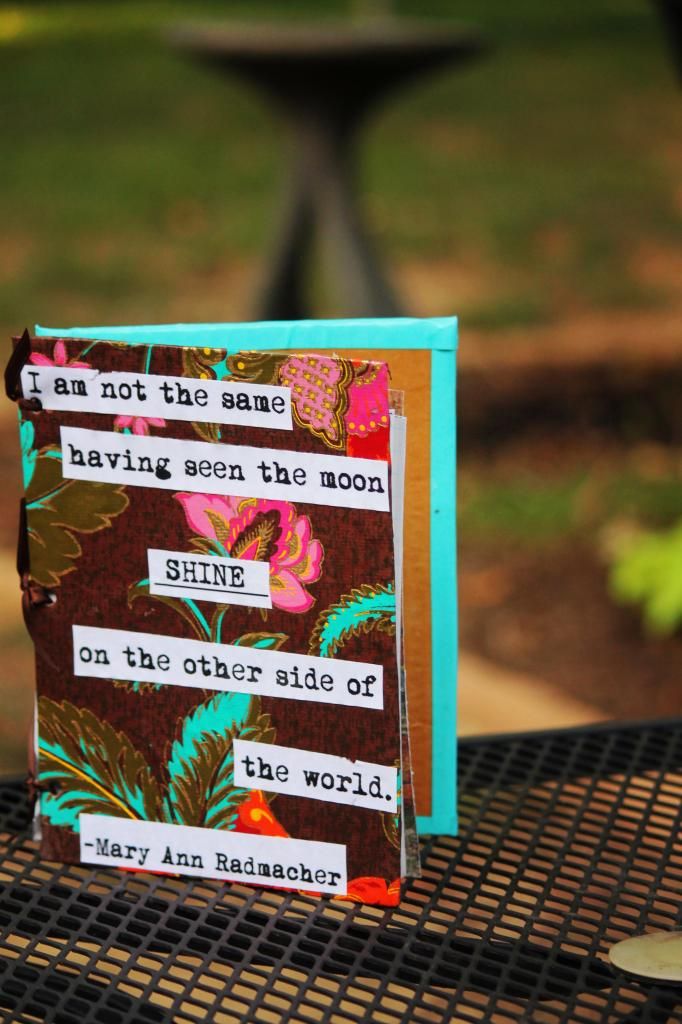
To decorate the front, I found a quote online that I liked and downloaded a free typewriter font and printed it out. I liked the idea of having block white quotes on top of patterned paper. Since I suck at cutting/drawing/anything to do with straight lines, I used a little cutting device to help. I spaced out the words and then used Mod Podge to fix them to the cover. Then, for good measure I spread Mod Podge evenly over the entire front cover. What this does is give it some mild weather proofing-- the Mod Podge acts like a sealant and helps protect the paper.
And that was the front cover! Next I worked on covering the back cover. I had enough of the floral paper to cover the back but I opted to go for a solid blue piece of cardstock instead. I also gave this a light overall coat of Mod Podge to seal it.
Next up, hole punching! The front cover wasn't ornery-- the hole puncher easily went through the thin cardboard. The back cover, however, was awful; the hole puncher couldn't make it through the thick cardboard. I managed to get some holes in there, but if I had been more discerning with my cardboard selections in the first place, it would have went a little smoother.
I am still not sure exactly what type of paper I want to stock my journal with. For starters I cut some regular line paper into a size that would fit, and hole punched it.
Currently, to bind my journal, I have three pieces of ribbon tied in knots. I'm looking around for some little metal clasps that might work better. For the meantime, the ribbon is doing just fine.
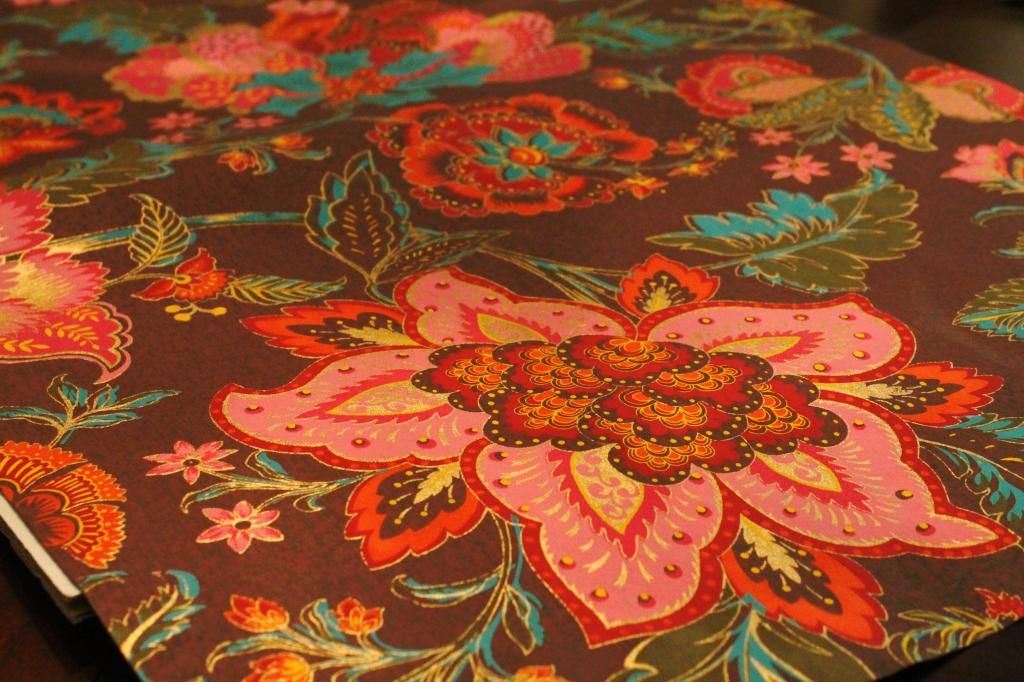
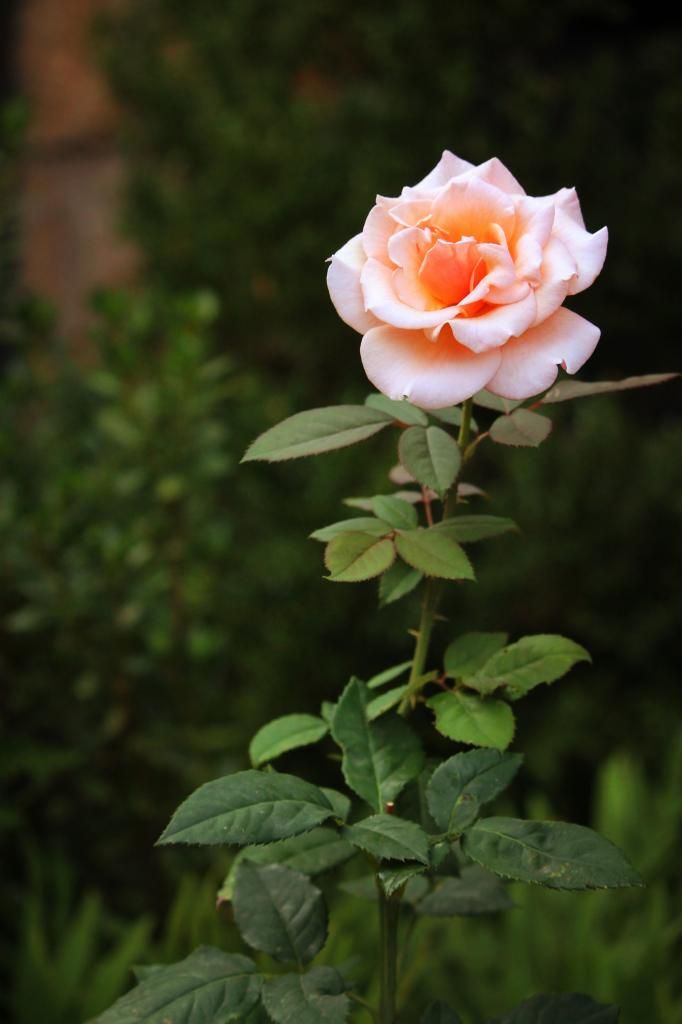
Random interlude-- I took a picture of this beauty while doing my mini-photoshoot for the journal.
One of the things I love about this journal is how completely customizable it is! If I ever want to add photos, all I have to do is punch some holes in them, untie the ribbons and add them. I can add new pages, pictures I like.
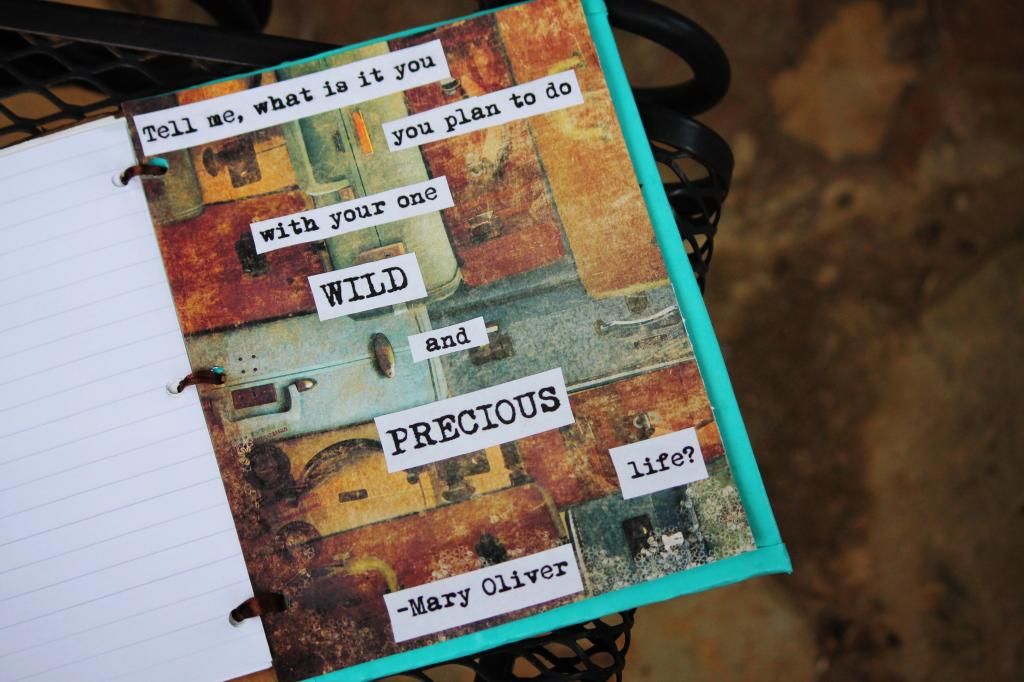
This is one page I put in with the regular lined paper. I love this poem and used some baby typography on a pretty piece of scrap booking paper ((having a mom who does card making comes in handy;)).
And there you have it! A lovely, customizable, easy to make journal, all made with material I found laying around the house. :)
Thanks for reading! I move back to college this Sunday so my time for crafting will see an exponential decrease sadly. But stay tuned for more posts!
No comments:
Post a Comment