My parents found this old wood dinning table with four chairs for a great price. The only problem was the seat fabric wasn't really what I wanted for my apartment.
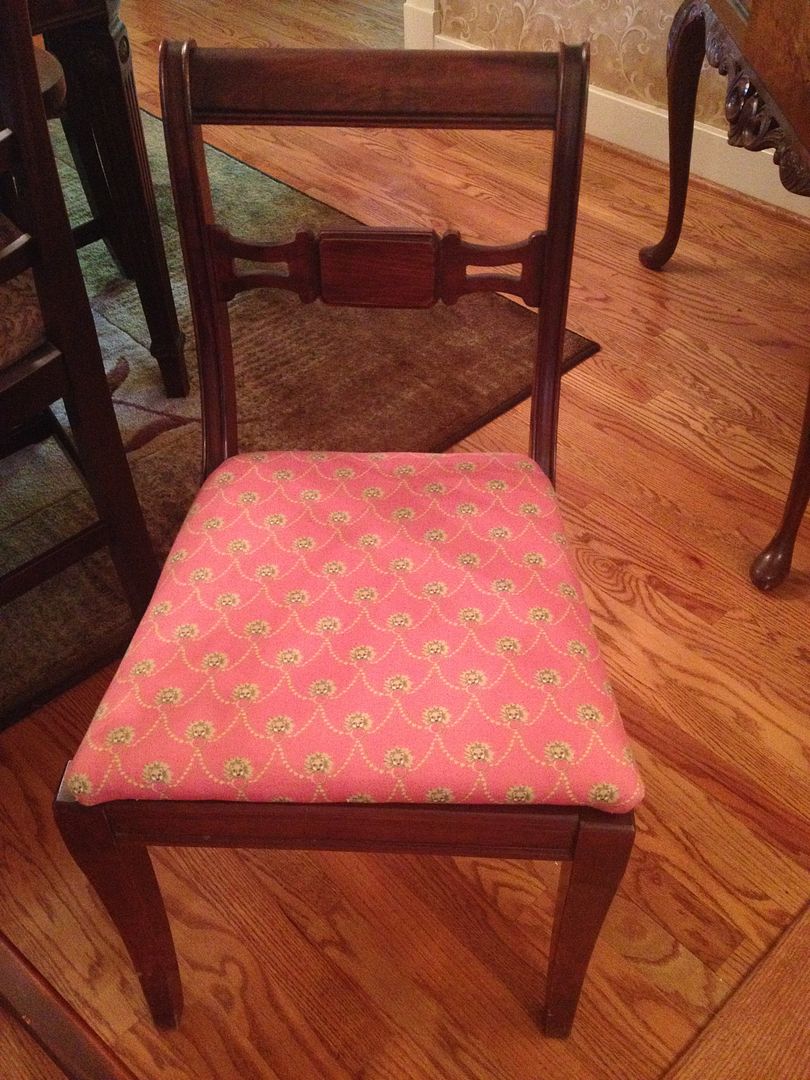
This type of chair is the easiest type of chair to recover. The seat, after a little unscrewing, just pops off, allowing you to strip the fabric and staple on the new.
Which is exactly what we planned on doing! To pick out my fabric, I headed to Hancock's Fabric, armed with a 50% one fabric item coupon. Turned out I didn't need it. I perused the clearance rack and stumbled upon a couple yards of fabric that I thought would be just right.
And for 5 dollars a yard, it was a steal! Most upholstery fabric retails for closer to 20 a yard. There was four yards in the clearance section-- which was more than enough for the four chairs.
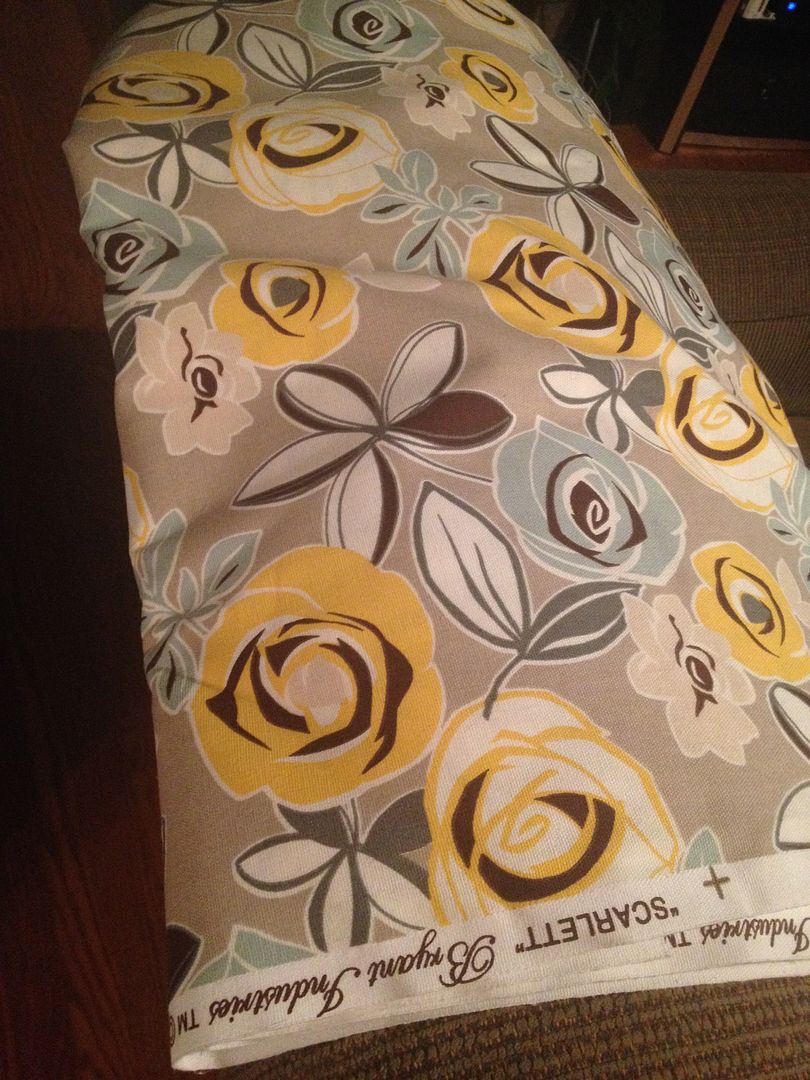
I thought if I covered the chairs with this, I could go back and do bright yellow/blue pillows on my couch for even more color.
Now comes the fun part!
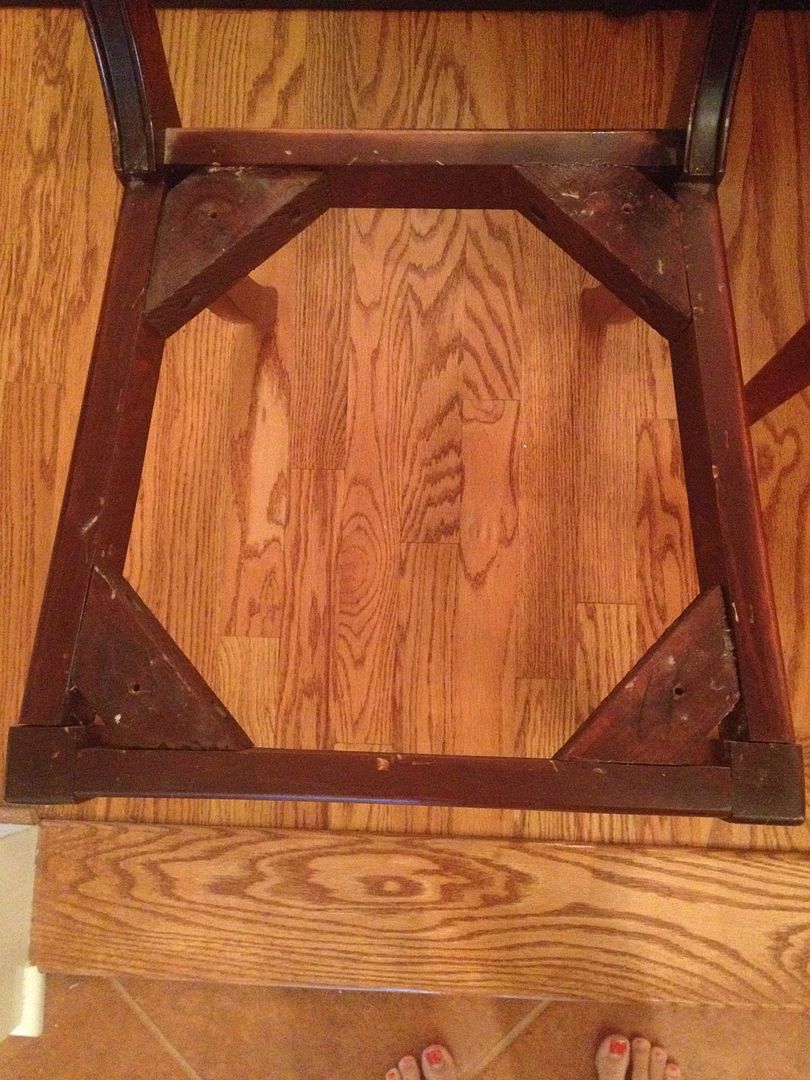
Step One:
Unscrew the seat. There should be four screws, one in each corner. Once they are out, the seat will just pop right off.
Step Two:
Strip the old fabric off. Most likely it was stapled onto the seat, so just pull the staples off and the fabric should fall off as well. This isn't a necessary step-- you could leave the old fabric on and use that as a little extra cushion.
Step Three:
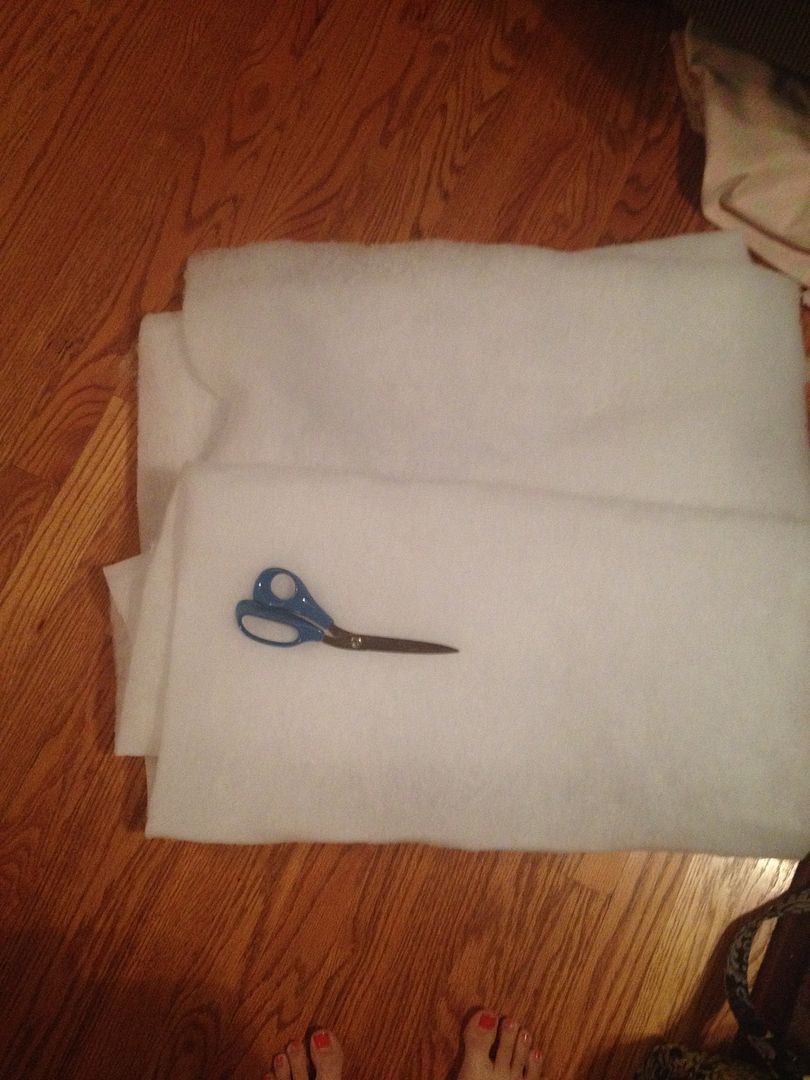
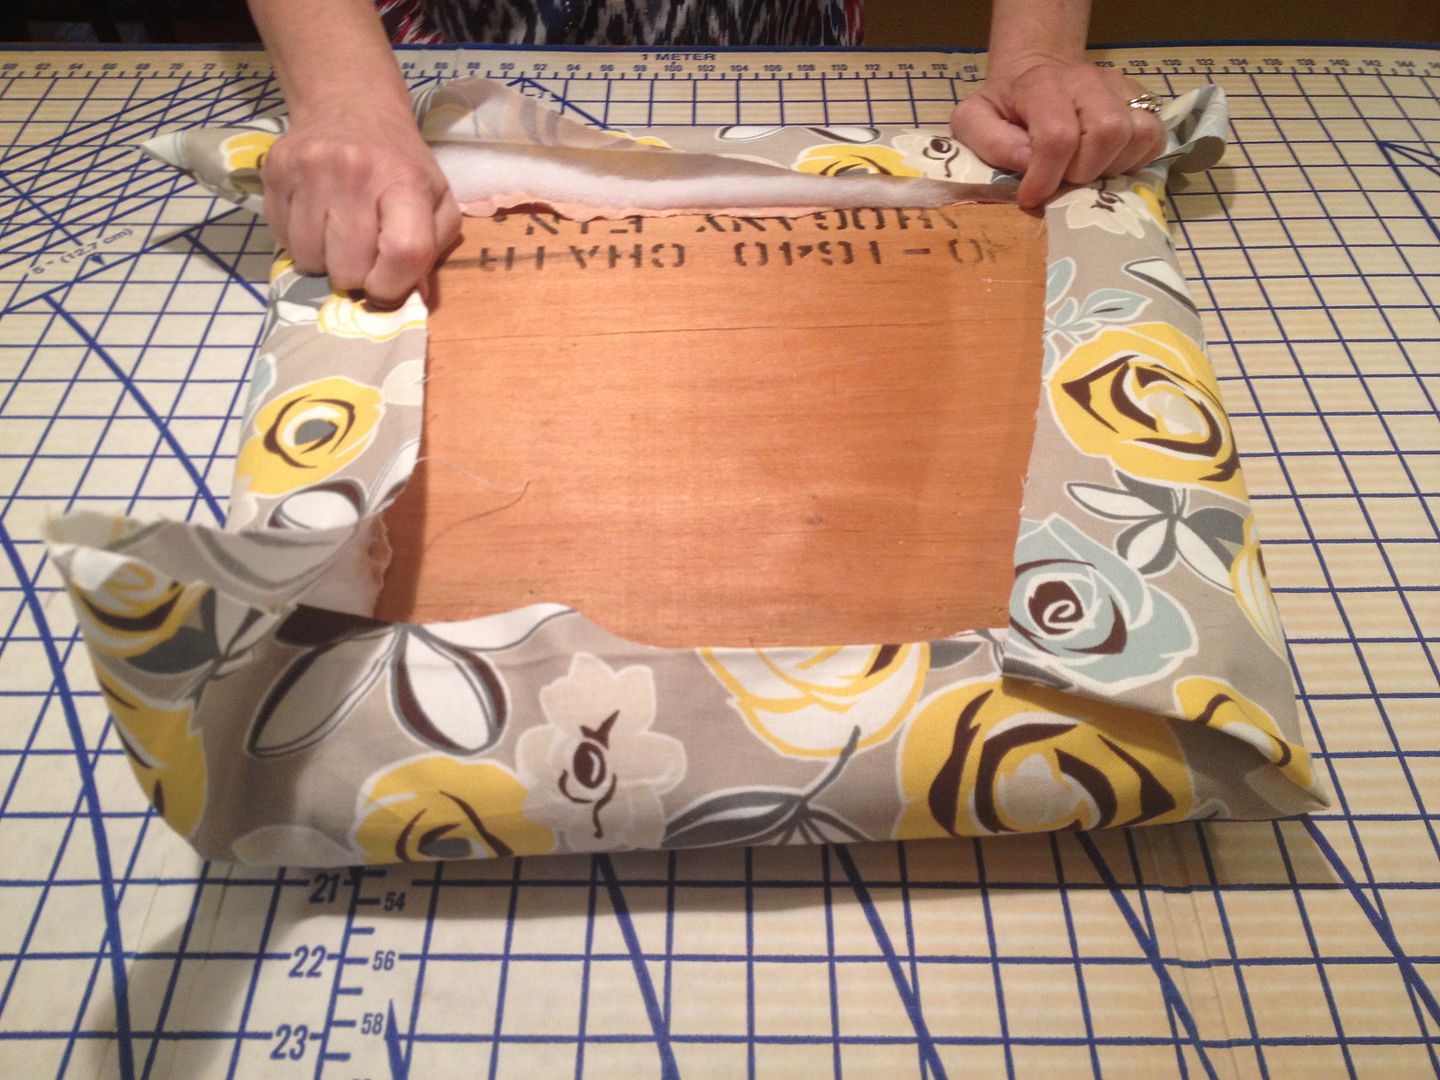
If desired, add more more cushion to the chair. You can do this by buying some batting at a fabric store, then using the seat to cut it to size. Make sure to cut it large enough that you can wrap it around the back of the seat in order to staple it.

One way to fold the corner is to pull the sides in, leaving a top flap, and then pulling the top flap down, stapling it, and then cutting any excess off.
[[As a side note, my first assignment in computer science 101 last fall was to write down how to fold an origami owl using only words. I thought it was an interesting assignment-- I got style points for my LOTR reference, but when my roommate tried to follow my directions, the resulting blob of paper looked more like a mishapened creature of the dark rather than a cute owl. This flashback brought to you by the batting description ;)]]
Step Four:
Next up, the fabric! You're going to do the same procedure as with the batting-- use the seat to trace out how much fabric to cut, allowing a good 3 or more inches on either side to pull over. Once you've done one seat, you'll see how much excess you really need. For the first seat be sure to err on the side of caution and cut out a large square of fabric.
Note: Be sure not to cover up the screw holes in the bottom of the seat with your new fabric. If you accidentally do, then just take scissors and dig the holes out so that you can properly reattach the seat.
Step Five:
Now, just pop your seat back onto the chair and screw it back in. You're done! You've transformed a dusty old chair into a hip new one.

((I'll post a close up later when I got home! I'm blogging from the road today and this is the only 'after' photo I could find))
EDIT: here you go!

As always, thanks for reading! And be sure to stay tuned-- I have some fun posts coming up including more up cycled furniture and possibly a collaboration!
No comments:
Post a Comment