I am not some people.
Working with a kit 18--55mm lens I've come up with a couple tricks along the way to fake the wide angle close ups that my lens just won't do. I thought I would share one of the simple Photoshop tricks today.
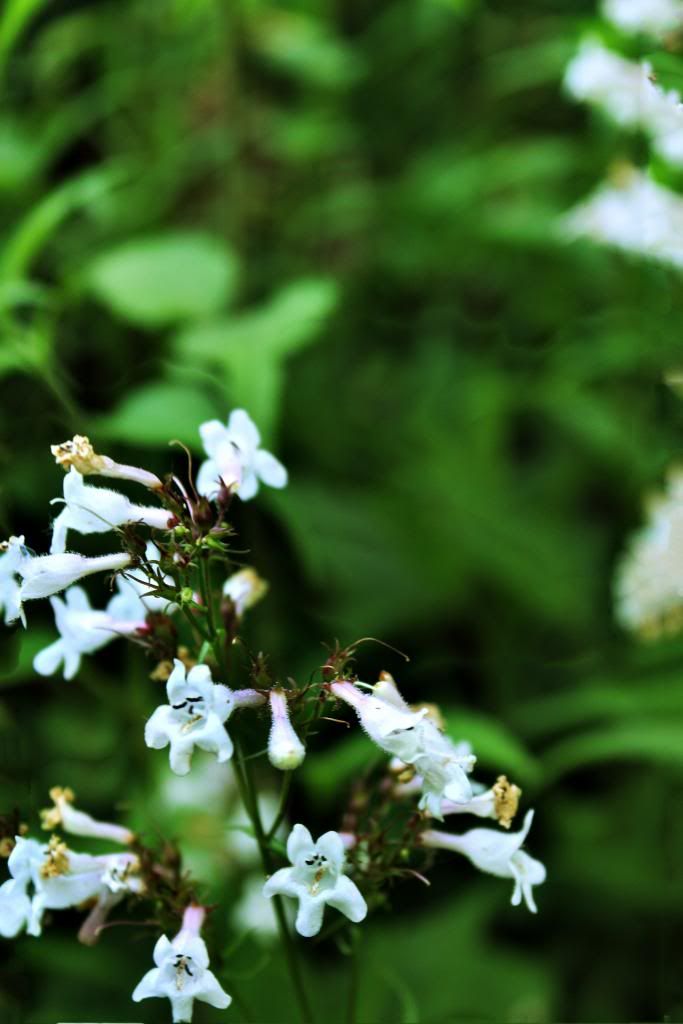
Say you're taking close-ups of your favorite flower:
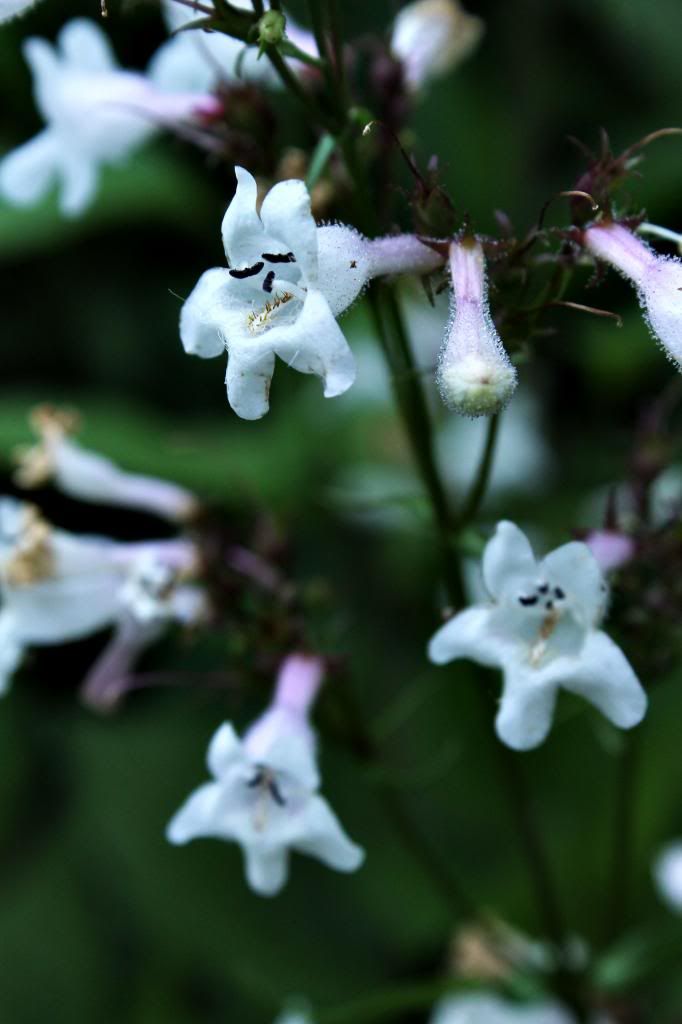
You like it, but you wish that you could include more of the flower's surroundings-- while keeping the nice blurry background. Now if I zoomed out, I would lose the blurry background.
There is more to this scene that you can see in this narrow snapshot. So what did I do? I took multiple photos, moving my camera to get a new part of the background with each picture.
TIP: Do not do what I did and become trigger happy. I barely moved my camera an inch to the left (or whatever direction) before snapping another photo. Try moving the camera more than that. Make sure that your new photo will overlap the previous one, but try to minimize the overlap. Photoshop gets really confused with you give it ten photos that are almost identical.
Step One:
Take the photos, like described above. If you're photographing a tall flower then you might take five photos, each time tilting the camera more up to get the rest of the flower.
Step Two:
Open trusty Photoshop. Go to File-->Automate-->Photomerge. For now, keep the default settings-- Layout should be on auto. Now, upload your five or so photos you took and click 'okay'.
Step Three:
Photoshop should have used some black magic and put your collection of photos together, mostly seamlessly.
If you make the same mistake I made-- took too many photos that don't alter greatly-- Photoshop might have just randomly tried to connect your photos. Manually overlap your photos to the best of your abilities-- don't worry, it doesn't have to be perfect-- and then proceed to the next step.
Step Four:
Go to Edit-->Auto-Blend Layers. This will fix any mishaps with the overlapping photos. If you had to manually align your layers, then this should fix all the seams.
Step Five:
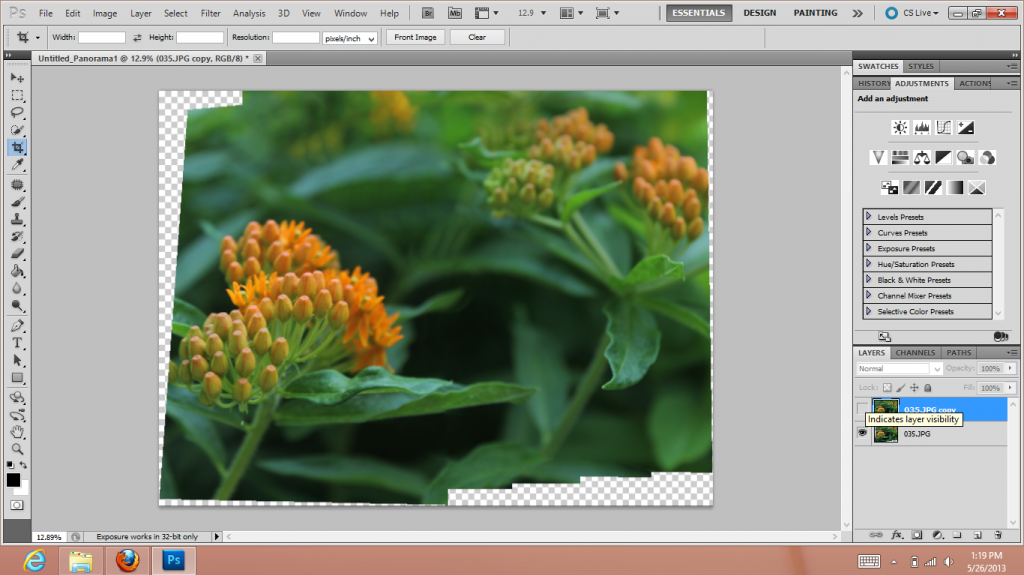
Now, on to fixing all those awkward gaps that your photos didn't fill.
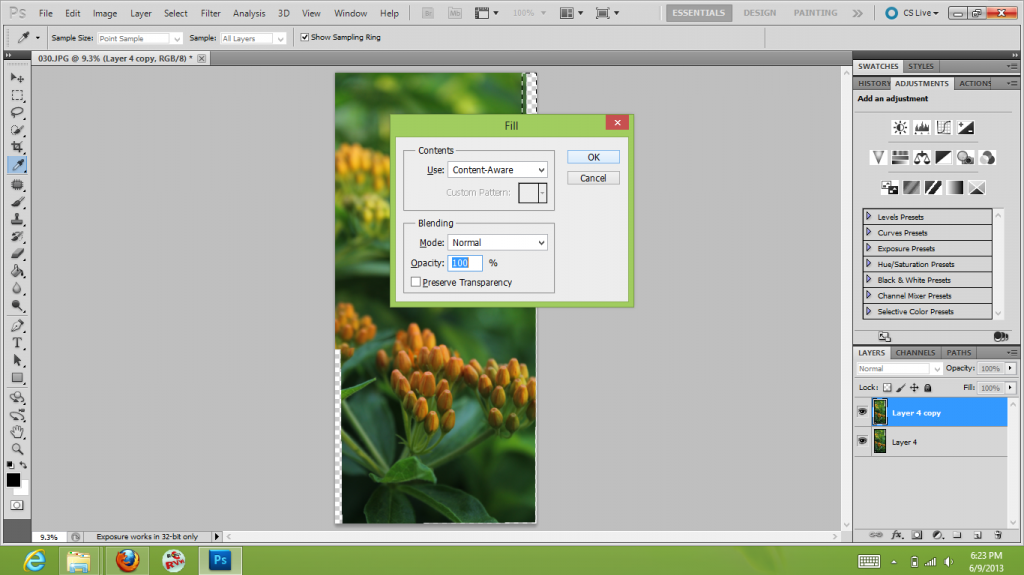
Using your select tool, grab a section of the transparent area. Go to Edit-->Fill, or click CLT+F5. Make sure that 'Content Aware Fill' is selected. Content Aware Fill is one of my favorite magically Photoshop tricks. Using some mystical algorithm Photoshops looks at the surrounding areas and then predicts what should be in the empty area.
If Photoshop is giving your gibberish when you try to fill something, try to fill a smaller area and work from there. Content aware fill isn't perfect-- sometimes it's just better to crop out the empty areas.
Step Six:
Add any final edits you want to your photos!
Et, volia! You should have a photo that keeps the crisp focus but is more expansive that your first shot.
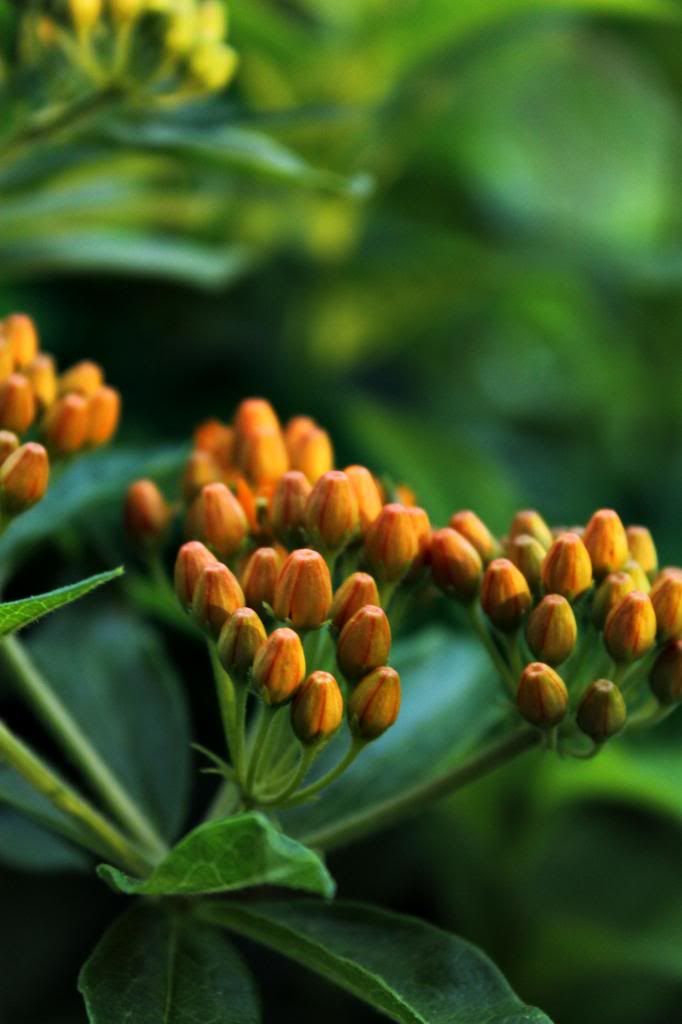
Examples:

I loved the way that this one turned out. It doesn't look that large, until you consider how narrow one photo was. It took like eight photos for this-- but that was with me taking far too many photos, so it could have probably done in three or four shots.
There are other ways to do this technique-- for example, using the transform tools rather than the Content aware fill. I just thought I would a little trick for those of you who are like me and don't have a lot of lenses. I also used this technique back when I still had my point-and-shoot.
Thanks for reading!
No comments:
Post a Comment