Last Thanksgiving I found myself in the wonderful city of London. After two trains, a plane ride, an two hour search for a friend, my friend and I made our way to our hostel. We walked into the 100 degree heat, dark dorm style room. Even though it was only around 10 pm at least half the beds were full of presumably sleeping people, which makes it hard to find your bed and settle your stuff. It was then I realized I had not packed any pjs-- and sleeping in the same room as ten other people meant I really did need pjs. The next day we headed to a huge, packed department store where I tried to find something cheap to sleep in.
The only issue was that once I got back to France and didn't need to sleep in the shirt I realized just how shapeless the thing was. While acceptable when I'm using it to sleep in, I wanted to make it more practical. My recent foray into tailoring gave me the idea to just pin and sew the shirt to make it be more flattering. My inspiration was this tutorial, which I had planned on sewing sometime.
 |
| Inspiration! |
 |
| Reality! |
Sorry for the crappy quality pictures! This was a quick (well, more on that soon) DIY and I just shot some quick photos with my phone.
Anyway! To make the shirt more flattering, I put a fitted t-shirt on top of it, and pinned where I wanted to sew.
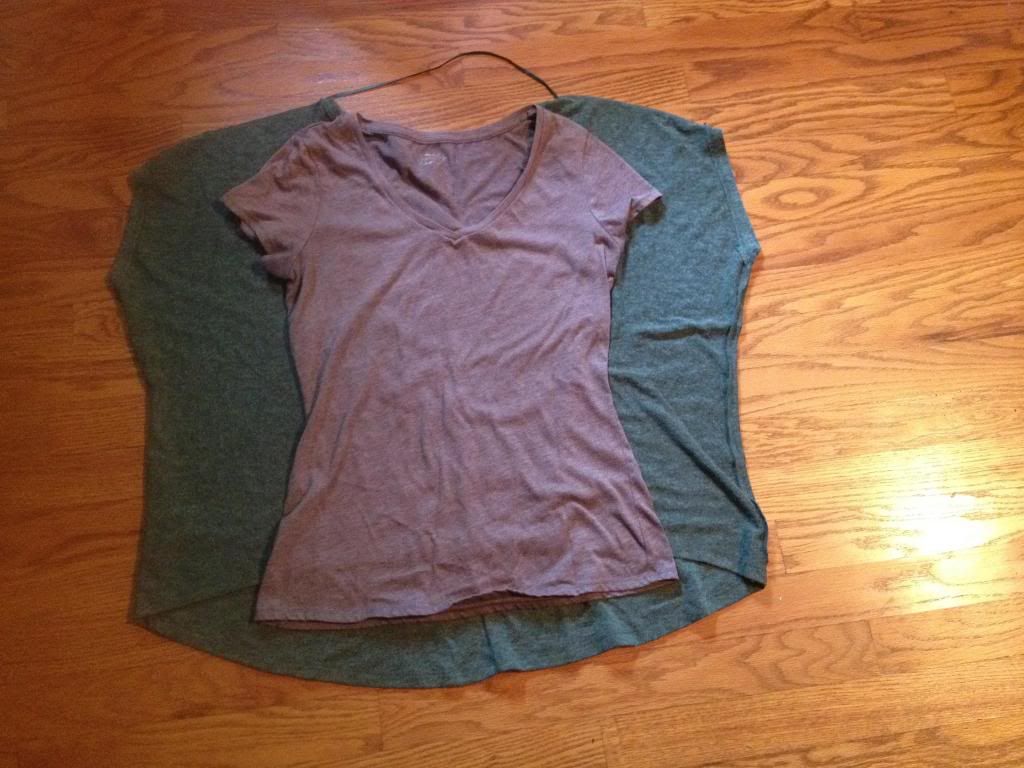
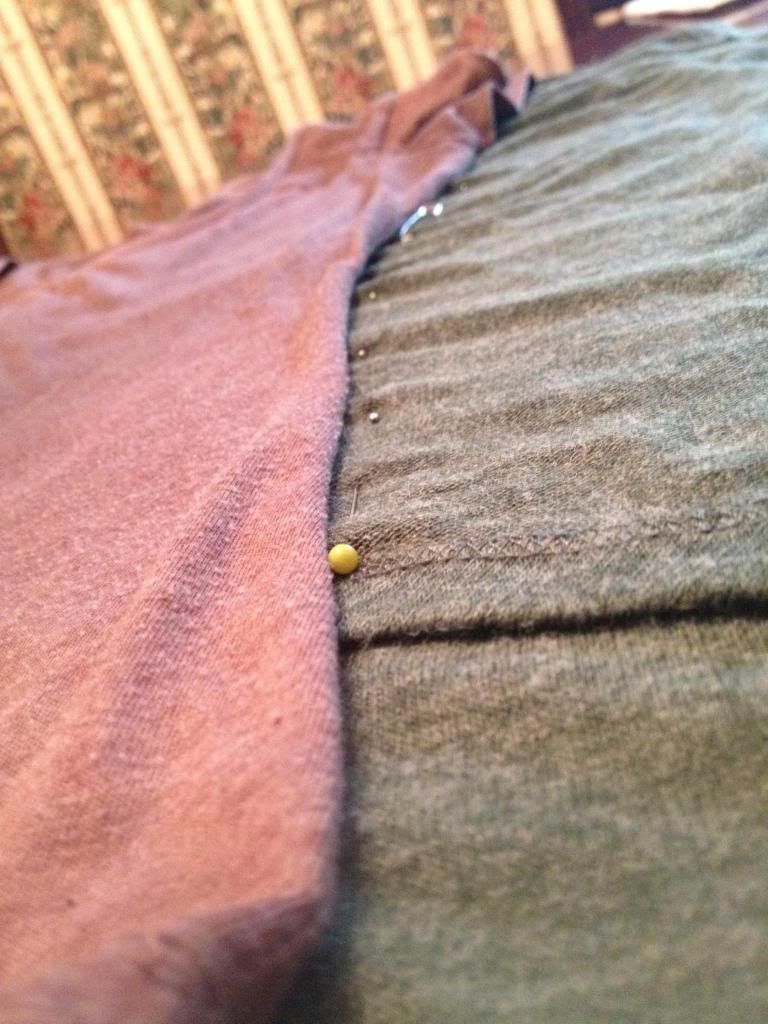
This was actually pin attempt 1 of 3! The first time I pinned my shirt I realized that it wasn't symmetrical. So, I took out my pins, adjusted my fitted shirt, and pinned again. Then, I realized that if I wanted to try on the stretchy shirt with the new pins then I really needed to pin with safety pins. So, I pulled out all my straight pins and re-pinned with safety pins.
Two Things to Remember:
- Pin the shirt right side in-- basically do NOT turn this shirt inside out, as one normally would when tailoring a shirt. I made this mistake and had to take out both of my seams and re-sew the shirt right side in.
- Pin the shirt with safety pins and they won't fall out when you're trying your outfit on.
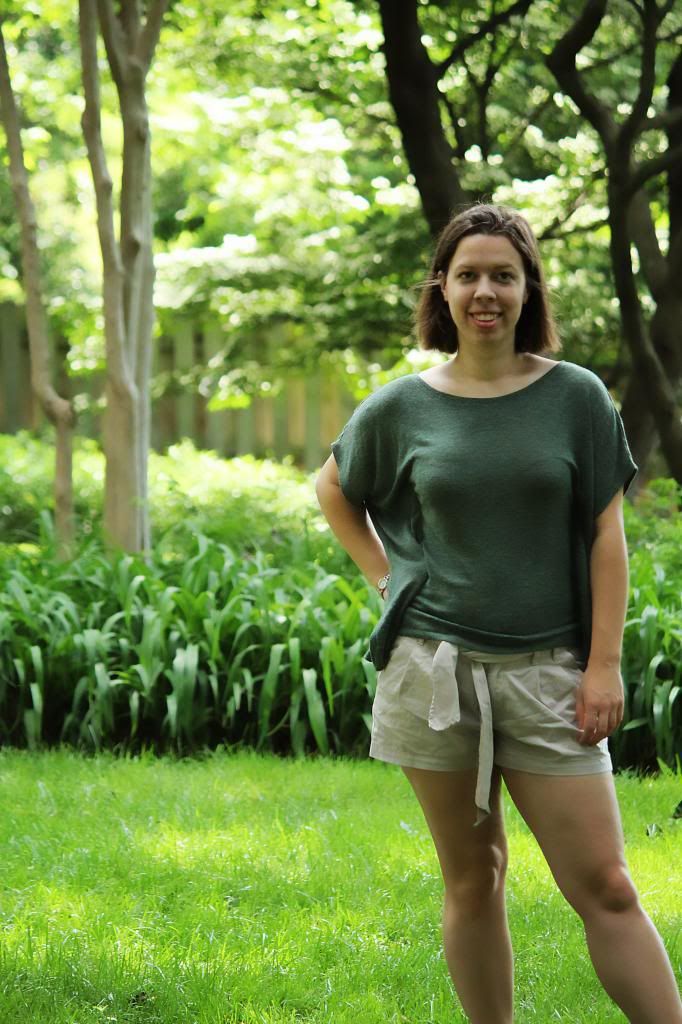
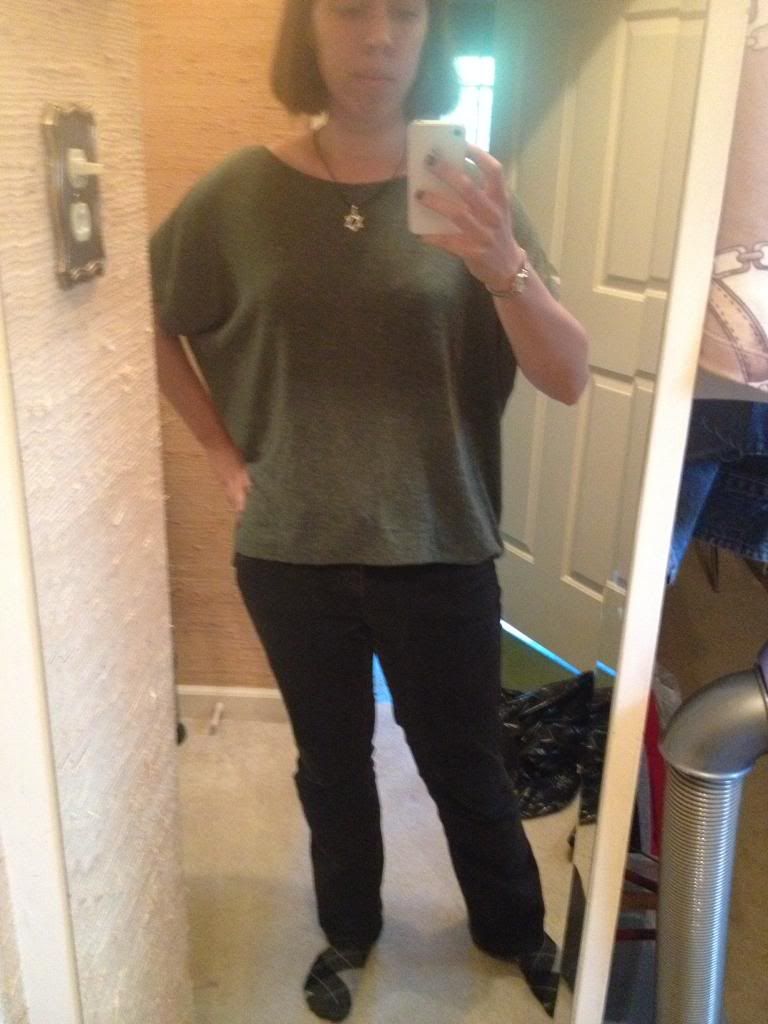
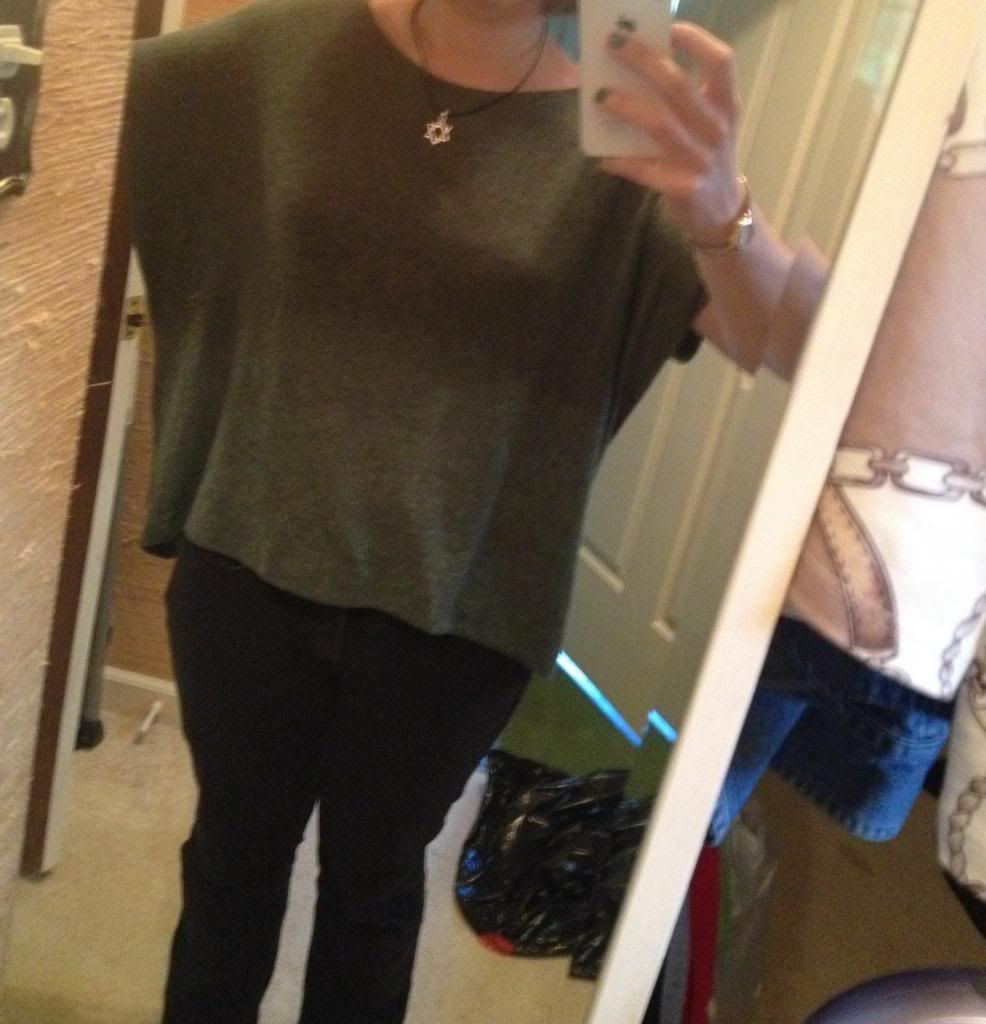
Final Result:


Thanks for reading! :)
No comments:
Post a Comment