((Yes, I thought I was witty. No, no one else agreed. Story of my life ;))
In a few short weeks my brother is tying the knot, and my family is drawing on the creative inspiration from Pinterest to throw a beautiful wedding without breaking the budget.
Which brings me to my first (last?) wedding decorating DIY tutorial! ((See, 'bliss on a budget' was much catchy-er than 'an easy tutorial on wedding decorating for the budget limited person'))
Our major area for decorating is the reception tables. Oodles of fresh flowers may be beautiful, but can get crazy expensive in a heartbeat. Besides, how personalized is a vase of flowers? Not very!
However, for a fraction of the cost of a huge bouquet of flowers, you can make your own, beautifully personalized centerpieces! I thought I would show you the final product and then go through the easy steps to make it.

WHAT YOU NEED:
Picture frames: $1 a piece ((Dollar Tree))
Vase: $1 ((Dollar Tree))
L.E.D flickering light: $0.62 a piece ($0.37 with a 40% Hobby Lobby coupon!)
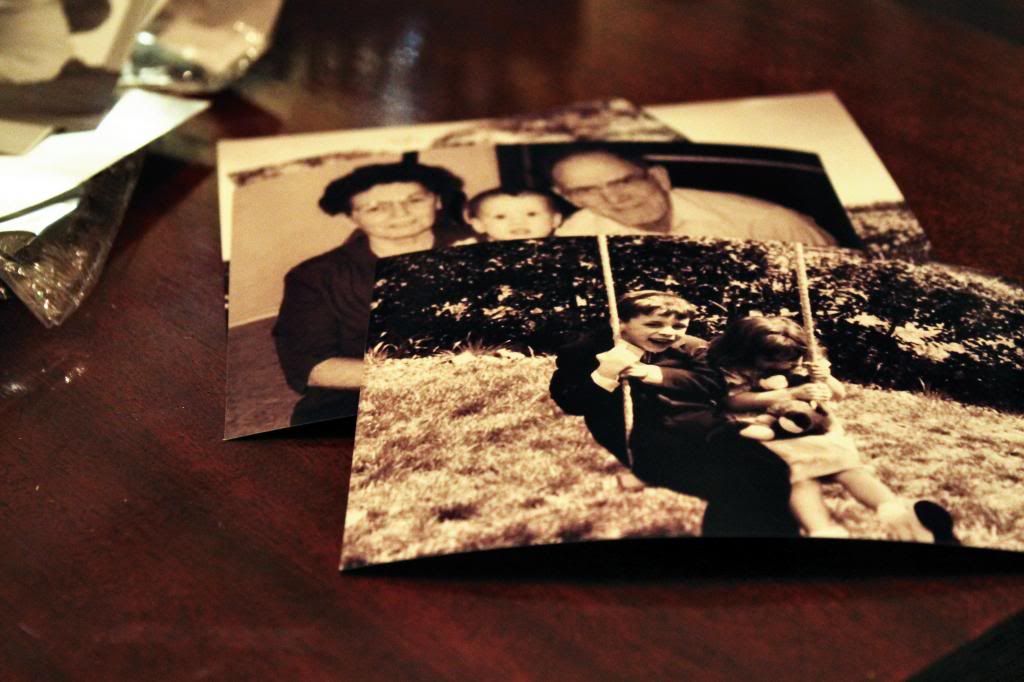
Pictures: $0.19 a piece ((Wal-mart, one hour)
Flowers: Free ((from our yard))
Fabric: $0.50 ((1/4 yard of fabric from Hobby Lobby))
STEP ONE:
Pick out three picture frames. The ones we found were one size for the landscape photos and a different size for the portrait orientation. So when we put them together, they had to be either all landscape or all portrait. Also, print out your photos. We did all of ours in black and white and that worked well. You could probably do the photos in color but because of the way they are lit, I think black and white work better.
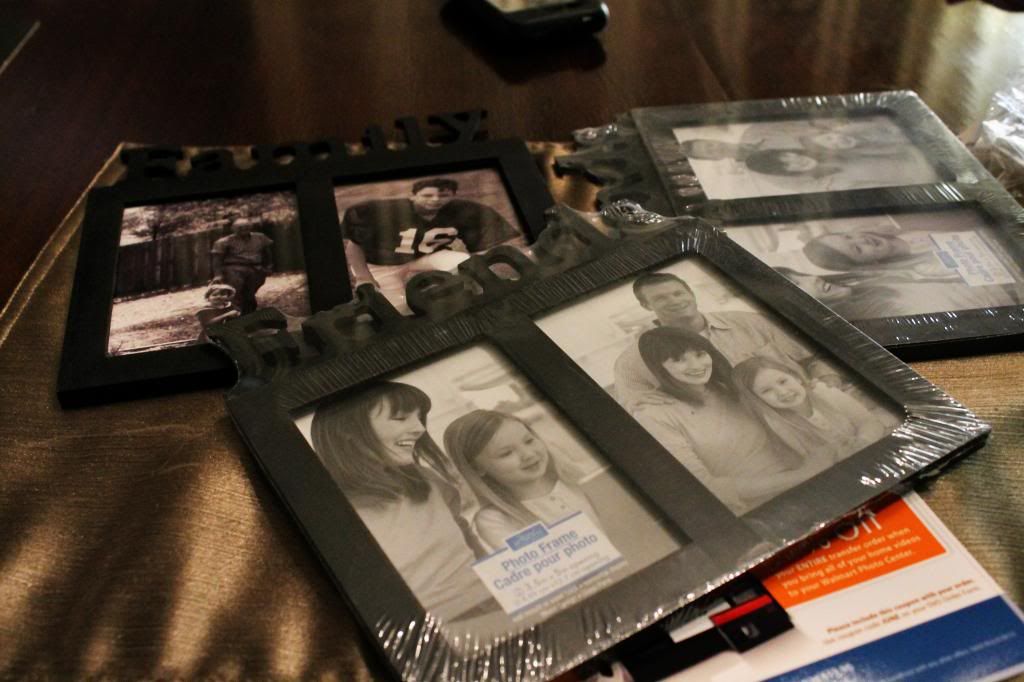
STEP TWO:
Take the backs off of the picture frames. This will allow the light from the L.E.D. fake candle to illuminate the photos. Slip your photos in, using the clips to hold them in place; you can also use a little tape.
STEP THREE:
Set your frames up so that ends are touching. Make sure, before you glue anything, that all three frames fit together to make a nice triangle. It's easy to make your first angle too obtuse for the third frame to fit.

Once you are sure everything will fit, start gluing your frames together, starting with one seam and moving on to the next. Hot glue worked well when we did this.
STEP FOUR:
Get your L.E.D light! These little puppies are called tea lights, and mimic the look of a small candle without the whole burning-down-the-reception threat.

Simply drop the light down in the middle of your photo triangle.

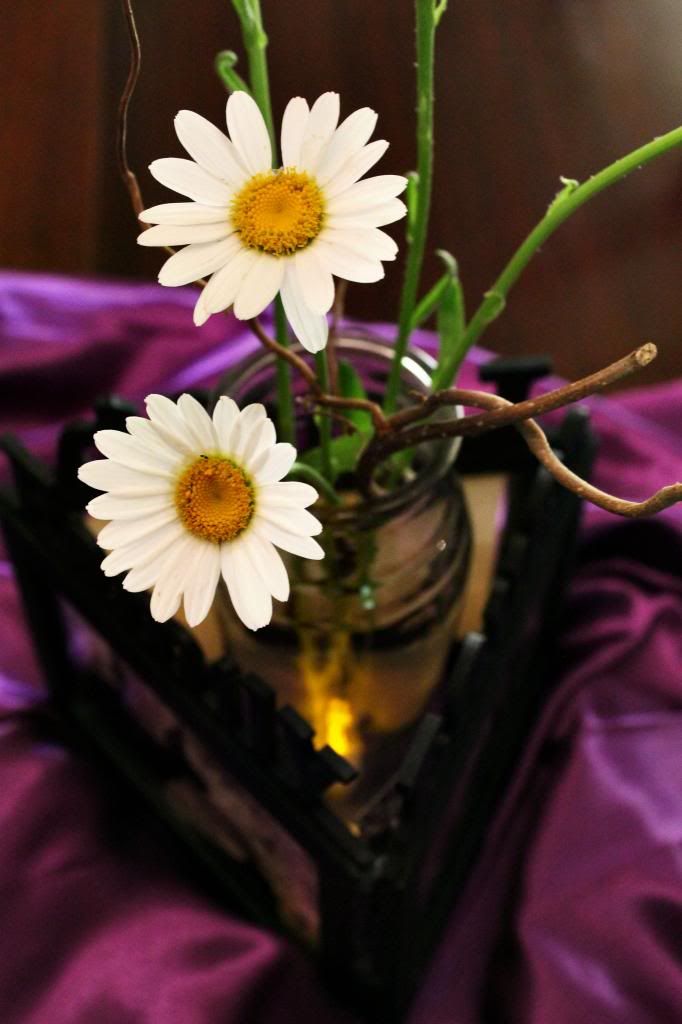
STEP FIVE:
Find a smallish glass vase that will fit in the middle of your frames next to the light. We cut some flowers from the yard and grabbed some interesting looking sticks to put in the vase.

Et, volia! You have a personalized, beautiful center piece that won't break the budget!
Thanks for reading!
No comments:
Post a Comment