I thought I was done posting about weddings. It seems like I was done posting about anything, considering how long it took me to write this post!
Regardless (irregardless? does anyone really know the difference?) we did this
easy flower basket craft that I wanted to show you guys. It's simple, beautiful, and cheap. All it takes is a little time.
Final product:

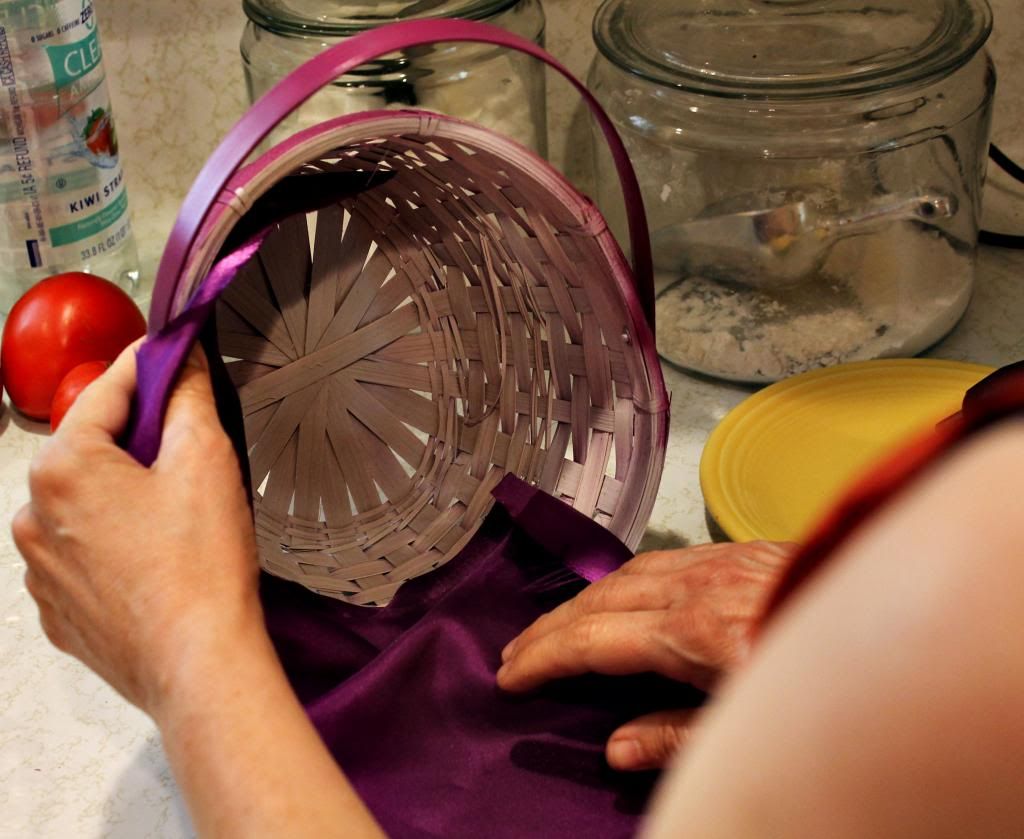
My future sister-in-law's (or as the french say, ma belle soeur which literally means my beautiful sister) colors for the upcoming wedding are black, white, and purple. For a splash of color, we used purple and white to decorate the flower girls' baskets.
Materials:
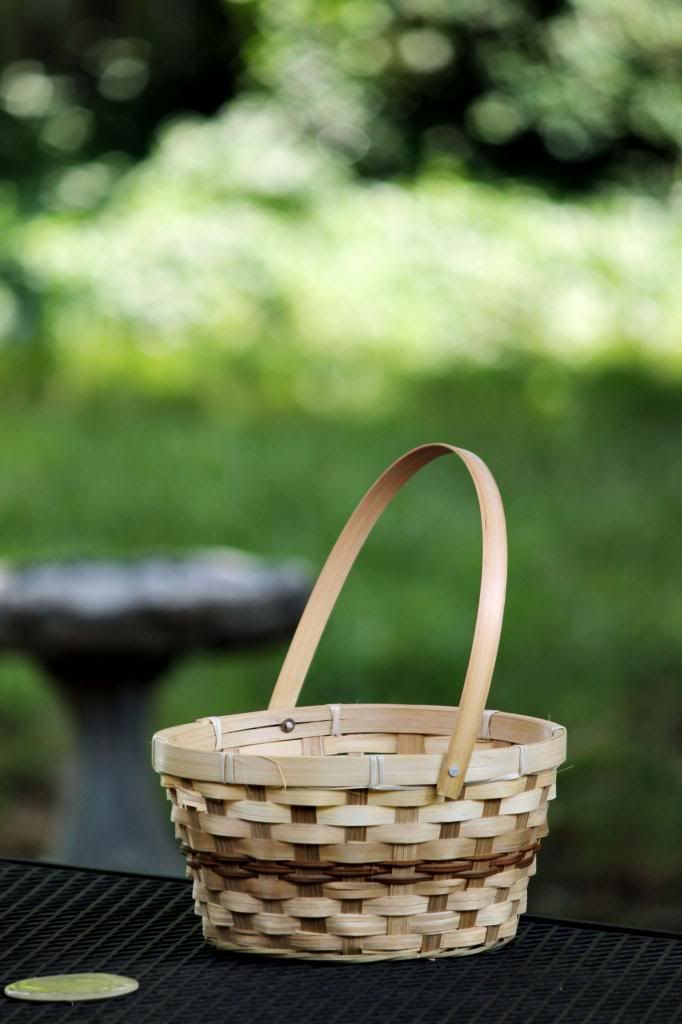
- Wooden baskets, $1 at Dollar Tree
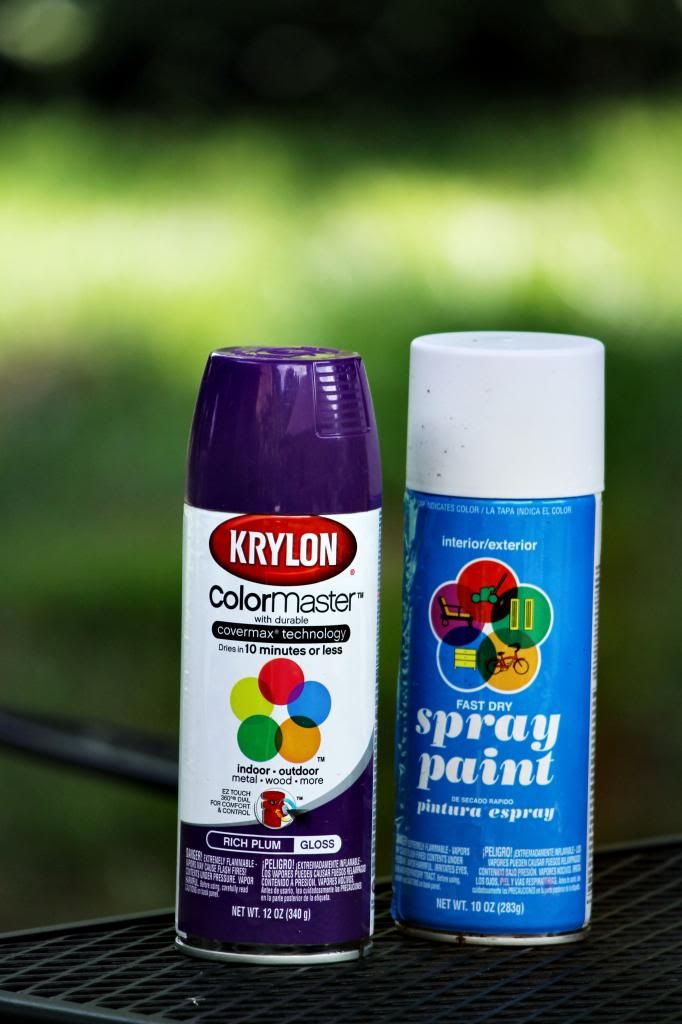
- One can of purple spray paint,$3 at Walmart
- One can of white spray paint, $0.97 at Walmart
- Small fake gems, (on clearance) $2 for 200 of them
- Cord, $2.40 at Hobby Lobby (40% coupon!); we didn't use all of it
- Purple satin,$0.50, 1/4 of a yard from Walmart
 |
| I am LOVING this new lens! Beautifully blurry background brought to you by my new lens :) |
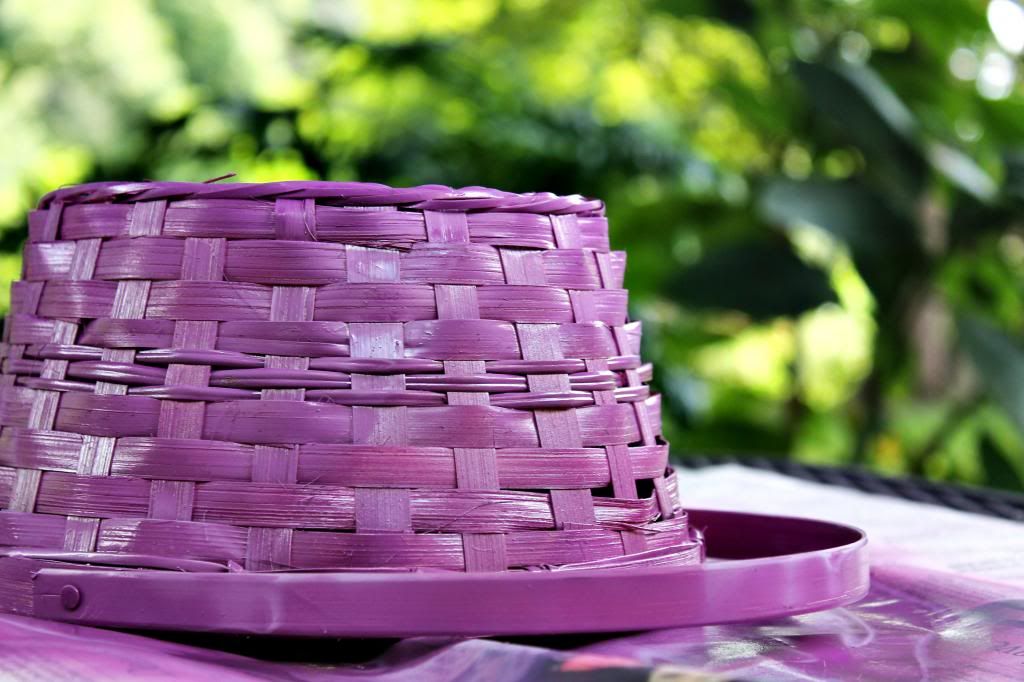
I sprayed the handle as well. What you can also do is start from the inside and paint the inside first, then the outside. I started with the outside for both of the baskets and it turned out fine.
Step Two:
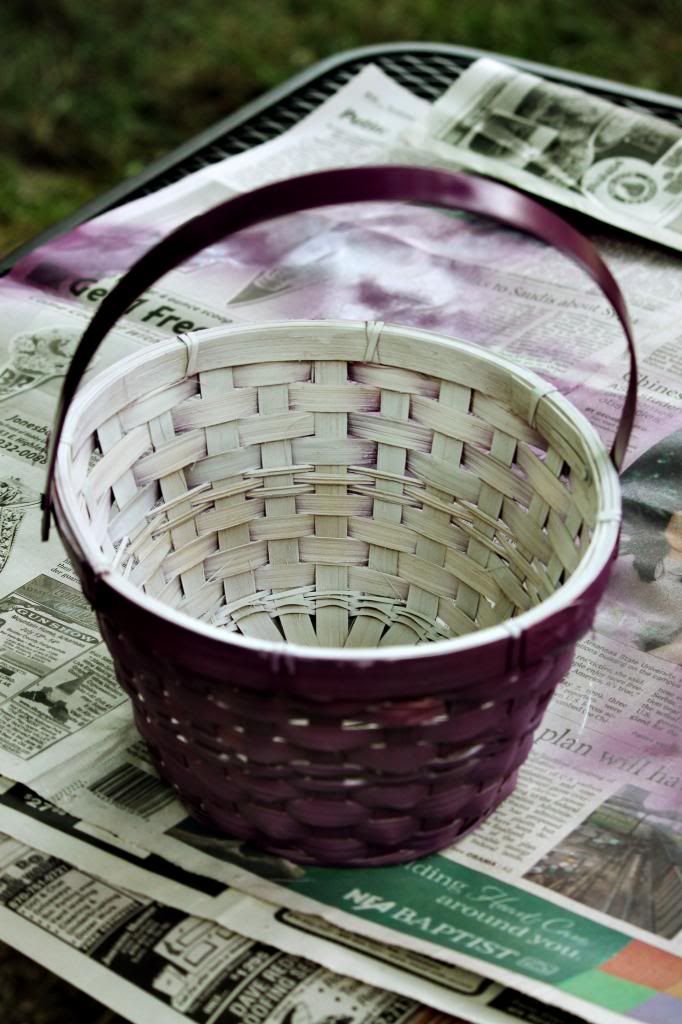
Next up is the inside! I gave this a slightly thinner coat of spray paint. The white might bled through to the outside, just use your purple paint for any touch-ups.
One trick to get the most out of your spray paint cans is to turn them upside down and press the nozzle when you are done with painting. Keep the nozzle depressed until nothing but clear air comes out. This will keep your spray paint cans from clogging up.
Step Three:
Now for the satin! Cut out a circle a little bigger than the inside of your basket. Now turn the satin so that the non-shiny side is facing you and hot glue part of that circle to the inside of your basket. Flip the satin over, so that the shiny side is facing up, and finish gluing it down. You don't have to glue the satin down, we just didn't want the flower girls to accidentally pull out the satin when they eagerly reached down for the petals.
Step Four:
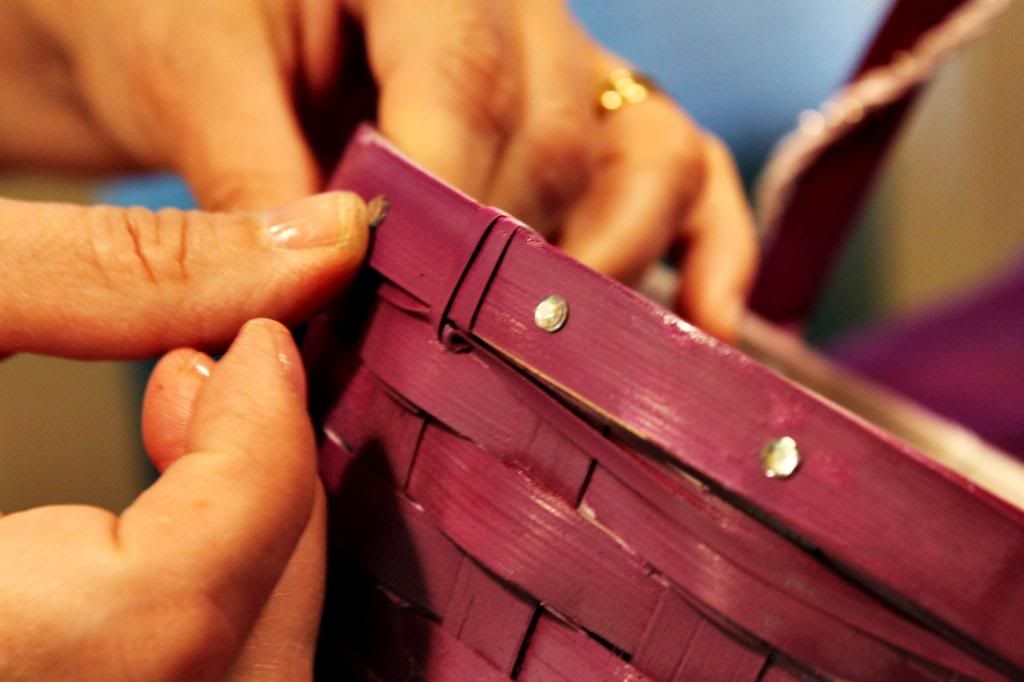
Now, for the finishing touches! We had enough little rhinestones to bedazzle everything in our house. They were irritatingly small, with a equally small slip of paper on their backs that you had to peel off to revel the adhesive. We put them on the rim of the basket.
Step Five:
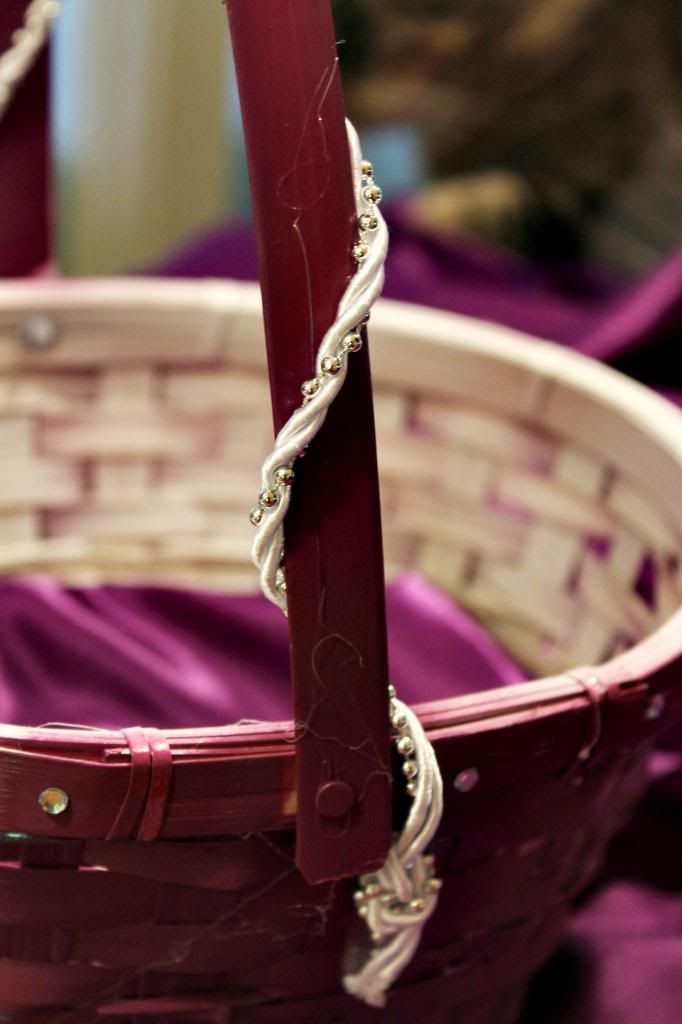
Next, we wound the cord around the handle of the basket, using hot glue to attach it. We actually had this cord lying around-- my senior year at prom I decided I should make my own headband. Let's just say that this use of the cord turned out better ;)
Et, volia! A simple, personalized, flower girl's basket! Everything but the one dollar basket we had a lot left of-- enough to make plenty more baskets.
Thanks for reading!
No comments:
Post a Comment